Configuring the loadmaster via the kvm console, 4 configuring the loadmaster via the kvm console – KEMP Cisco B-Series User Manual
Page 23
Copyright © 2002 - 2014 KEMP Technologies, Inc. All Rights Reserved. Page 23 / 27
LoadMaster for UCS Installation
Guide for LoadMaster for UCS
Installation
Installation Guide
4 Configuring the LoadMaster via the KVM Console
If the LoadMaster does not automatically obtain an IP address using DHCP as described in Step 4,
Section 3.6, or if the user prefers to configure the LoadMaster via the KVM console, then the
following configuration steps must be completed before starting the LoadMaster.
1. Login into the LoadMaster via the KVM-console using the settings
lb100 login: bal
Password: 1fourall
2. If required, change the LoadMaster password (for the bal user) when prompted to
within the KVM console.
3. If required, click OK within the dialog box informing of the password change
4. Click OK within Quick Setup Help dialog box.
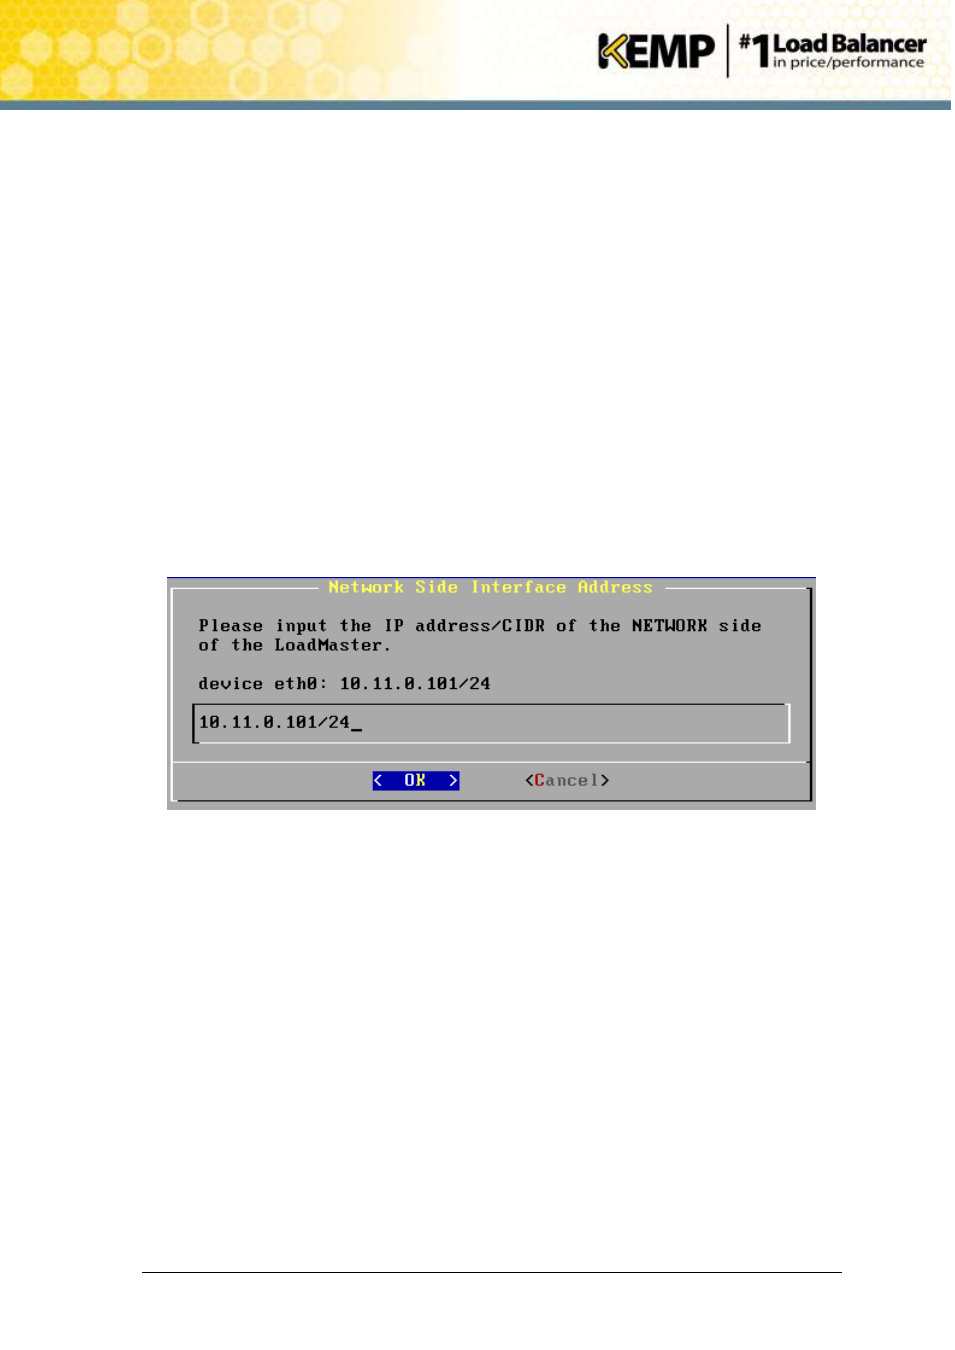
5. Enter the IP address of the eth0 interface, the network facing interface of the
LoadMaster, in the input field within the Network Side Interface Address dialog box.
This value must be configured from within the KVM console.
6. Click OK.
Figure 4-1 Network Side Interface Address
7. Enter the IP address of the eth1 interface in the input field within the Farm Side
Interface Address dialog box. The eth1 interface is only configured if you have a two-
armed configuration.
This interface can be configured at a later date using the LoadMaster WUI if preferred.
8. Click OK.
9. Enter the hostname (you can accept the default value of ‘KEMP’) into the input field of
the LoadMaster Hostname dialog box.
10. Click OK.
11. Enter the IP address(es) of the DNS Server(s) which will be used to resolve names locally
on the LoadMaster into the input field of the Name Server IP Addresses dialog box.
This interface can be configured at a later date using the LoadMaster WUI if preferred.
12. Click OK.
13. Enter the domain name that is to be prepended to requests to the DNS nameserver in
the input field of the Domain List dialog box.