Campbell Scientific Sentek EasyAG Installation Guide v 3.0 User Manual
Page 22
Installing EasyAG 50 probes
Copyright © 1991 – 2003 Sent ek Pt y Lt d All rights reserved
Page 19
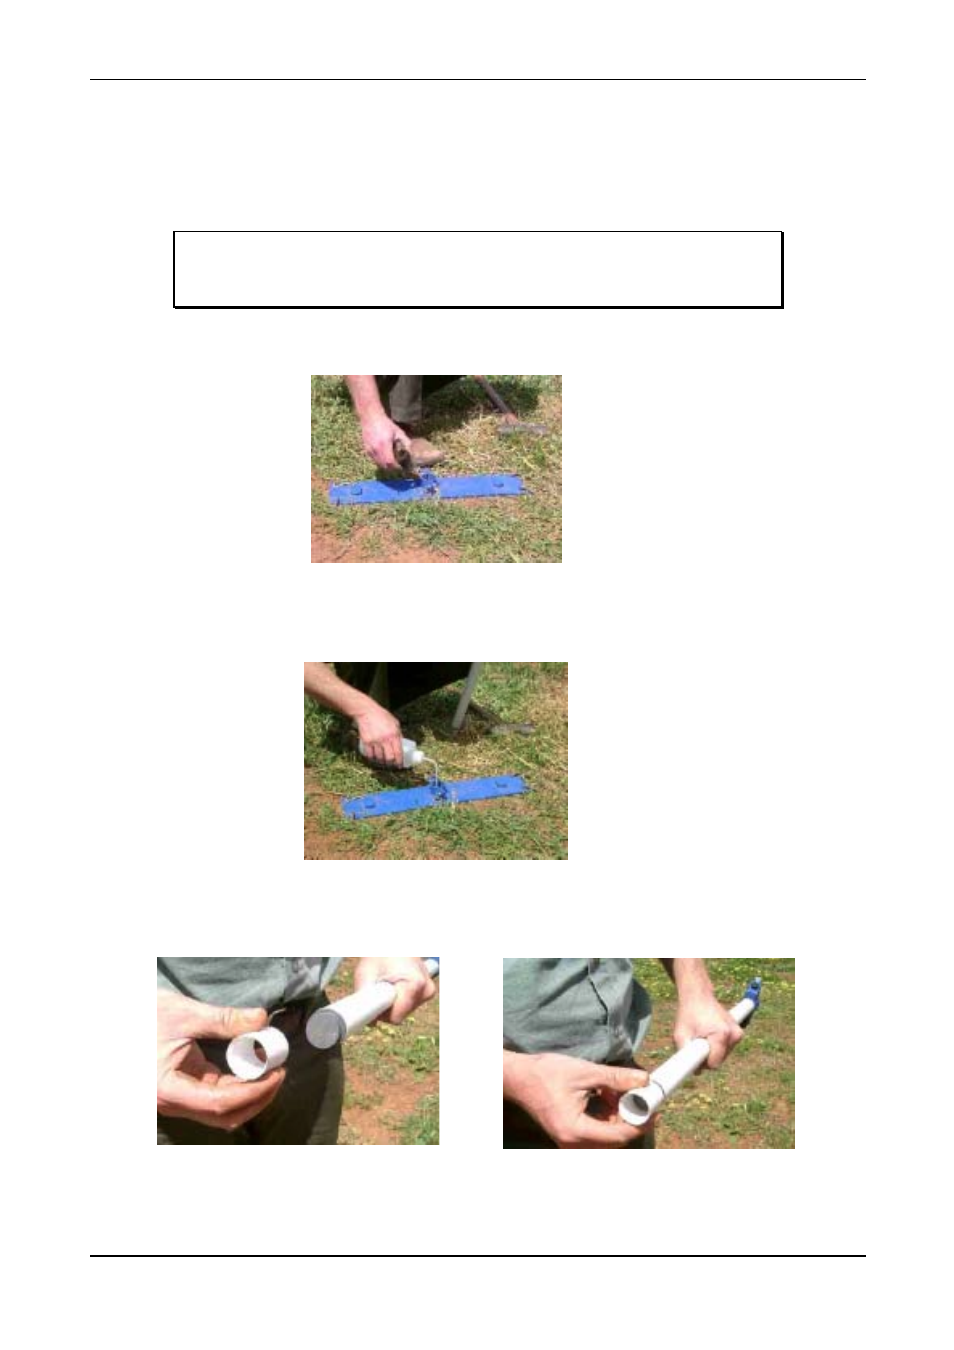
3. Turn
the
AMS soil sampler one single complete rotation clockwise.
4. Carefully
lift
the
AMS soil sampler directly out of the ground. To remove the soil collected in the soil
sampler, simply beat on its side with the hand or foot. The design is such that the soil core taken is
slightly compressed, and of a lesser internal diameter than the soil sampler itself. In heavier textures,
the soil sampler cleaning tool is used to clear the soil sampler by screwing it into the compressed soil
in the end of the soil sampler. The extracted soil should be deposited away from the probe site.
Warning
If you experience difficulties at this point, remove the soil sampler in stages, or
obtain extra assistance to avoid back injury.
5. Remove
the
AMS soil sampler polyguide.
6. If the soil is dry, add a small quantity of water into the hole using a squirt bottle.
Step 4 - Assembling the EasyAG probe
1. Attach the cutting tip to the base of the probe with firm pressure. No glue is required.
2. Remove the lid of the top cap and extract the probe electronics. Place this safely to one side on a
clean, dry surface such as a tarpaulin.