Super, Regulating the machine – Dake Model Super Technics 350SA User Manual
Page 9
9
SUPER
SUPER
SUPER
SUPER
SUPER TECHNICS 350 SA
TECHNICS 350 SA
TECHNICS 350 SA
TECHNICS 350 SA
TECHNICS 350 SA
CUTTING CYCLE:
-
Vice locking;
-
Head downfeed;
-
Head lifting;
-
Vice opening;
-
Material feeding.
- Ensure that the machine is not in emergency stop condition; if
it is, release the red mushroom button ( 1 ).
- Make sure that the connection to the pneumatic system has
been carried our according to the chapter 7 paragraph 7.7.
- Ensure that the selector ( 8 ) is in "MANUAL" mode.
- Turn the main switch ( 3 ) in position ON.
- Press the start/reset button ( 2 ): its green light will go on.
- Select the cutting speed on the switch ( 4 ):
position 1 = 22 rpm
position 2 = 44 rpm
- Set the number of pieces to be cut on the piece-counter (10)
(see chapter 7 paragraph 7.5).
- Set the number of feed repetition on the feed repeater (11)
just in case the cutting length required is longer than the
mechanical stroke of the feeding system (see chapter 7
paragraph 7.6). Note: set “1” if no feed repetition is required.
- Place material to be cut in the vice. Close jaws against
piece,keeping a distance of approx. 3 - 4 mm.
- Adjust the cutting stroke by means of the selector ( 5 )
approaching the blade upto 10 mm from the workpiece. Position
the relevant mechanical endstroke.
- Set the required cutting length (
see chapter 7 para. 7. 8 ).
- Adjust the vice of the feeding system (
see chapter 7 para.
7.10 ).
- Set the blade downfeed speed on the regulatorì according to
the specifications of the workpiece.
- Press Cycle Start and verify the following functions:
vice clamping, blade rotation anticlockwise, coolant liquid flow
and cutting cycle execution.
Turn the selector ( 8 ) to the "AUTOMATIC" mode while the
machine is performing the initial cutting cycle end press the
push button ( 9 ) . The machine will feed the material to the
preset cutting length.
- The machine will go on performing more cutting cycles as
long as the material to be cut is finished.
- In case of wrong operation press Emergency Push-button
( 1 ).
REGULATING
THE
MACHINE
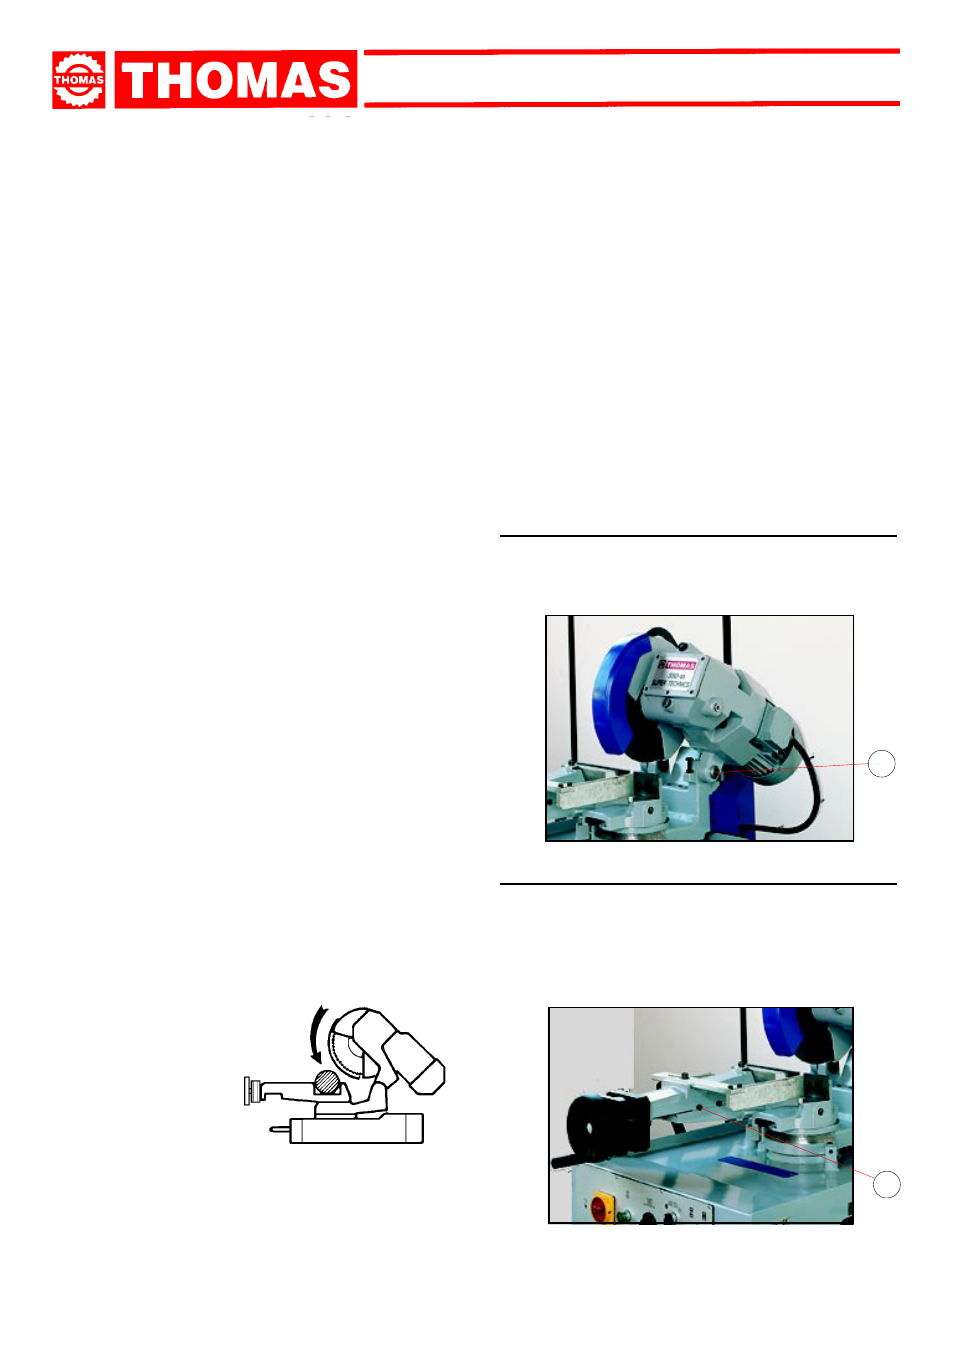
7.1 - Cutting head
- If excessive axial play is found on the hinge, it will be sufficient
to tighten the ring nuts ( A ), paying attention not to make the
joint too tight.
7.2 - Vice
- The device does not require any particular adjustment; in the
event of excessive play in the sliding guide, tighten the dowels
( B ) for adjusting the gib inside the slide.
- Approach the vice jaw upto 4-5mm from the material to be
cut.
- When starting to cut with a new disk, in order to safeguard
its life and efficiency, the first two or three cuts must be
made while exerting a slight pressure on the part, so that
the time taken to cut is about double the normal time (see
below in the chapter on “Material classification and choice
of disks” in the section on
Running in the disk).
- Press the red emergency button ( 1 ) when there are conditions
of danger or malfunctions in general, so as to stop machine
operation immediately.
7
CUTTING DIRECTION
The cropper is now ready to start work, bearing in mind that the
CUTTING SPEED and the TYPE of DISC - combined with a
suitable descent of the head - are of decisive importance for
cutting quality and for machine performance (for further details
on this topic, see below in the chapter on “Material classification
and choice of disks”).
A
B