4 - deleting an array, 5 - configuring spare disks – HighPoint RocketRAID 2224 User Manual
Page 24
HighPoint Technologies, Inc.
Note: The selection sequence is important - the order in which the disks are selected will determine
the disk sequence of the array.
7. Select the capacity - the RocketRAID 2224 can create multiple arrays on the same set of drives. As a
result of this feature, you have the option of assigning a physical disk to multiple RAID arrays.
Press Enter to use the default value (the maximum capacity for the array), or specify the desired value
using the keyboard, and press Enter to confirm this selection. Then, click the Finish button.
Note: If you have specified an initialization option, the initialization process will start automatically. A
progress bar will be displayed towards the bottom of the interface window, and will indicate % completion,
and provide an estimate of the time needed to complete the initialization procedure.
4 - Deleting an Array
To delete an array:
1. Highlight the “Management" menu, then select the "Array Management” function.
2. Highlight the array you want to delete, then click on the "Delete Icon" or select the Delete command
from the "Operation" menu.
3. A warning message will appear. Click Yes to delete the array. Click No to stop this procedure.
Note: An array in use by the operating system cannot be deleted. Any data stored on a deleted array will be
inaccessible
5 - Configuring Spare Disks
Spare disks can be used to rebuild redundant RAID arrays in the case of failure.
To configure spare disks, highlight the "Management" menu, and select the "Spare Management” function.
The Spare Management window will appear.
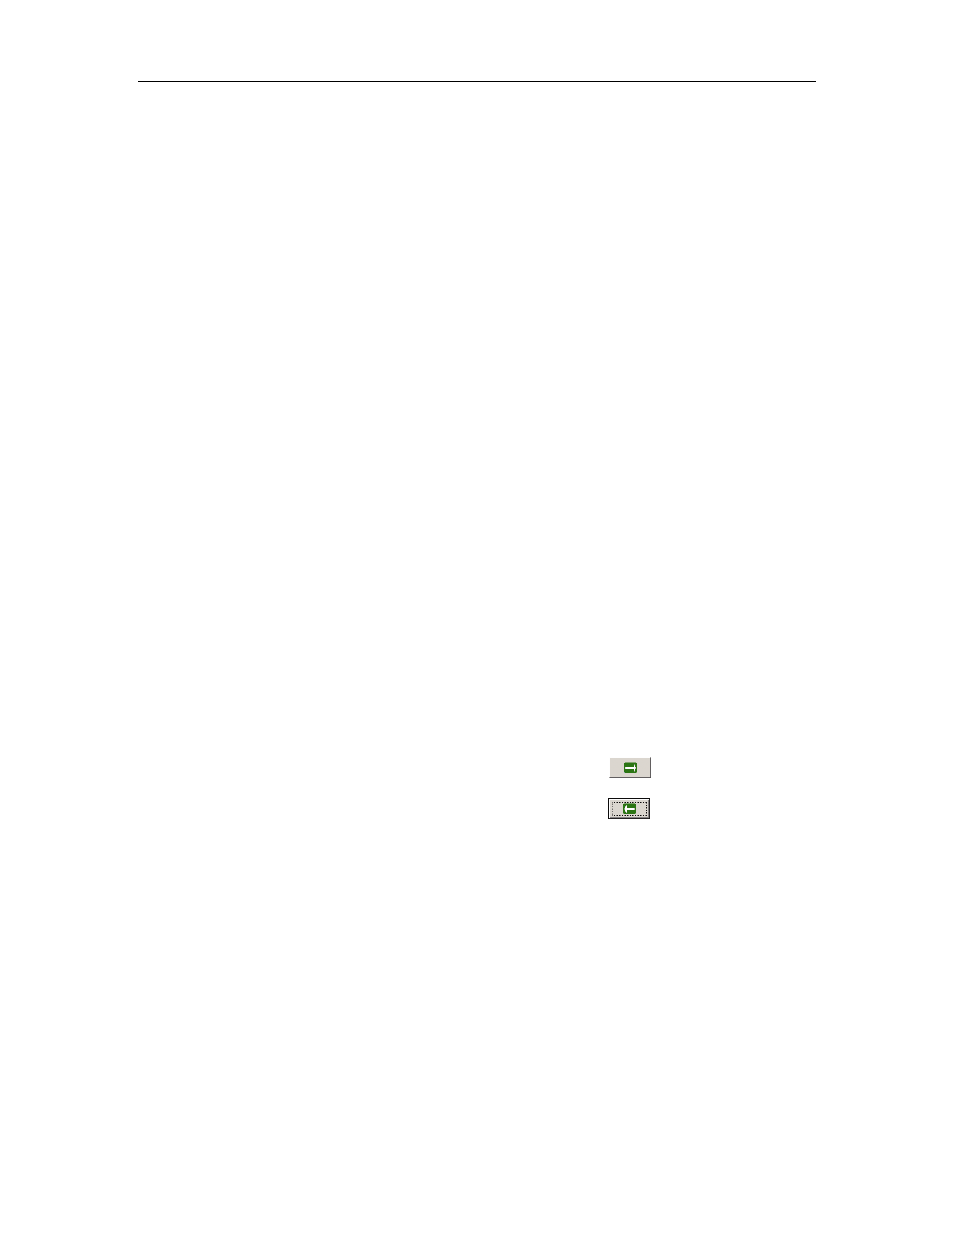
To add a spare disk, select it from the Available Disk list box and click the
button to add the disk to
the Spare Pool list box.
To remove a spare disk, select it from the Spare Pool list box and click the
button to remove the disk
from the Spare Pool list box.
20