Setup procedure, 1 entering the setup mode, Entering the setup mode – Vaisala HMP42 User Manual
Page 41
HMI41 AND HMP42
M210317EN-A
Operating Manual
37
8.
SETUP PROCEDURE
The indicator settings can be changed in the
SETUP
mode. Note that manual
setup procedure is necessary if some of the factory settings have to be changed
and if the indicator or the probe does not have letters ID in the instrument
label.
The factory settings of the HMI41 are the following:
• display units:
0 (metric)
• automatic power-off:
5 minutes
• display quantities:
0
(= RH, T, Td)
• pressure:
1013.25 hPa
(1 hPa = 1 mbar)
(for wet bulb temperature and mixing ratio calculations)
• probe type
AUT
(or 1, see below)
• start
1
Indicators marked with letters ID have the automatic probe recognition as
default (
AUT PROBE
) and previous versions the probe type 1. If the indicator
does not recognize the probe type automatically, set the type manually to
2 when using the HMP42. Note also that the HMP42 probe cannot be used
with the HMI41 unless the software version is 1.02 or greater. To check the
version, turn the HMI41 on with the ON/OFF button. The version appears on
the display in a couple of seconds if it is 1.02 or greater. If it does not appear,
contact Vaisala or a Vaisala representative for further information.
8.1
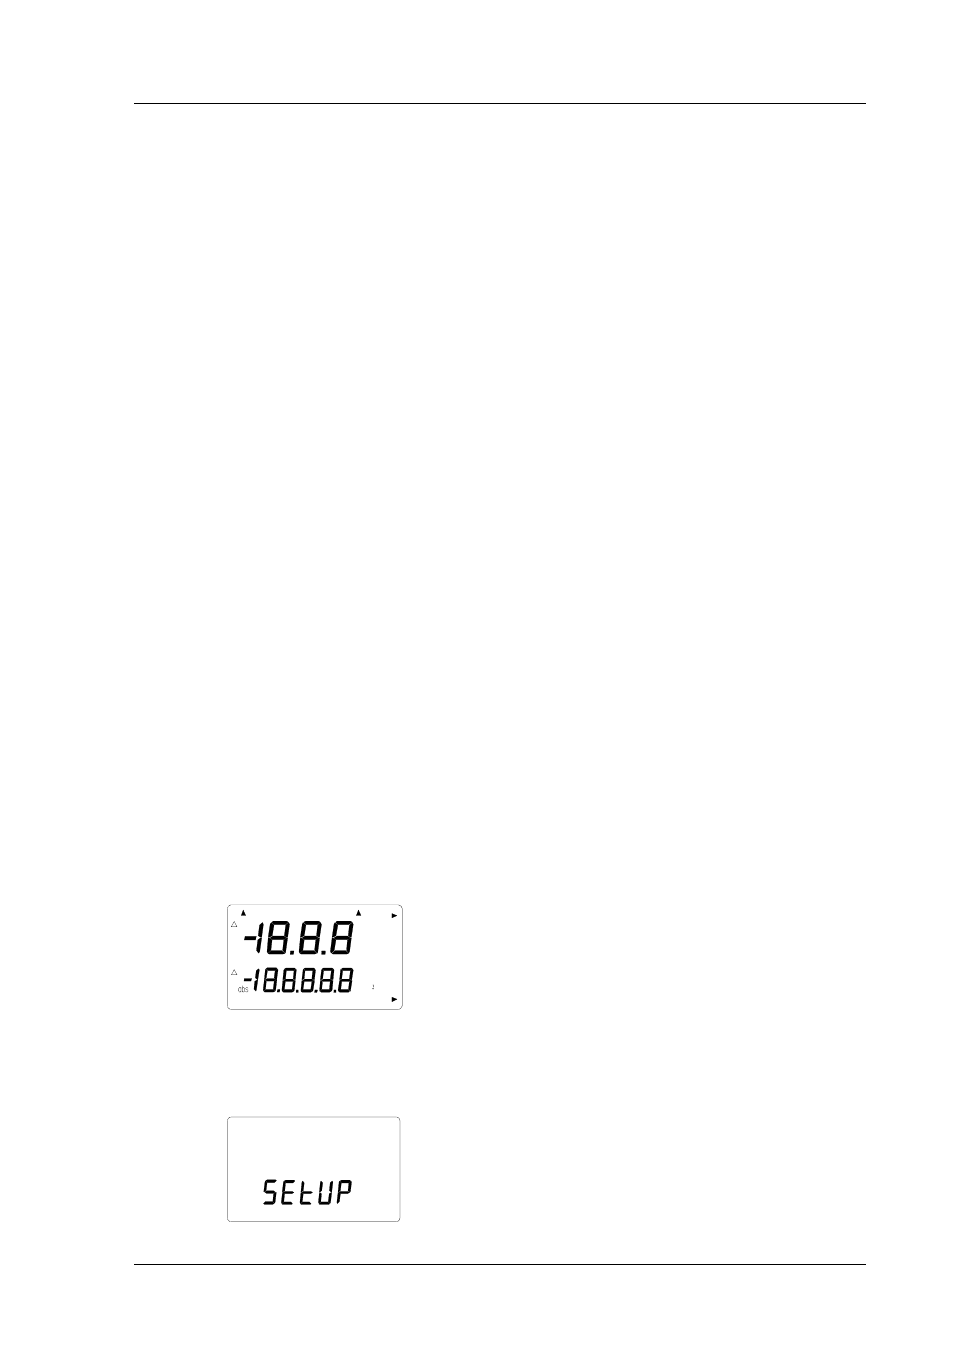
Entering the setup mode
For entering the setup mode, first press the ON/OFF button and the following
appears:
RH
set min max
hyst hold
Lo bat Hi
P
Pa
h
g/m
T
Td
°C °F
°C °F
%
Then release the ON/OFF button and within 1 - 2 seconds press simultane-
ously both ENTER and MODE buttons until the following text appears on the
display: