Ridetech 11020199 User Manual
Page 11
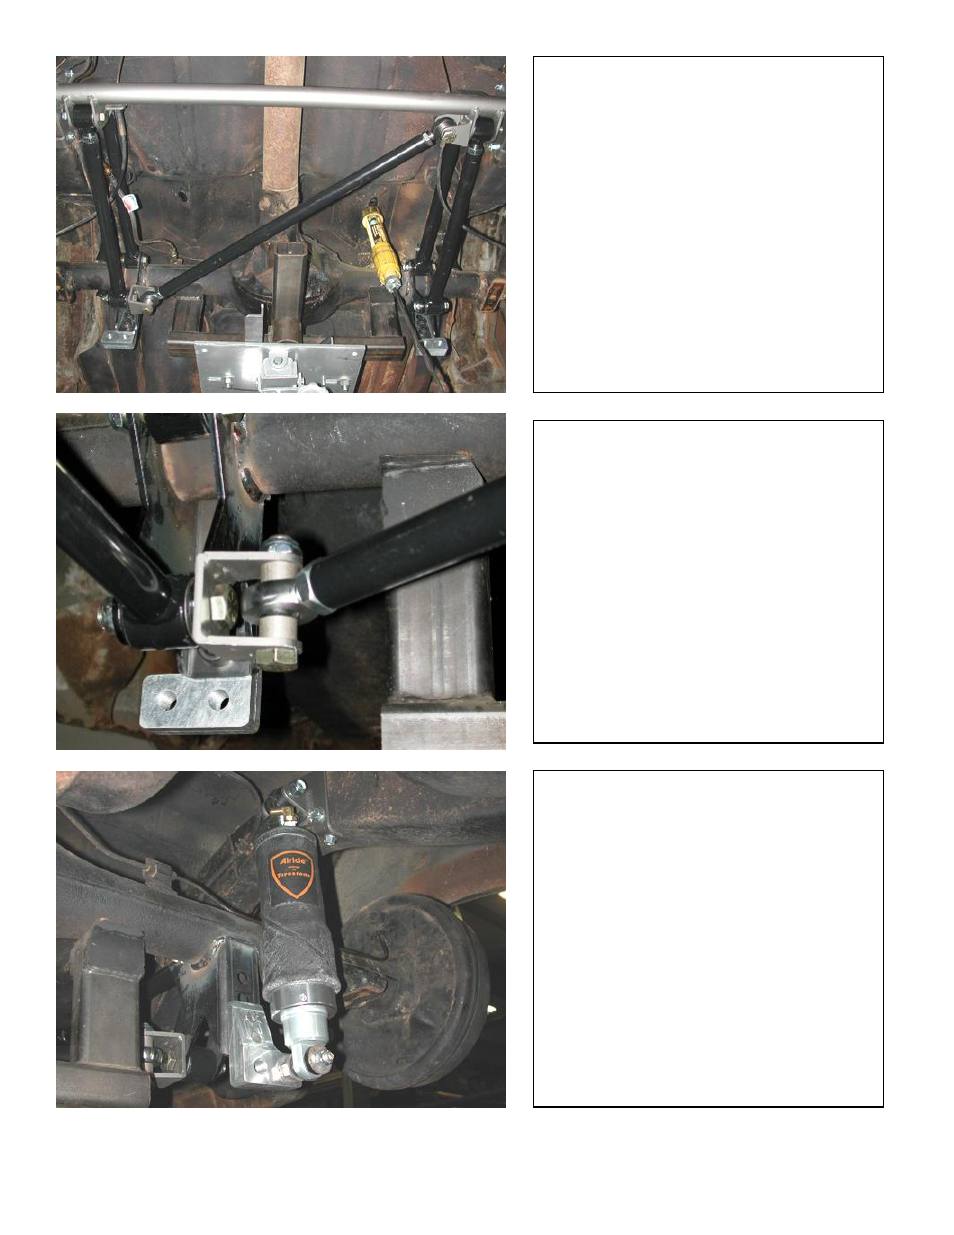
17. Bolt the lower Shockwave mount
to the axle bracket using the 5/8” x 3/4”
Allen bolt. Apply anti-seize to the
threads. It is easier to remove the bars
to install these bolts.
18. There is a driver and passenger
side bracket, the correct bracket will
offset the Shockwave toward the
wheel.
19. Bolt the diagonal link into place
with a spacer on both sides of it using
a 5/8” x 2 3/4” bolt and nyloc. It should
measure 30 1/4" C-C.
20. Install the parking brake cable into
the new tab on the cross member.
21. With the axle at ride height snug
all the 4 link bolts. These bushings are
rubber and do not require lubrication.
22. Apply thread sealant onto the air
fitting and screw it into the top of the
shockwave. Air fitting location can be
moved by rotating the bellow assembly
seprate from the shock.
23. Screw the stud into the lower billet
mount. Place the washer over the stud
then the Shockwave followed by
another washer. Apply anti-seize to
the threads and then nyloc nut.
24. The Shockwave/CoilOver is held
to the upper mount using a 1/2" x 2
1/4" bolt and nyloc.