Knobs & levers – ididit Right Hand Drive & Collapsible Steering Column: RHD 1965-66 Mustang User Manual
Page 7
6.
At this point, a helper would make things much easier. With one hand
in the middle of the column and one at the top, slide the column be-
tween the pedals and through the hole in the firewall.
Engage the
coupler onto the gear box. Set the column up into the original dash
mount and loosely install the original bolts into the original clamp. The
tab on the dash mount should be toward the firewall and engaged into
the slot in the bottom side of the tube on the steering column. De-
pending on its condition, you may want to replace the rubber in the
dash mount. (We have found that a great substitute is the rubber from
a bicycle inner tube you may have laying around.)
Now, if everything is positioned well, you can go back and tighten ev-
erything up. Start with the dash mount and tighten original two bolts
to 108 – 156 inch lbs*. Next, tighten up the coupler set screw and lock-
ing nut to manufacturer’s specs. Lastly, remove the tape holding the
floor mount to the column. Using the 3 sheet metal screws, secure the
floor mount and gasket to the firewall. Then tighten the floor mount
clamp onto the mount tabs and column to 50 inch lbs*.
*
(not foot pounds)
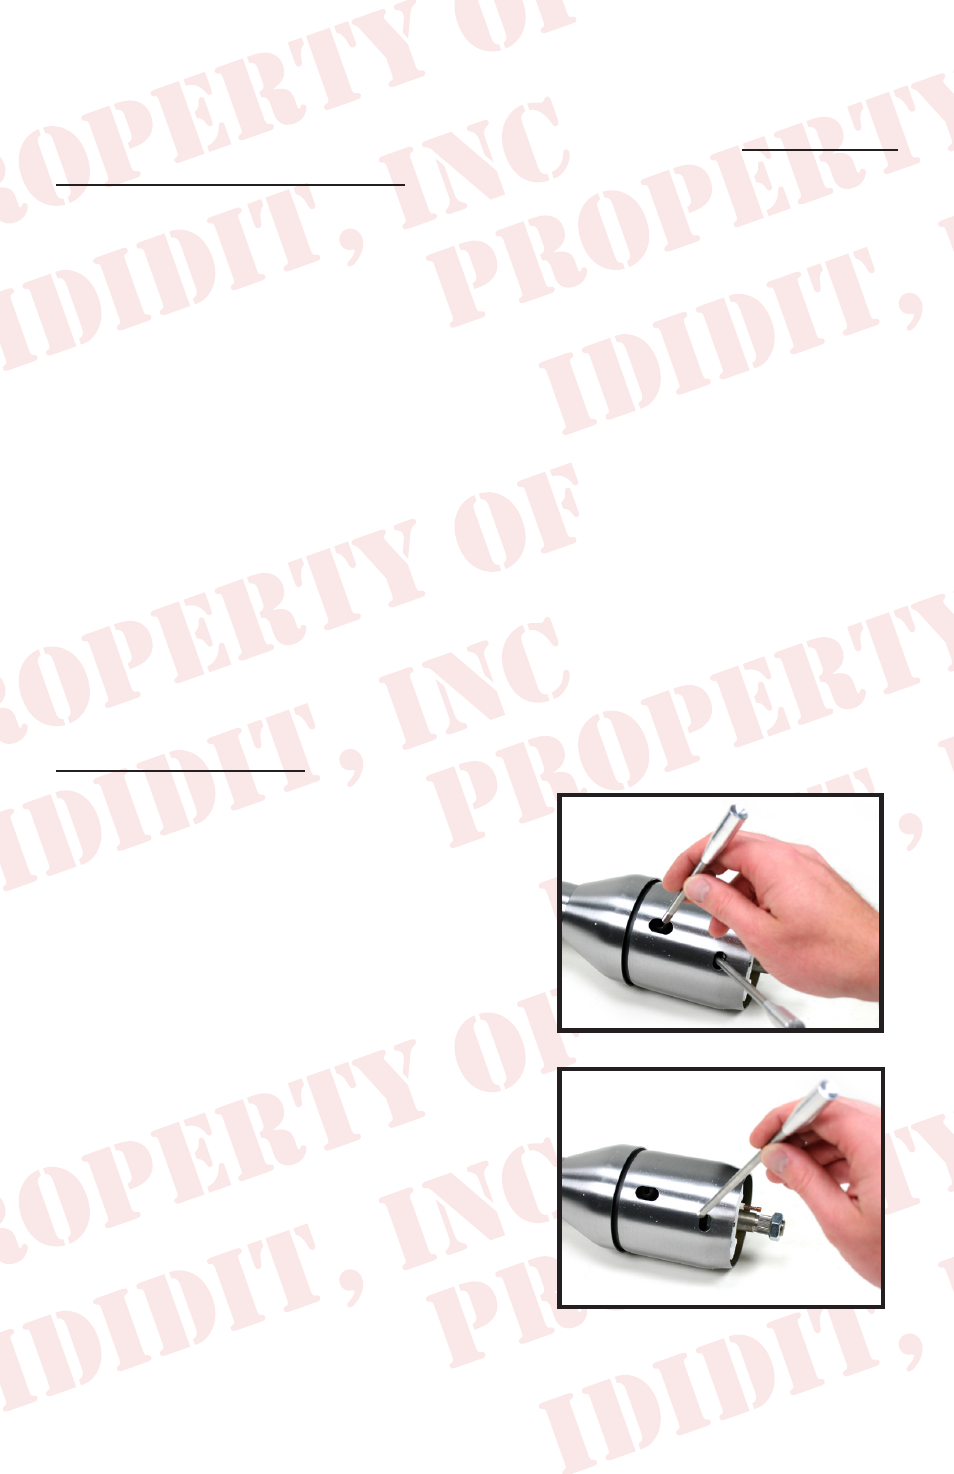
After removing all items from the
package, assemble the knobs onto the
levers. The tilt lever (shorter of the two
levers) goes on the right side of the column
in the hole closest to the dash. The column
has a threaded hole that this lever threads
into. (Figure 9)
The turn signal lever (longer of the two
levers) goes on the right side of the column
in the hole closest to the driver. The column
has a threaded hole that this lever threads
into. (Figure 10)
Knobs & Levers:
(Figure 9)
(Figure 10)