Removal of oem column – ididit Retrofit Steering Column: 1978-79 Ford Truck User Manual
Page 3
REMOVAL of OEM Column:
Disconnect positive battery cable.
1
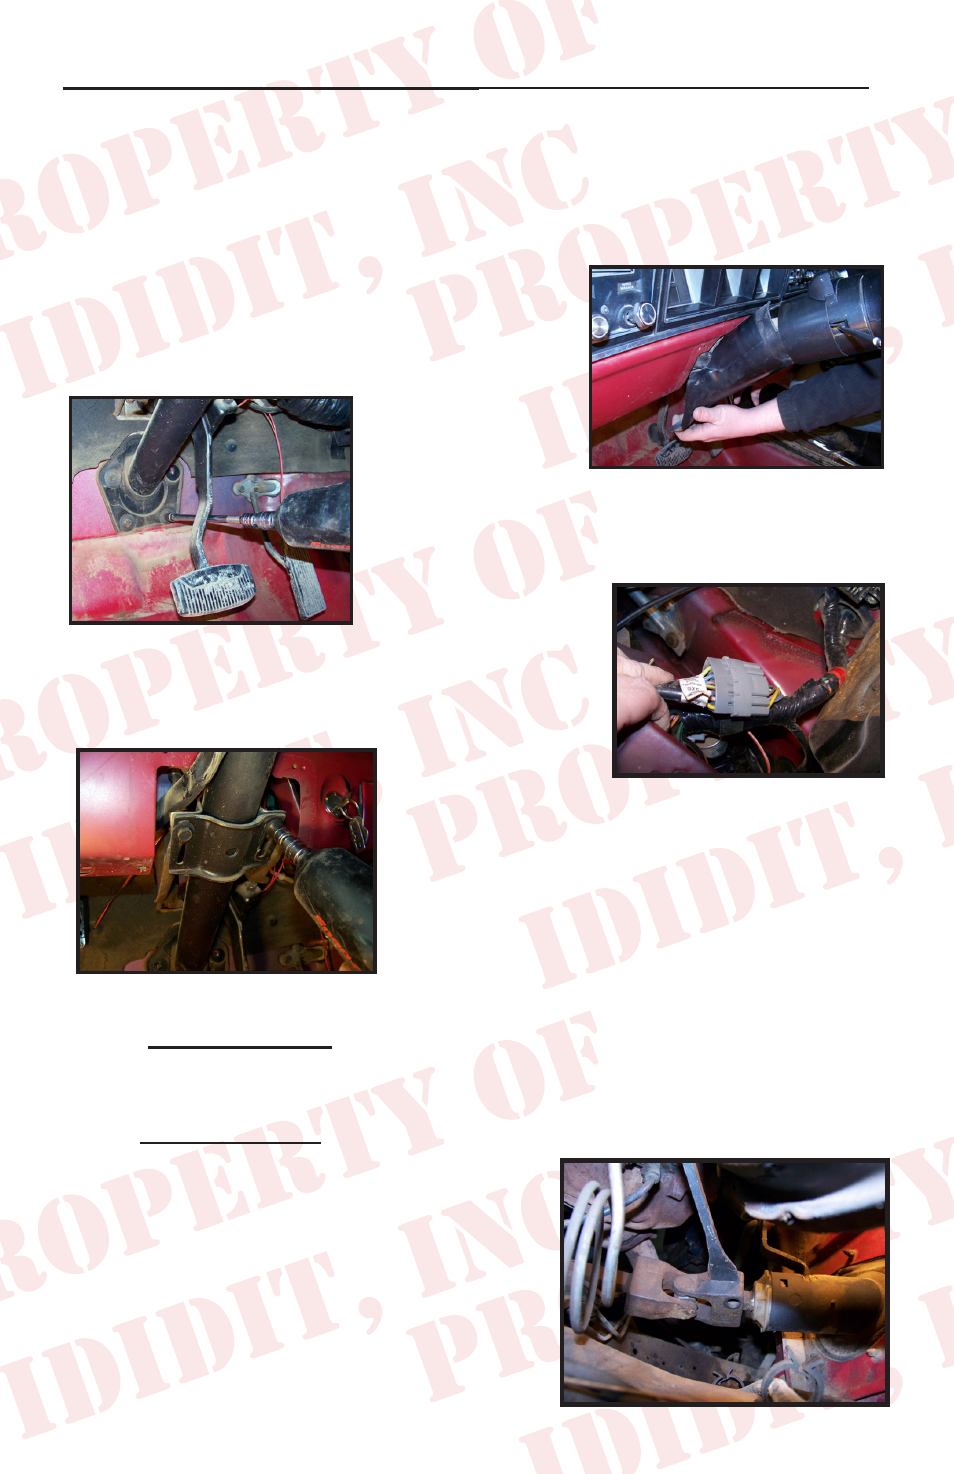
2.) Remove the 4 screws on the dash trim
piece. Carefully remove trim cover. This
part will be re-used.
3.) Remove bolts from the firewall mount
and slide the mount up column.
4.) Disconnect the wire plug from the dash
to the column.
Note: Be very
careful with the release tabs on the plug be-
cause of their age they are typically quite
fragile.
5.) Remove the
2 bolts from the
dash mount, but remember the column
will drop when the last bolt is removed.
We recommend that this is done while sit-
ting in the vehicle. You could use your
knees to support the steering wheel while
removing the bolts.
6.) A. 2 Wheel Drive: Keep the column in line with the dash bracket
and give a quick tug toward you and the column should pull out from
the rag joint.
B. 4 Wheel Drive: Once the column is loose from the dash exit the
vehicle and set the column/wheel on
the seat. Go to the engine side of the
firewall and use a large regular screw
driver or small chisel and drive, twist or
hammer the u-joint open. Then pull the
column out of the joint. This u-joint will
come off, but it may not be easy to re-
move it.
Please note: This installation may vary if you have a 2 or 4 wheel
drive truck. 2 Wheel drive trucks will have a Rag Joint and 4 wheel
drive trucks will have a u-joint.
1.) Remove the pinch bolt from either one of the joints.