Adjusting the resolution – HP Officejet 300 All-in-One Printer User Manual
Page 54
Resolution
Adjusting the Resolution
As the Resolution setting affects the quality of outgoing faxes, the
Resolution setting must be changed before faxing or copying. You
can change the settings (1) by using the HP OfficeJet Manager
described in chapter 1, or (2) by using the front panel and following
the procedure below.
To change the resolution (sharpness) of outgoing faxes, select one of
these options:
N
Standard for text only faxes (no photographs or graphic
illustrations), or when the transmission speed is more important
than quality.
N
Fine to make text and line drawings as sharp as possible. It may
take longer to send a fax.
N
Photo to capture images containing different shades of gray or
color (such as photographs). This selection causes documents to
be scanned as halftone images.
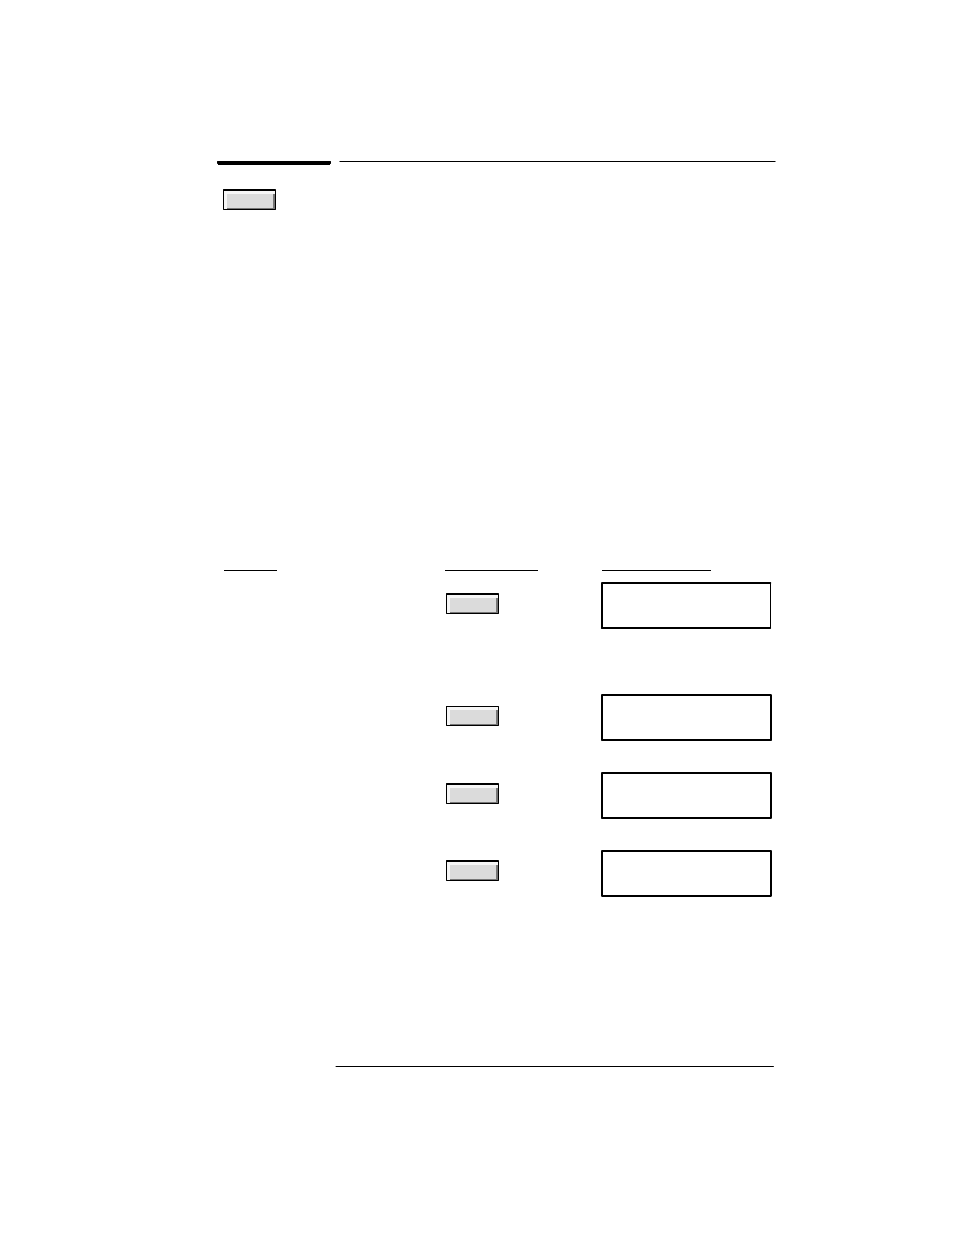
Do this:
Using
these buttons:
For this display:
1. Press the
Resolution
button
once to display the current
resolution setting, which is
marked with an asterisk (*).
(The example shown is
"Standard.")
Resolution
RESOLUTION
Standard
*
2. Press
Resolution
multiple
times until the setting you
want is displayed. (The
example shown is "Photo.")
Resolution
RESOLUTION
Photo
3. Press
Enter/Save
to select the
setting you displayed. Note
that an asterisk denotes your
new selection.
Resolution
RESOLUTION
Photo
*
4. Press
Enter/Save
to return to
the Ready display.
Enter/Save
Ready
Auto
Apr-23-96 10:30 AM