Print photos with a border – HP Deskjet D1550 Printer User Manual
Page 20
5. If necessary, change the
HP Real Life Technologies photo fix
setting.
6. Select any other print settings that you want, and then click OK.
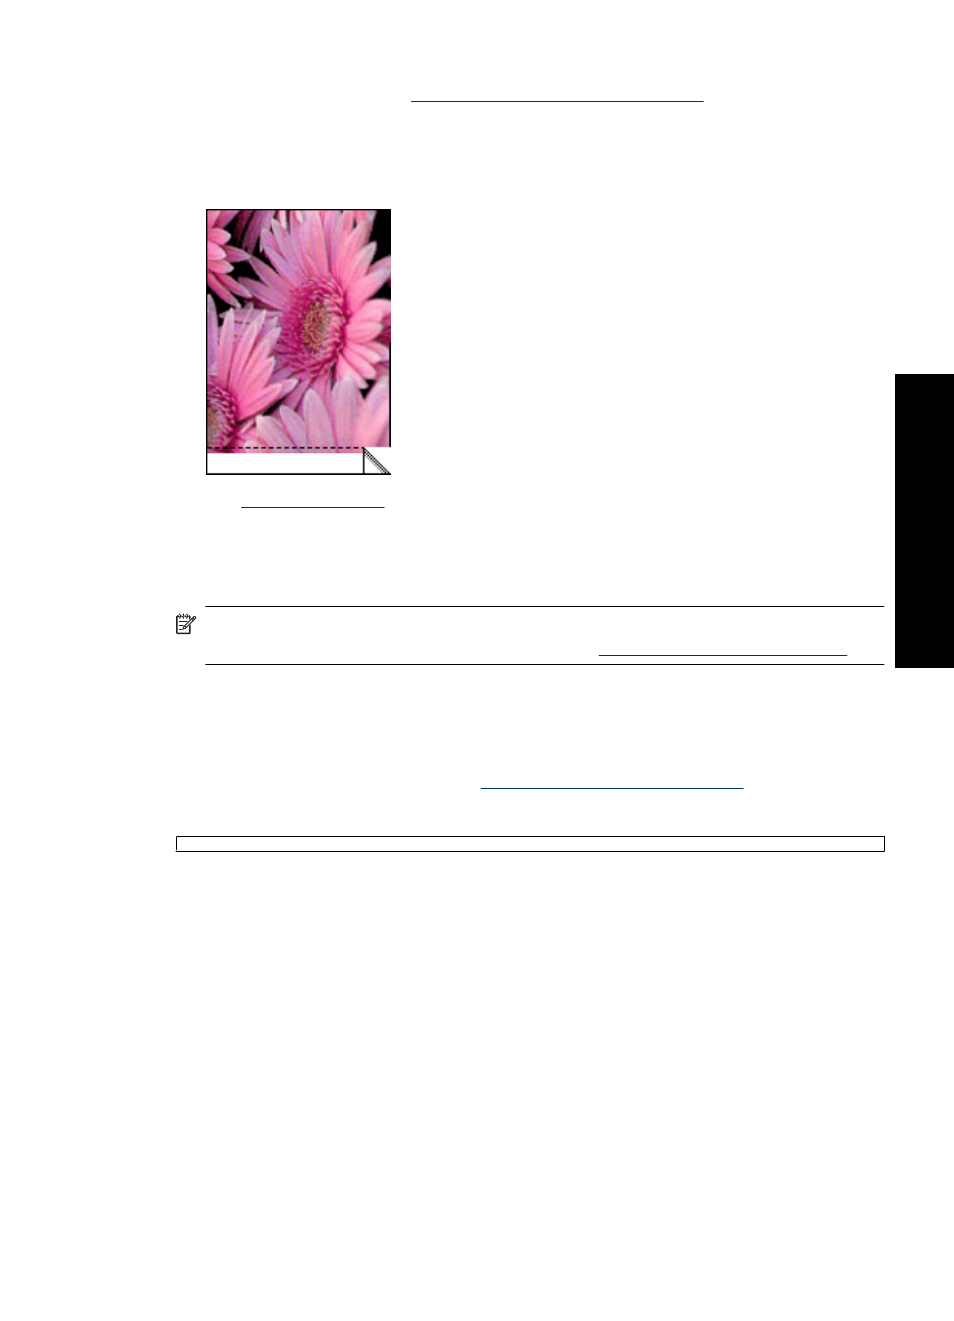
If you printed on photo paper with a tear-off tab, remove the tab to make the document
completely borderless.
Use the
to learn about the features that appear in the Printer Properties
dialog box.
Print photos with a border
NOTE:
If you are using the product with a Windows 2000 computer, some features
may not be available. For more information, see
.
Guidelines
•
For maximum fade resistance, use HP Premium Plus Photo Paper.
•
Verify that the photo paper that you are using is flat. For information about preventing
photo paper from curling, see the
photo paper storage instructions
•
Do not exceed the paper tray capacity: 15 sheets of photo paper.
Prepare to print
1. Slide the paper guide all the way to the left.
2. Verify that the photo paper is flat.
3. Place the photo paper in the right side of the tray. The side to be printed on should
face down and the short edge should point towards the printer.
Print photos with a border
17
Print phot
os