Installing the fbwc module and capacitor pack – HP ProLiant SL250s Gen8 Server User Manual
Page 52
Hardware options installation 52
CAUTION:
After the server is powered down, wait 15 seconds and then check the amber LED
before unplugging the cable from the cache module. If the amber LED blinks after 15 seconds, do
not remove the cable from the cache module. The cache module is backing up data, and data is
lost if the cable is detached.
IMPORTANT:
The battery pack might have a low charge when installed. In this case, a POST
error message is displayed when the server is powered up, indicating that the battery pack is
temporarily disabled. No action is necessary on your part. The internal circuitry automatically
recharges the batteries and enables the battery pack. This process might take up to four hours.
During this time, the cache module functions properly, but without the performance advantage of
the battery pack.
NOTE:
The data protection and the time limit also apply if a power outage occurs. When power
is restored to the system, an initialization process writes the preserved data to the hard drives.
Installing the FBWC module and capacitor pack
CAUTION:
In systems that use external data storage, be sure that the server is the first unit to be
powered down and the last to be powered back up. Taking this precaution ensures that the system
does not erroneously mark the drives as failed when the server is powered up.
1.
Power down the server (on page
2.
Disconnect all peripheral cables from the server.
3.
Remove the server from the chassis (on page
4.
Remove the SFF hot-plug drive cage ("
Removing the SFF hot-plug drive cage
" on page
5.
Remove the front GPU cage (on page
6.
Remove the interposer board (on page
7.
Remove the front GPU bracket (on page
8.
Remove the PCI riser cage (on page
9.
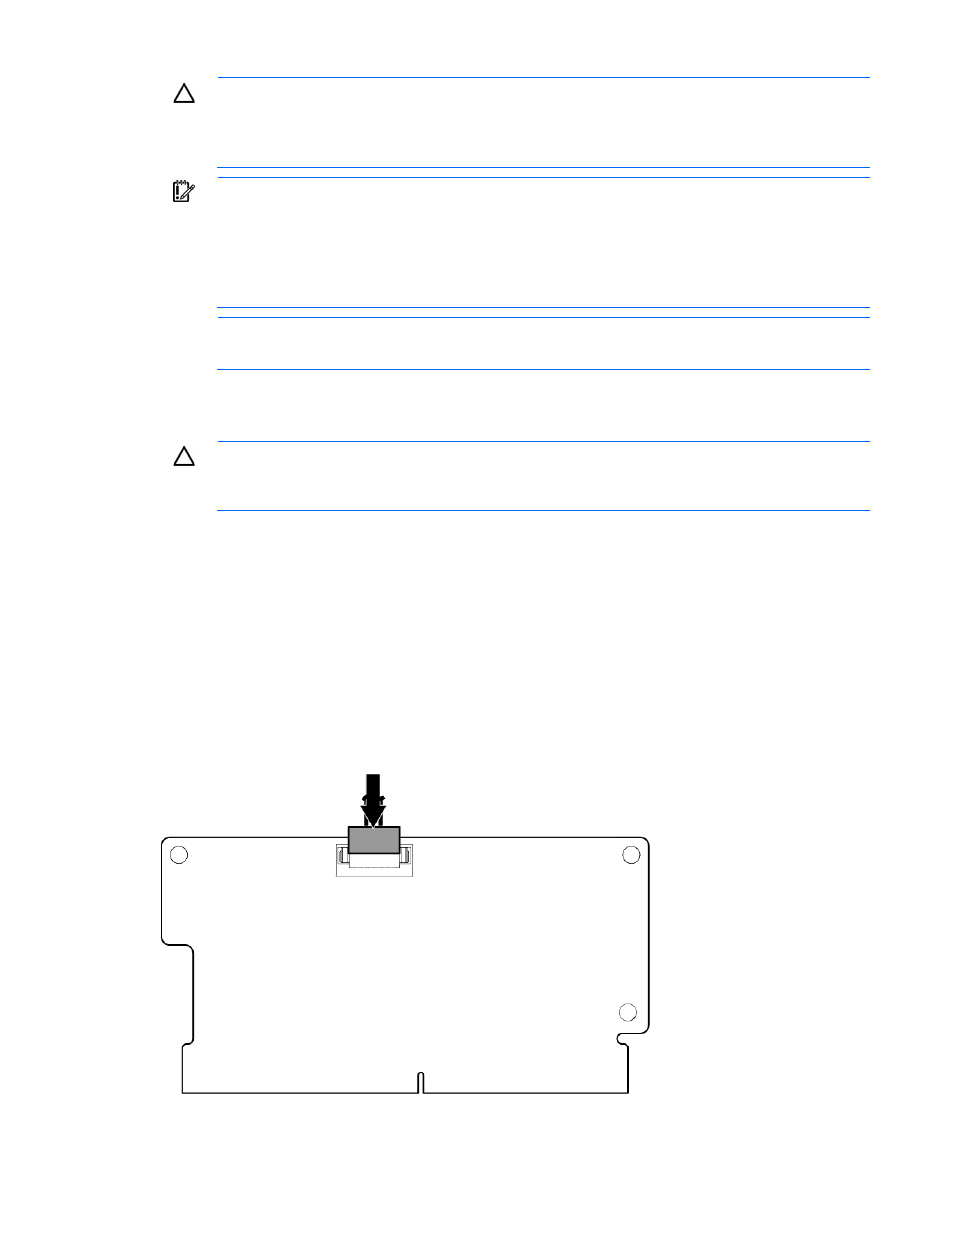
Connect the FBWC capacitor pack cable to the cache module.