About maps, Add an alarm – Milestone XProtect Go 2014 User Manual
Page 184
Milestone XProtect
®
Go 2014
Administrator's Manual
www.milestonesys.com
184
Advanced configuration
About maps
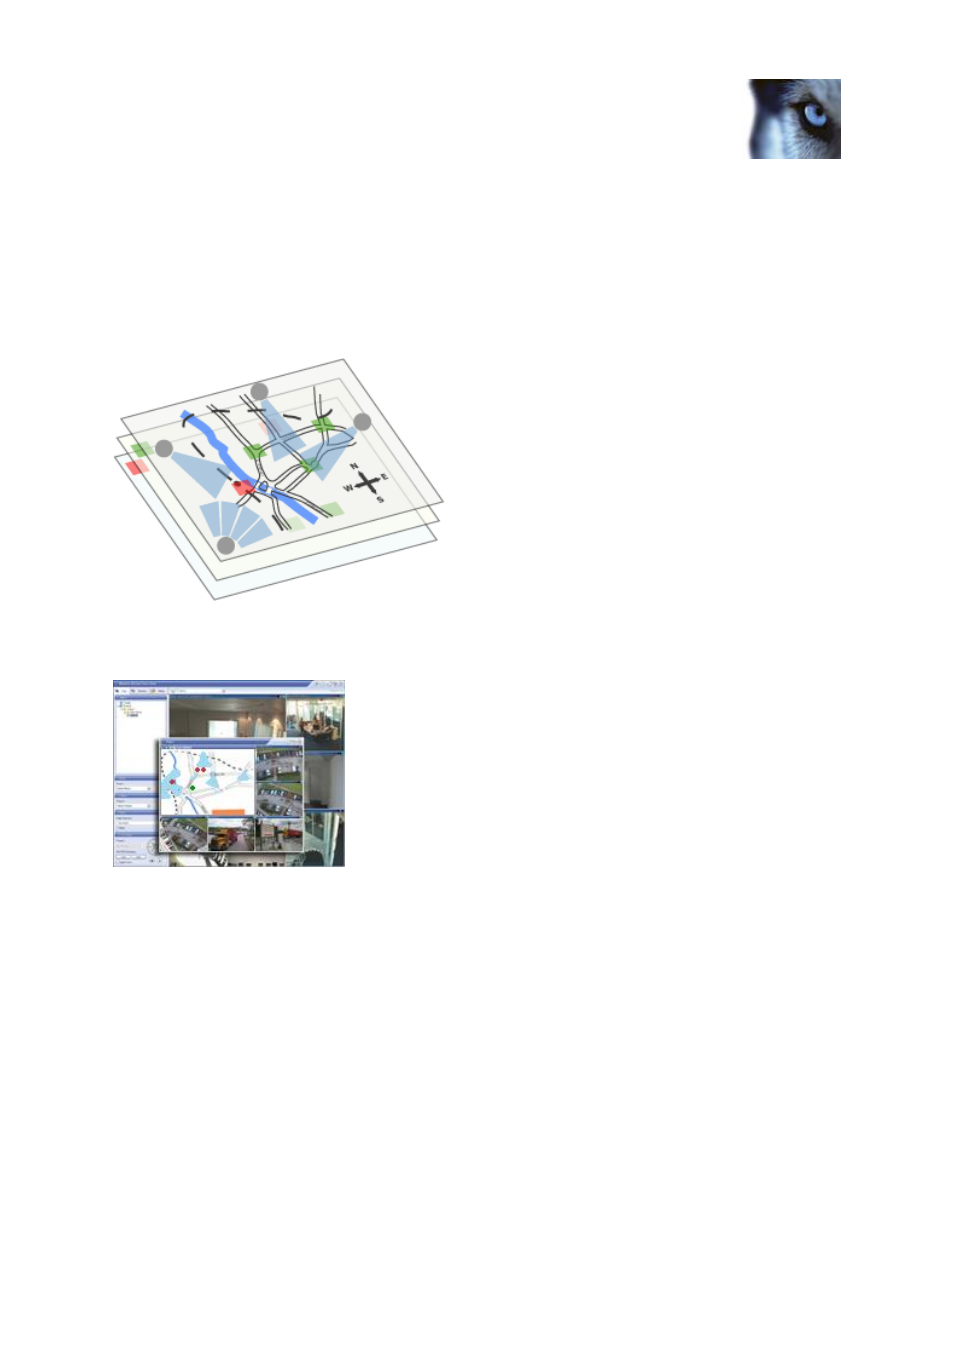
With maps as an integrated part of alarms, you get a physical overview of your surveillance system:
with the possibility to assign cameras to a map, you can always tell where alarms originate, which
cameras are placed where, and in what direction are they pointing. Also, you can use maps to
navigate from large perspectives to detailed perspectives, and vice versa: for example, a state map
can have hot zones (small icons on the map) that point to more detailed maps of cities,
neighborhoods, streets, floor plans, and so on.
Example: Hierarchy of maps
All user-interaction with maps, including adding and maintaining maps, takes place in XProtect Smart
Client. For detailed information, see the XProtect Smart Client documentation.
Example: Map in XProtect Smart Client
In order to use maps, the Event Server service must be running. The Event Server service is
automatically included if you run a Typical installation of your surveillance server installation (see
"Install your system software" on page 28).
Add an alarm
For a detailed overview of Alarms and how the feature works, see About alarms (on page 182).
To add/configure an alarm, do the following:
1. Expand Alarms, right-click Alarm Definition and select Create New.
2. Specify required properties (see "Alarms definition" on page 185). Click OK.
3. Save your configuration changes by clicking Save in the yellow notification bar in the upper-
right corner of the Management Application.