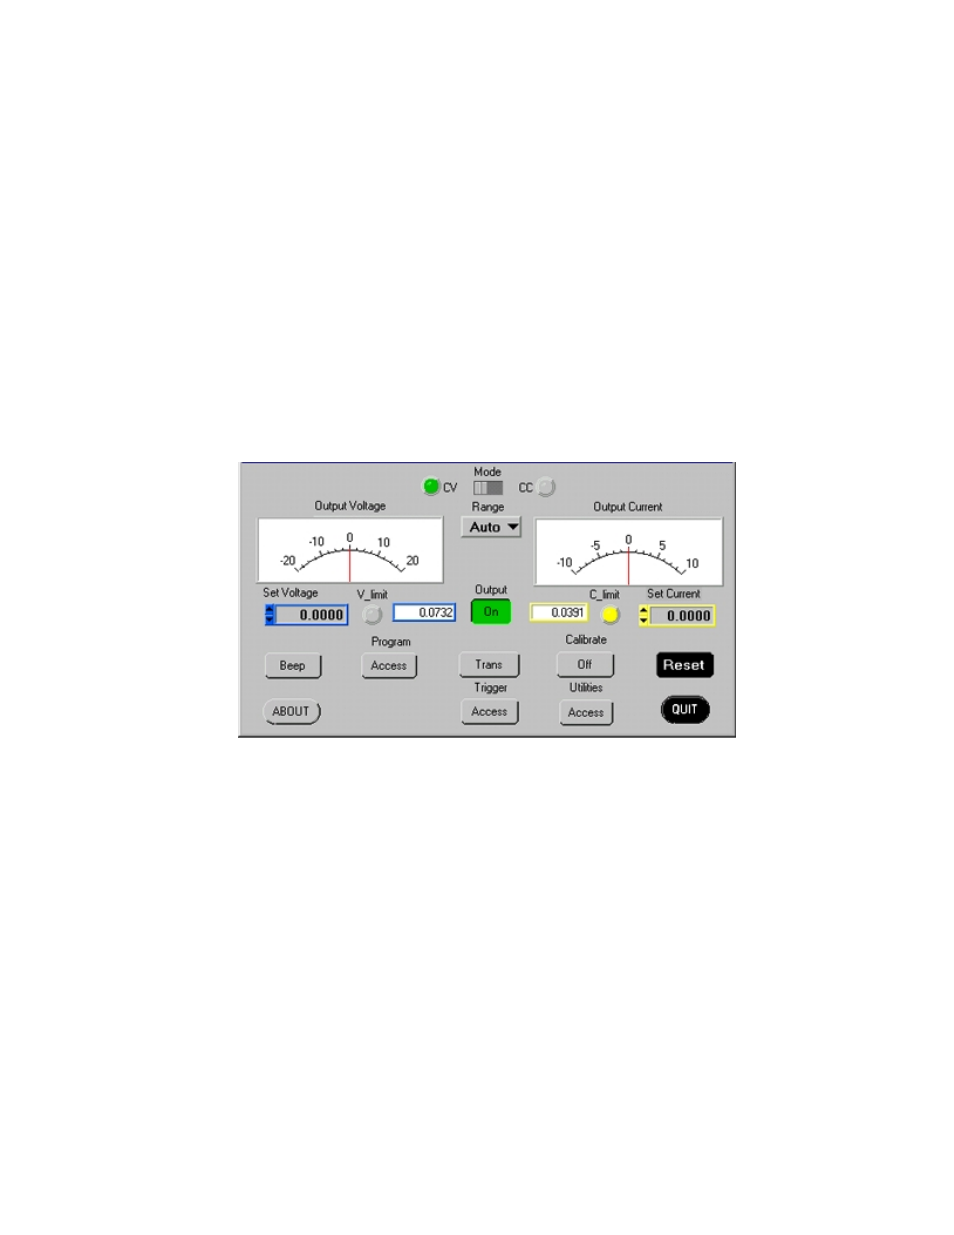
1 calibration using the visa driver soft panel, Figure 3-3. main panel, 1 calibration basics – KEPCO KIT 219-0452, BIT 4886 Firmware Upgrade for BOP 100-1M-4886-25968 User Manual
Page 5
021704
228-1481 REV 3
5
KEPCO, INC. " 131-38 SANFORD AVENUE " FLUSHING, NY. 11352 U.S.A. " TEL (718) 461-7000 " FAX (718) 767-1102
http://www.kepcopower.com " email: [email protected]
3.3
CALIBRATION OF BIT 4886 INTERFACE CARD USING THE VISA DRIVER SOFT PANEL
Calibration of the BIT 4886 card installed in the BOP 100-2DM-4886-25698 is performed using SCPI com-
mands implemented through the Instrument driver. The driver provides a graphical interface with informa-
tional displays and prompts which lead you through the calibration of the BIT 4886 card. This VISA
compliant driver works with many GPIB cards from suppliers like National Instruments and Hewlett-Pack-
ard.
NOTE: PC-12 connector (See Figure 1) must be installed for BOP to function.
3.3.1
CALIBRATION USING THE VISA DRIVER SOFT PANEL
The following calibration procedure uses the “soft” front panel which is part of the CVI driver for the BIT
4886, Model 25968 which can be downloaded from the Kepco website at:
www.kepcopower.com/all_bop.zip:
Unzip the files and doubleclick on setup.exe to install the driver. The bit_mdac folder will be added to the
Start - Programs folder. Doubleclick bit_mdac.exe to run the program, and refer to the visamdac.pdf in the
bit_mdac folder for details about using the soft front panel.
FIGURE 3-3. MAIN PANEL
3.3.1.1
CALIBRATION BASICS
CAUTION: Before performing calibration, set BOP OUTPUT to OFF and connect short across BOP out-
put, then set OUTPUT to ON and Voltage to 10V. It is necessary to wait 10 minutes before
calibrating the unit to allow for thermal stabilization. After 10 minutes, set OUTPUT to
OFF and remove short from BOP output, then proceed with calibration.
All adjustments are done using the six arrow buttons of the Calibration Panel (see Figure 3-4 and Table 3-
1). The double arrow buttons
!
and
"
either increase (
"
) or decrease (
!
) the output five steps at a
time; the ! and " buttons either increase (") or decrease (!) the output one step at a time. The triple
arrow buttons <<<— and —>>> either increase (—>>>) or decrease (<<<—) the output 80 steps at a time
The
!
,
"
, !, and " buttons only work within the 80-step window established by <<<— and —>>>.
For MAX and MIN Calibrations fine adjustment is done using the
!
,
"
, !, and " buttons. If the value
can not be set within the specified tolerance using the fine adjustment, use the coarse adjustment to
increase (—>>>) or decrease (<<<—) the output. as needed, then use the fine adjust buttons to set the
value within tolerance.Where large adjustment is necessary, <<<— and —>>> can be used first to bring the
output close before using the
!
,
"
, !, and " buttons.