Dipswitch settings, Program menu protection, Figure 13 screen utilities – Detcon 1600-N1P-RD User Manual
Page 14: 0 program menu protection, 5 dipswitch settings
1600/6400-N1P-RD
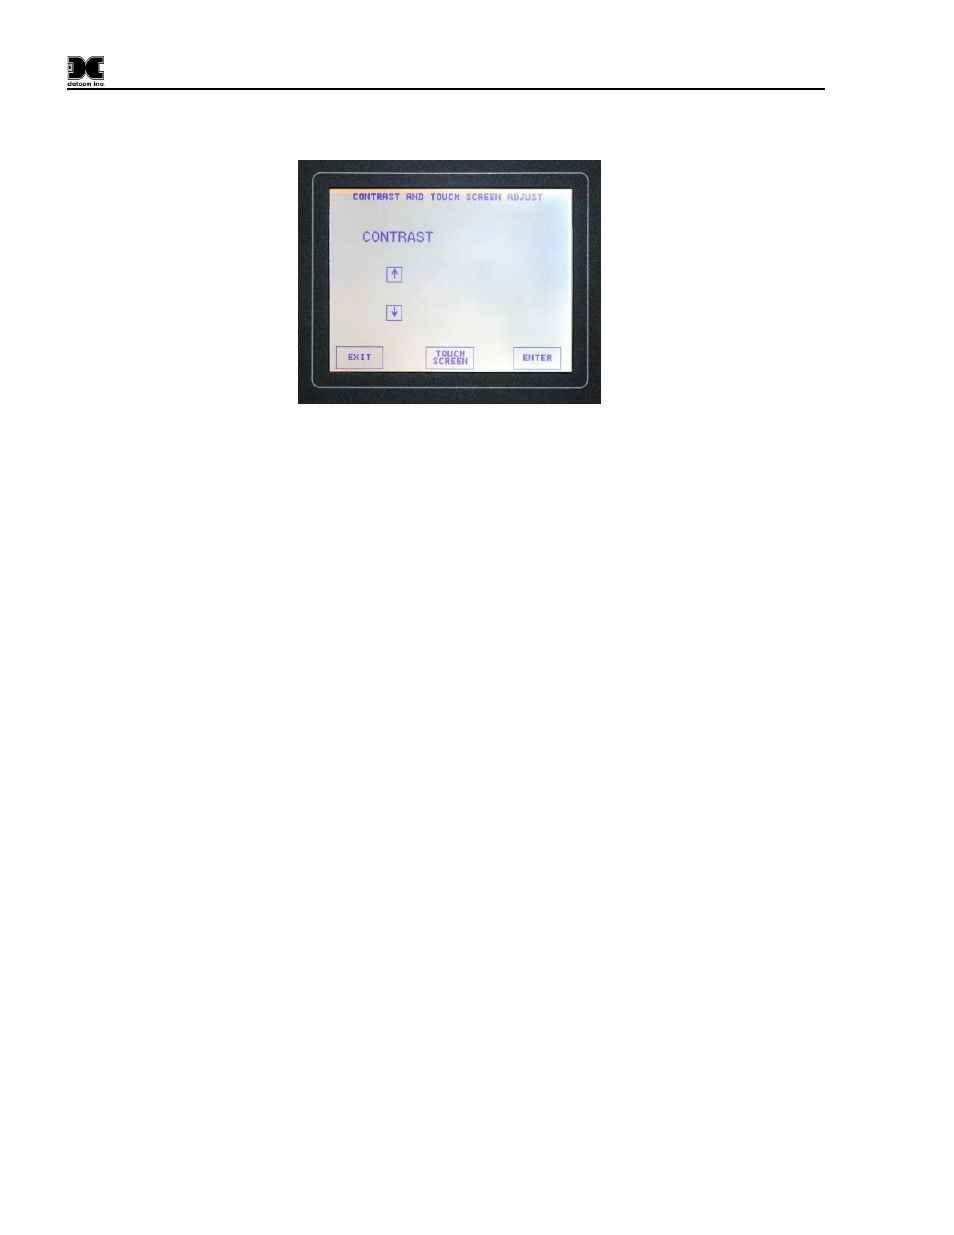
the screen contrast using the up and down arrows. When the screen contrast is satisfactory, press the ‘ENTER’
key to save the settings.
Figure 13 Screen Utilities
To adjust the calibration of the touch screen key alignment, press the ‘TOUCH SCREEN’ key. The controller
will take the user through a series of prompts to execute calibration. Touch the center of each target for best
results. When calibration is complete press the ‘OK’ key and then press the ‘ENTER’ key to save the settings.
The Touch Screen can be set up to have the backlight on continuously by placing dipswitch 6 in the ‘OFF’
position (Refer to Figure 13). The unit must be reset to acknowledge any changes in the dipswitch settings.
Note that having the backlight on continuously will shorten the life expectancy of the Touch Screen Display.
5.5 Dipswitch
Settings
The dipswitches are located on the back of the Controller PCB (Figure 15).
1.
ON = Program Menu Access ON, OFF = Program Menu Access OFF
2.
ON = Non-Latching for No Comm Relay, OFF = Latching for No Comm Relay
3.
Reserved (Leave in ON position)
4.
ON = Disable Secondary RS-485 Port, OFF = Enable Secondary RS-485 Port
5.
Reserved (Set at Factory)
6.
ON = Backlight active during operator use, OFF Backlight on at all times
7.
Reserved (Set at Factory)
8.
ON = Enable pushbutton Reset, OFF = Disable pushbutton Reset
6.0 Program Menu Protection
A simple form of Program Menu protection is provided to the end-user. On the backside of the controller
module there is an 8 pin dip switch bank. With dipswitch #1 set to the ON position, Program Menu protection
is disabled. In this case, full access to the Program Menu is available to anyone. To set Program Menu
protection, dipswitch #1 is placed in the OFF position. With Program Menu protection enabled, the Main
Menu screen will no longer display the Program Menu key. In its place, an Alarm History key will be shown
(Figure 14). This will allow the user to functionally operate the unit, but will not allow the user the capability
to change any important configuration parameters.
When switching between the Program Menu protected mode and unprotected mode, the user must press the
reset key on the back of the controller module to alert the controller to acknowledge the change in setting.
1600/6400-N1P-RD- Instruction Manual Rev. 1.0
Page 10 of 14