Alto-Shaam ED2-48 User Manual
Page 5
ED2 & EU2 Series Operation & Care Manual • 3
I n s t a l l a t I o n
s I t E I n s t a l l a t I o n
In order to maintain
established National
Sanitation Foundation
standards, all stationary
floor models must be
sealed to the floor with a
R.T.V. or silastic meeting
N.S.F. requirements or
have 6" (152mm)
unobstructed clearance
beneath the unit.
1. The appliance must be
installed on a stable
and level surface.
2. DO NOT install this appliance in any area where it
may be affected by any adverse conditions such as
steam, grease, dripping water, high temperatures, or
any other severely adverse conditions.
3. DO NOT install a heated display case near a cold air
source such as a freezer, air conditioning vents, or
in any area where outside air fluctuation can
affect performance.
4. This appliance must be kept free and clear of
any obstructions blocking access for maintenance
or service.
®
A number of adjustments are associated with
initial installation and start-up. It is important
that these adjustments be conducted by a
qualified service technician. Installation and
start-up adjustments are the responsibility of the
dealer or user. These adjustments include but
are not limited to thermostat calibration, door
adjustment, leveling, electrical hook-up and
installation of optional casters or legs.
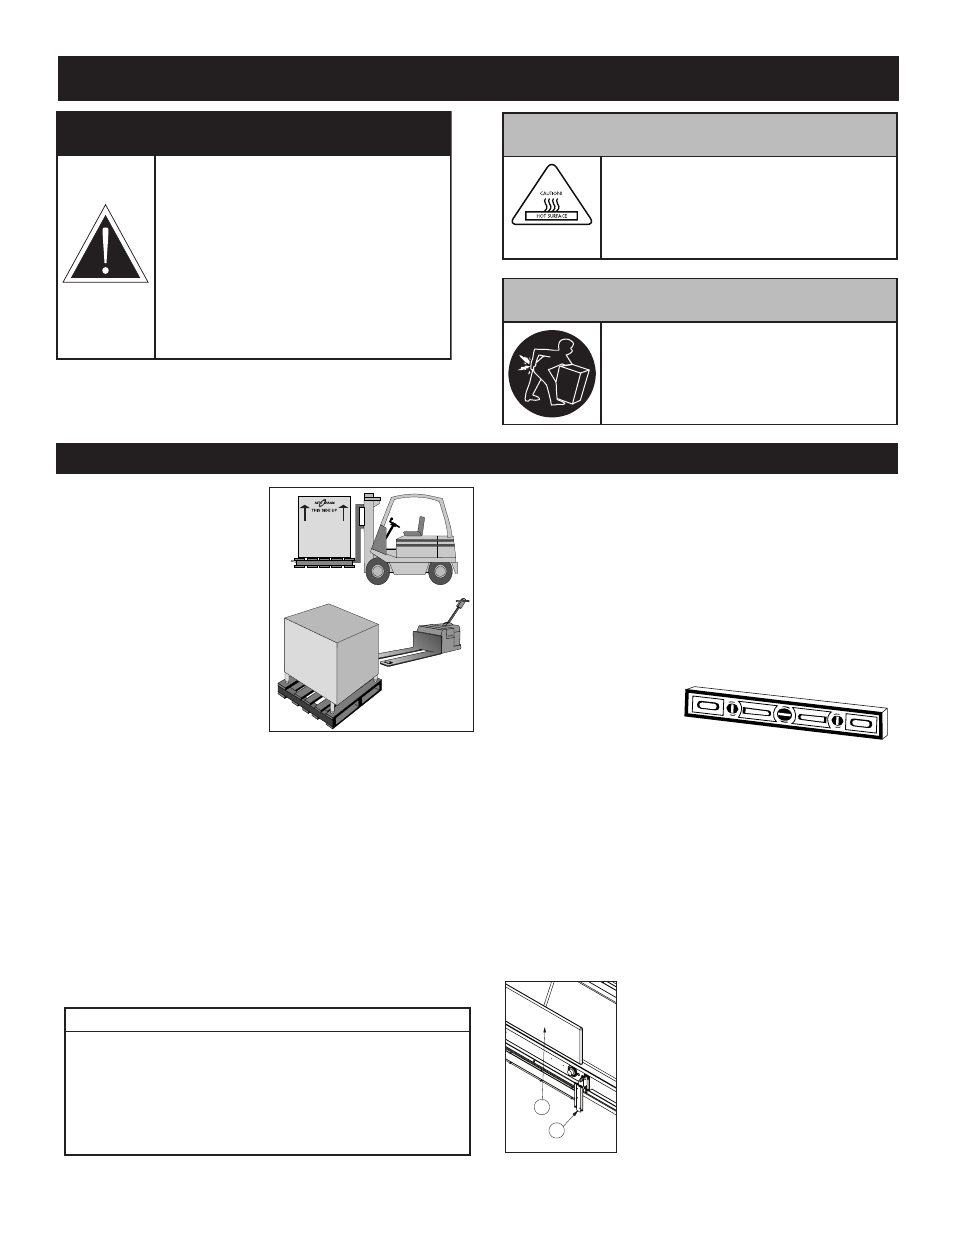
lEVElInG
Level the appliance from side-to-side
and front-to-back with the use of a spirit level.
We recommend checking the level periodically
to make certain the floor has not shifted nor the
appliance moved.
notE:
Failure to properly level this appliance
can cause improper function.
MInIMuM clEarancE rEQuIrEMEnts
Counter and table units must be mounted on legs
of a sufficient 4" (102mm) or 6” (152mm) height
depending on unit length to provide minimum
unobstructed space beneath the unit. These legs
are supplied with the unit. Warranty will become
null and void if these directions are not followed.
c a u t I o n
METAL PARTS OF THIS EQUIPMENT
BECOME EXTREMELY HOT WHEN
IN OPERATION. TO AVOID BURNS,
ALWAYS USE HAND PROTECTION
WHEN OPERATING THIS APPLIANCE.
D a n G E r
IMPROPER INSTALLATION,
ALTERATION, ADJUSTMENT,
SERVICE, OR MAINTENANCE COULD
RESULT IN SEVERE INJURY, DEATH,
OR CAUSE PROPERTY DAMAGE.
READ THE INSTALLATION,
OPERATING AND MAINTENANCE
INSTRUCTIONS THOROUGHLY
BEFORE INSTALLING OR SERVICING
THIS EQUIPMENT.
c a u t I o n
TO PREVENT PERSONAL INJURY,
USE CAUTION WHEN MOVING OR
LEVELING THIS APPLIANCE.
cutting board installation:
1. Place both brackets in the
closed (down) position.
2. Slide cutting board back
flanges down onto brackets.
3. Pivot installed board to a
horizontal position and slide
bracket down to lock in the
open position.
(
NOT
SHOWN
)
1
2