Rl1600 i, Install chemical anchors bolt atm to floor – Triton RL1600 Installation Manual User Manual
Page 20
20
rl1600 i
nstallation
M
anual
4. Place a flat washer on the anchor bolt followed by a 1/2” (13mm) nut. Do not tighten fully, allow for
leveling.
5. Repeat Steps 2 and 3 for the remaining anchor bolts.
6. Ensure the cabinet is as level as possible given the floor conditions. Use a bubble level to verify this. If
a bubble-level is not available, the cabinet can be “rocked” gently from front-to-back and side-to-side
to check the need for leveling. Add shims under the cabinet around the mounting bolts to level.
7. Use a torque wrench and 3/4” [19mm] socket to tighten each nut to a torque setting of 60 foot-pounds
(required to establish the maximum pull-out strength of the anchors). If a torque wrench is not
available, use a ratchet wrench and 3/4” [19mm] socket to tighten the nuts three full turns beyond
hand tight. Do Not overtighten.
8. Once the nuts are tightened as specified in Step 7, install a second nut on each bolt, to act as a jam
nut, and tighten down firmly.
Install Chemical Anchors
Bolt ATM to Floor
1. Move the ATM into position for mounting by aligning the base over the four holes drilled in the previous
procedure. Ensure the area is free of all debris which might cause the cabinet not to be level.
2. Begin by inserting a Chem Stud capsule into one of the mounting holes. Either end of the capsule may
be inserted first.
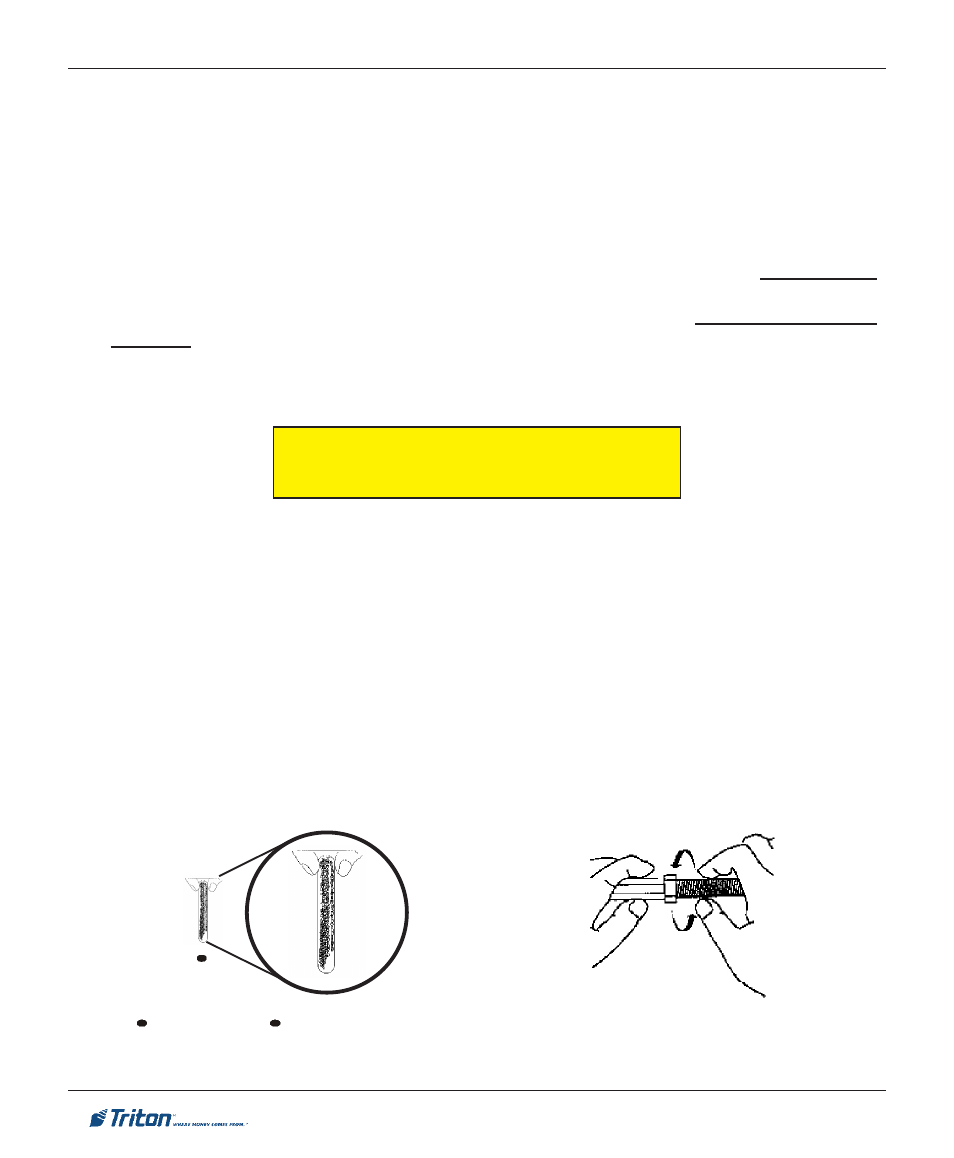
3. Place a washer and a nut (in that order) onto a chisel point rod. Thread the nut onto the rod, leaving 3
to 4 threads exposed.
4. Thread the rod coupler onto the threaded rod until it is tight against the nut. The threaded rod used
should be free of dirt, grease, oil or other foreign material.
5. Select the drive unit, insert it into a rotary hammer drill and engage the coupling to be used.
Insert Chem Stud capsule in mounting hole.
Prepare chisel point anchor rod.
Add washer and nut.