Hired-Hand RollSeal Sidewall System (Curtain): Floating Hook & Loop Assembly User Manual
Floating hook & loop assembly, Warning, Directions
HIRED-HAND, INC. • 1733 Co Rd 68 • Bremen, AL 35033 • Phone 256-287-1000 • Fax 256-287-2000
Manual Part No. 4801-5105 Rev 6-02
Tools
Required
3/8 in. power screwdriver
Tape measure
7/16 in. Wrench
5/16 in. Drive
Standard
Kits
∗
Floating Velcro Kits For Sidewall Systems
Height
Kit No.
Kit Parts
Description
Ft. cm
Qty.
Bolts
1
Qty.
Nuts
2
6421-8503
Floating Velcro Panel 14'
6450-3300
0404-8915
Floating Velcro Plate 14'
14 428 30
30
6421-8500
Floating Velcro Panel 12'
6450-3301
0404-8912
Floating Velcro Plate 12'
12 366 26
26
6421-8502
Floating Velcro Panel 8'
6450-3302
0404-8914
Floating Velcro Plate 8'
8 244 18
18
6421-8501
Floating Velcro Panel 4'
6450-3303
0404-8913
Floating Velcro Plate 4'
4 122 10
10
* Each Kit Contains 2 Floating Hook & Loop Plates, and 2 Floating Hook & Loop Panels -
One Plate & Panel For Left Trak and One Plate & Panel For Right Trak
1- Bolts are 1/4-20 x 3/4 self clinch
2- Nuts are 1/4 x 20 Hx
Directions
1. Roll up curtain to full open position.
2. Disconnect all electrical power sources.
3. Use a flat tool to carefully scrape the old Velcro strip
from the trak.
4. If necessary size the hook & loop plate and the hook
& loop panel to fit your system.
Example: Trimming a standard 12 ft.
(3.7 m) kit to fit a 10 ft. (3 m) trak.
• Measure the height of your trak. In this
example the height is 10 ft (3 m).
• Select a standard kit that is equal to your trak
height. If none of the kits matches your trak
height, choose a kit just greater in height than
the height you measured. In this example, a
12 ft. (3.7 m) system is closest to the 10 ft.
(3 m) height measured.
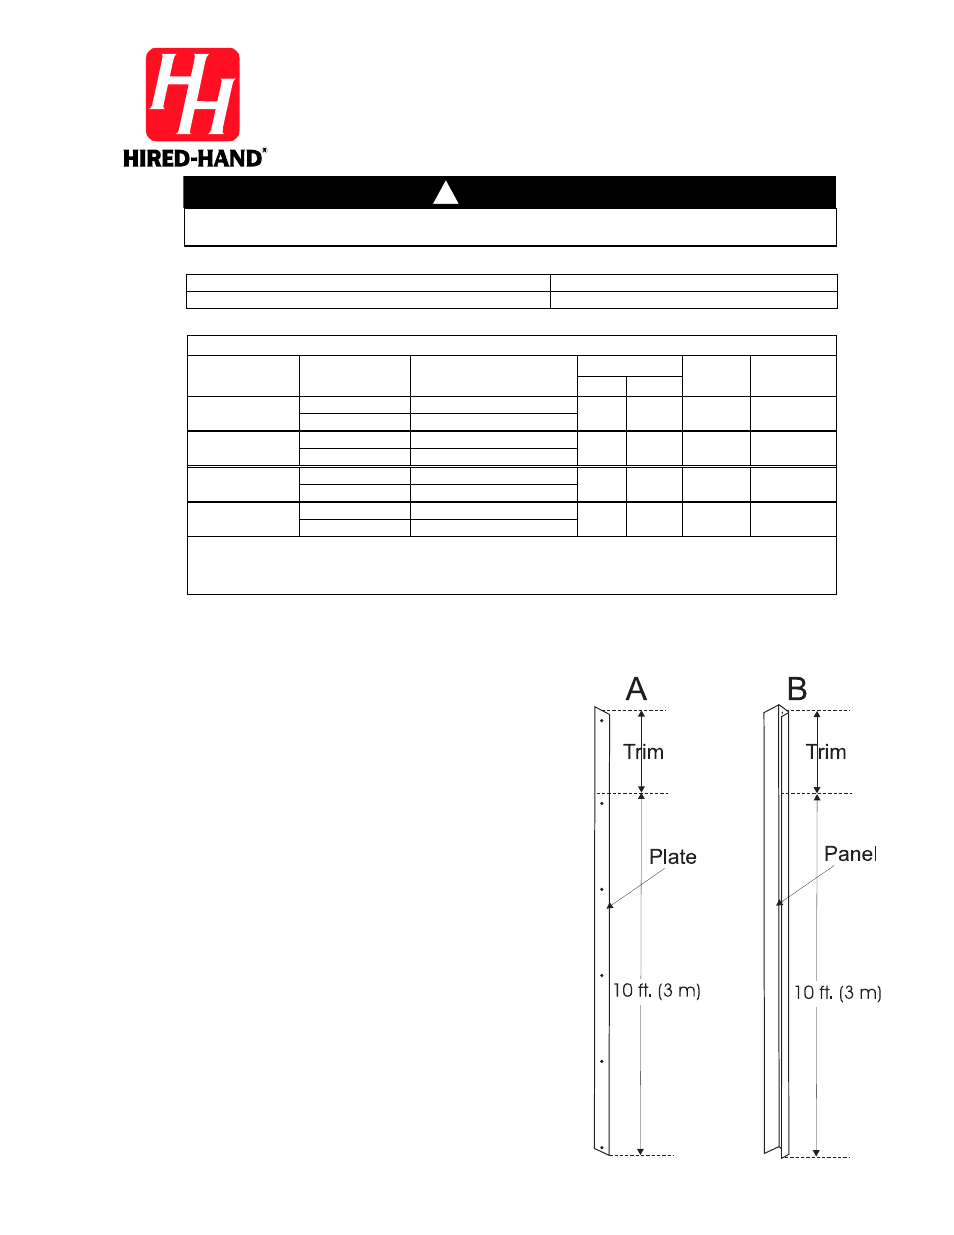
• If necessary, trim the kit to your measured
height. Measure and cut from the top only
of the floating hook & loop panel or hook
& loop plate. Trim the panel and plate to
your measured height. In this example, trim
2 ft. (0.6 m) from the top of the panel and
plate. See details A and B at right.
Floating Hook & Loop Assembly
Automated Systems
WARNING
Disconnect All Electrical Power Sources To System Before Installing Hook & Loop Assembly
←
Instructions Continued On Back
EXAMPLE: If necessary, cut plate and panel to fit trak.
In this example, parts are cut to 10 ft. (3 m) from the
standard 12 ft. (3.7 m) parts. Trim parts from top only.
!