SaltDogg SHPE2250 Series Electric Drive Poly Hopper Spreader User Manual
Page 2
2
Installation Instructions
1. Mounting the Spreader onto the Vehicle:
A. Remove the tailgate from the vehicle (if equipped) as well
as any other object which will interfere with the spreader.
B. Check truck’s bed for all kinds of sharp debris or foreign
objects. They can cut and seriously damage poly hopper.
C. Remove chute, hardware kit from inside spreader. If
spreader has been used make sure there is no material left
in the hopper.
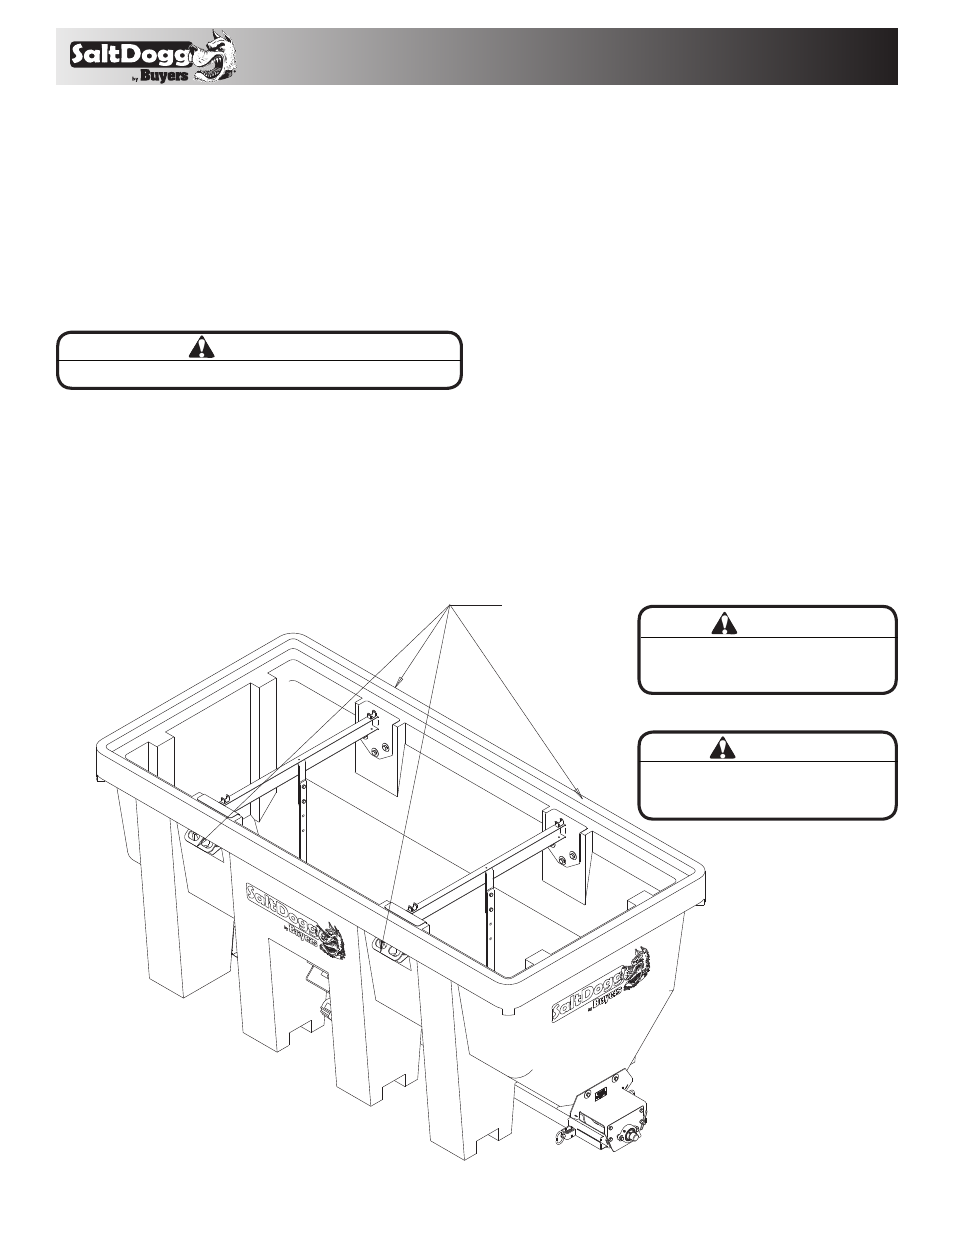
D. Lift spreader using tie downs (fig. 1), or using fork lift.
Lower spreader into the truck bed.
E. Center the spreader on the truck with the end of the auger
10” to the rear of the nearest vertical obstruction (bumper,
trailer hitch, etc).
F. Chute assembly. Slide chute guide into desired opening
until it stops against inside rear wall.
Upper opening is for flat bed and dump trucks;
Fig. 1
Lower opening is for pick-up trucks.
Rest chute on top of chute guide as shown in Fig. 2
G. Using holes in chute guide as guides, drill 4 clearance
holes for 3/8 dia. bolts. Bolt chute guide to chute as shown
in Fig. 3
H. Detent spring latches located on chute slides. Slide chute
guide into chute slides and secure chute in position by
releasing spring latches Fig. 4
I. Slide spreader forward to have at least 1”-2" clearance
between chute and rear most vertical obstruction.
J. Measure the distance from the front of the truck bed to
the front of the hoppers front legs. Fabricate spacer to fit
between front of the spreader and front of the bed using 2
x 8 boards and install it between the spreader and truck
bed front wall as shown in Fig. 5
K. In addition, secure spreader using four ratchet straps.
Tighten straps evenly.
CAUTION
Never lift spreader with material in the hopper.
USE ALL TIE-DOWS
TO LIFT SPREADER
CAUTION
Inspect straps and hardware after
each time spreader is loaded. Tighten
straps and hardware if necessary.
WARNING
Important! Do not use ratchet straps
or tailgate latch exclusively! Always
use spacer!