Steelcraft Automotive 202220 3 ROUND SIDE BAR User Manual
Steelcraft Automotive For the car
3" SIDE BARS WITH BENT ENDS
2001-2011 SILVERADO/SIERRA CREW CAB
Page 1 of 3
1/24/11 Rev1(DP)
PARTS LIST:
1 Driver/Left Side Bar
4
1/2” ID x 1-1/2" OD x 1/8" Large Flat Washers
1 Passenger/Right Side Bar
4
1/2” Lock Washers
1 Driver Side/Left Front Mounting Bracket
6
12-1.75mm x120mm x 35mm Hex Bolts Gr.
10.9
1 Passenger Side/Right Front Mounting Bracket
6 12mm ID x 32mm OD x 3mm Flat Washers
2 Center Mounting Brackets
6 12mm Lock Washers
1 Driver Side/Left Rear Mounting Bracket
2 10-1.50mm x 25mm Hex Bolts
1 Passenger Side/Right Rear Mounting Bracket
2 10mm Lock Washers
4
1/2” x 2” Hex Bolts
2 10mm ID x 27mm OD x 3mm Flat Washers
PROCEDURE:
1. REMOVE CONTENTS FROM BOX. VERIFY ALL PARTS ARE PRESENT. READ INSTRUCTIONS
CAREFULLY.
2. From underside of vehicle, remove the driver side front body mount bolt, steel washer (if equipped),
and rubber bushing, (Figure 1).
3. Select the driver side front Mounting Bracket. Insert the factory body mount bolt through the Mounting
Bracket and into the steel washer, (if equipped), and rubber bushing. Hang the Mounting Bracket in
position by partially threading the factory body mount bolt up into place, (Figure 2). Repeat this step for
the Center Mounting Bracket, (Figure 3), and the Rear Mounting Bracket, (Figure 4). NOTE: Longer
12mm x 120mm Hex Bolts, 12mm Lock Washers and 12mm x 32mm OD Flat Washers have been
provided to replace the factory body bolts. Use only if necessary. Snug but do not tighten hardware at
this time.
VERY IMPORTANT! There are several different designs, (depending on model year), for the
factory steel body mount bracket, (Figure 1). If necessary, the Front and Rear Mounting
Brackets can be switched, driver side to passenger side, to provide additional clearance
between the gusset on the Mounting Bracket and the factory steel body mount bracket welded
to the frame. To prevent unnecessary noise, adjust the position of all Mounting Brackets
so that once tightened, the Mounting Brackets do not come in contact with the factory
steel body mount bracket.
4. With help position the Side Bar onto the Mounting Brackets. Attach front and rear Mounting Brackets to
Side Bar using the included (2) 1/2
” x 2” Hex Bolts, (2) 1/2” Flat Washers and (2) 1/2” Lock Washers,
(Figure 4). Do not tighten at this time.
5. Attach center Mounting Bracket to Side Bar using the included (1) 10-1.50mm x 25mm Hex Bolt, (1)
10mm Flat Washer and (1) 10mm Lock Washer, (Figure 3). IMPORTANT: If threaded insert in Sidebar
does not line up correctly with Center Mounting Bracket, switch Sidebars, driver side to passenger side.
Do not tighten hardware at this time.
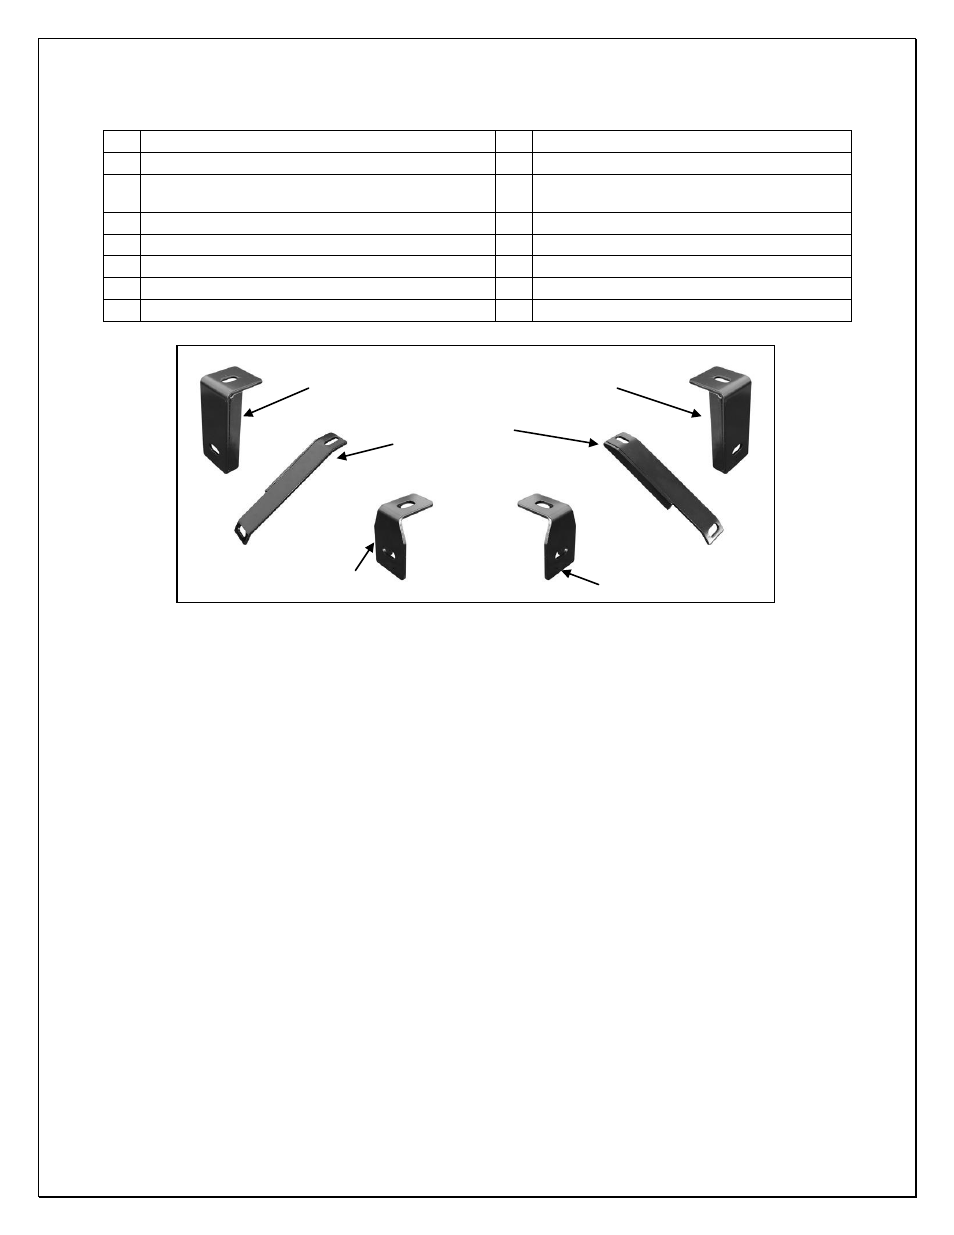
Driver/Left Side Rear
Mounting Bracket
Driver/Left Side Front
Mounting Bracket
(2) Center Mounting
Brackets
Passenger/Right Side
Front Mounting Bracket
Passenger/Right Side
Rear Mounting Bracket