Harrington Hoists and Cranes CF Hand Chain Hoist User Manual
Page 26
26
6.2
Disassembly, Assembly and Adjustment
6.2.1
1) Perform proper disassembly or assembly in accordance with this manual.
2) The hoist utilizes dry friction plates; they are not to be lubricated.
3) Do not extend the load chain.
4) Remove old grease on the disassembled parts.
5) Replace components with Harrington Hoist approved parts.
6) To reassemble, apply new grease, and use a new split pin and snap ring.
6.2.2
Tools
– The following tools are required to disassemble/reassemble the hoist.
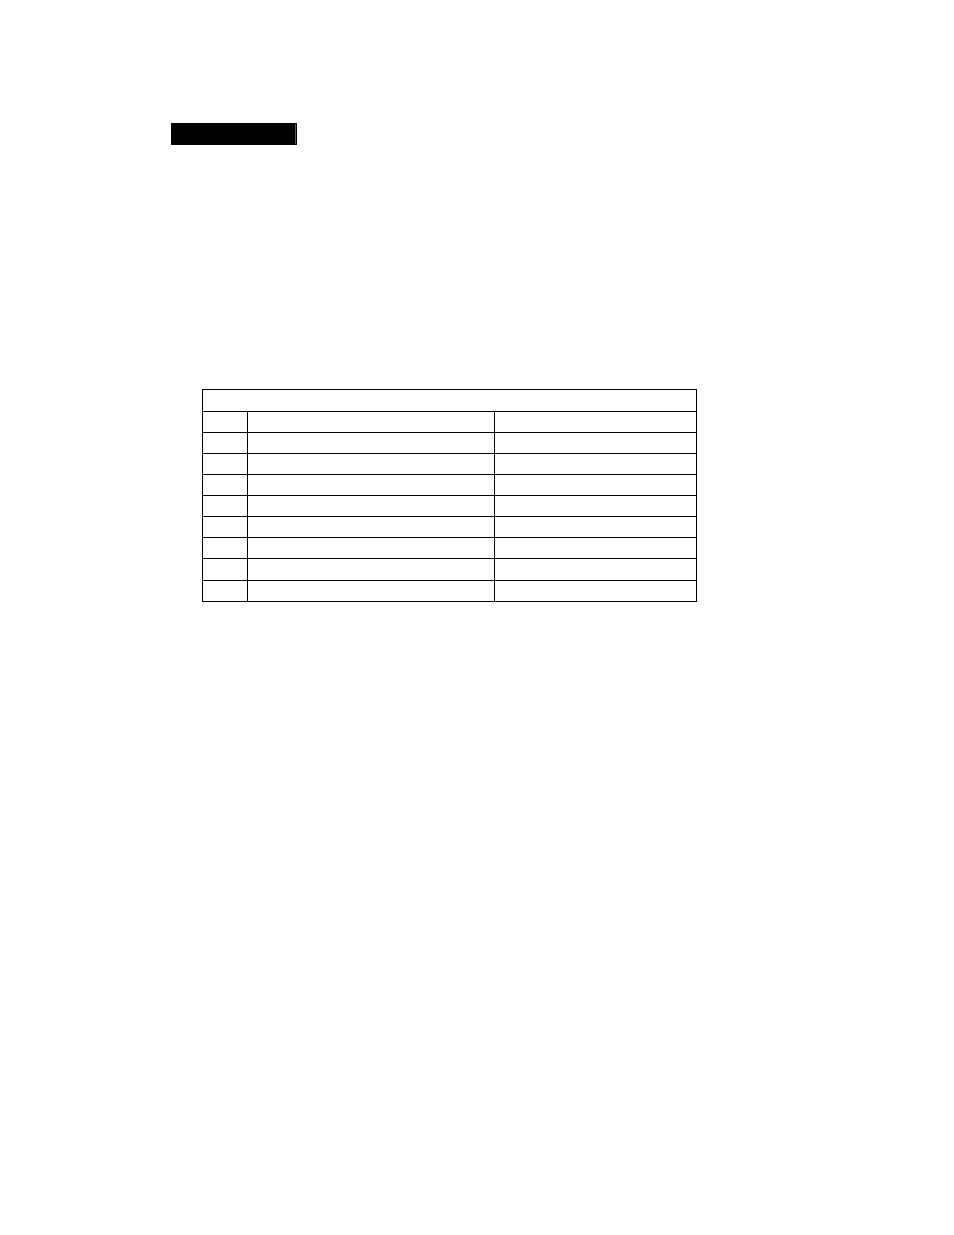
Table 6-2 Tools Required for Hoist Disassembly
No.
Tool
Operation
1
Snap ring pliers
Opening a snap ring
2
Metric socket wrenches
Slotted nuts
3
Metric hex keys (Allen wrenches)
Socket head cap screws
4
Metric wrenches
Bolts and nuts
5
Phillips screwdriver
Machine screws
6
Pliers (Needle Nose)
Split pins
7
Soft-face (Dead blow) hammer
8
Wooden Blocks
Elevate hoist
6.3
Hoist Disassembly
Proceed as follows (Note: Figures in brackets are Figure Numbers in Parts List):
1) Orient a hoist with wheel cover side up.
2) Unscrew three screws [38] (with spring washers [39]) that attach the wheel cover [37].
3) Remove the wheel cover [37] from the body A [10].
4) Insert a vertical link of the hand chain [43] into the notch of the hand wheel [33] and remove the
hand chain by turning the hand wheel counterclockwise.
NOTE: Bring the notch of the hand wheel to the right hand side.
5) Pull out split pin [36] from the wheel stopper pin [35] and remove the wheel stopper pin and wheel
stopper [34] from the pinion [14].
6) Remove the hand wheel [33] from the pinion [14] by turning the hand wheel counterclockwise.
NOTE: If the hand wheel is too tight to turn by hand, put hand chain on the hand wheel again and pull
it down hard. It will release the brake.
7) Remove two friction plates [32], ratchet disc [30] and bushing [31] from the friction disc [29].
8) Remove the friction disc [29] from the pinion [14] by turning counterclockwise holding the end of the
pinion with your fingers.
9) Remove snap ring [28] from the pawl pin [24] (on the body A [10]) and then remove pawl [27] and
pawl spring [26].
10) Unscrew the pawl pin [24].