Removing a dimm, Installing a dimm – Acer Altos G320 Series User Manual
Page 49
39
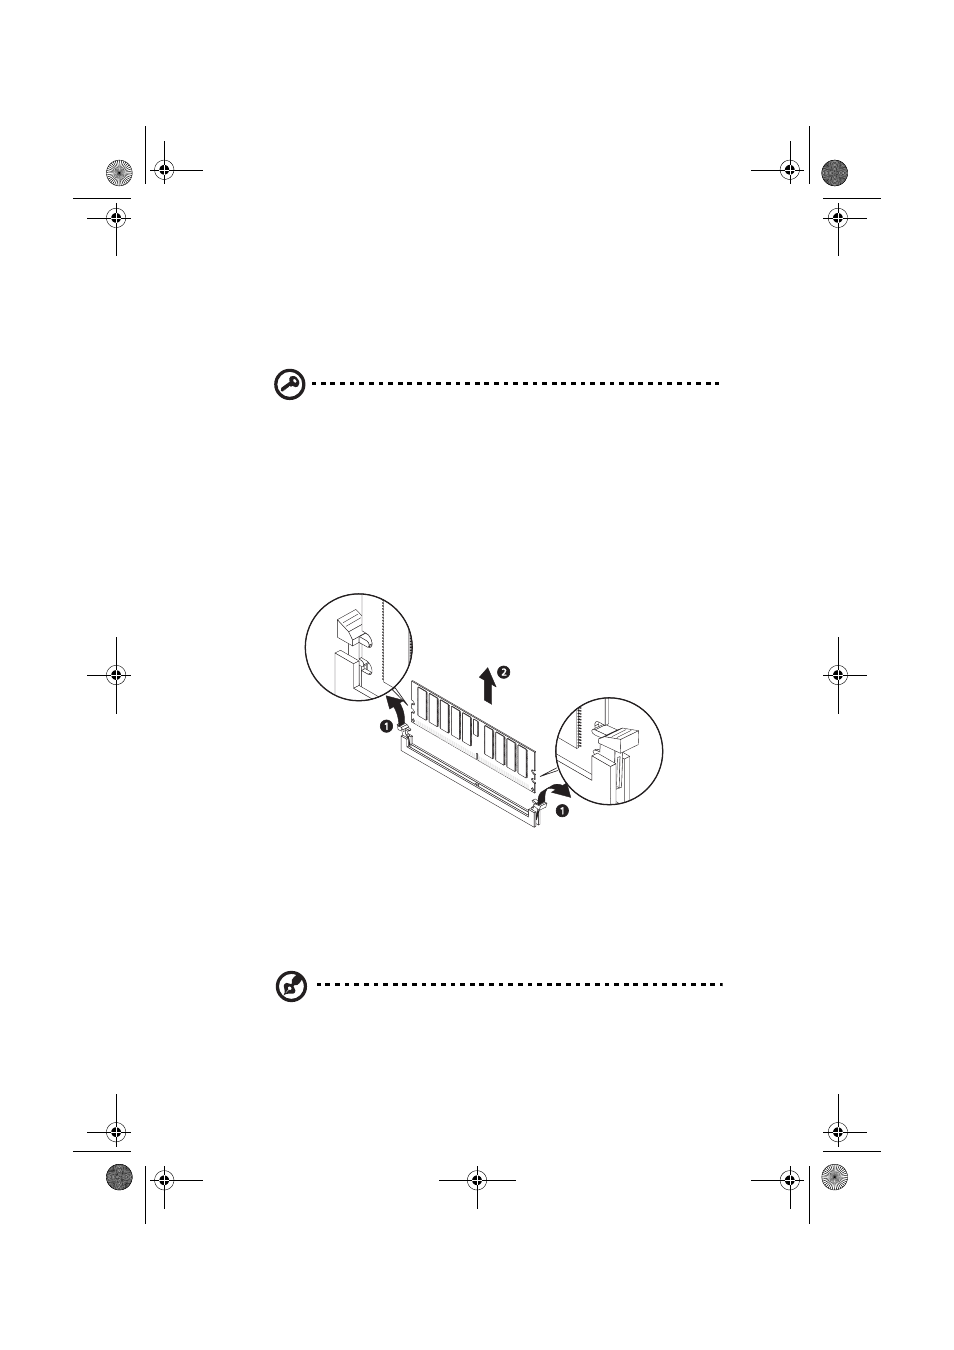
Removing a DIMM
Before you can install a new DIMM in a socket, remove first any
previously installed DIMM from that socket.
Important: Before removing any DIMM from the mainboard,
make sure to create a backup file of all important data.
1
Observe the ESD precautions and pre-installation instructions
described on page 25.
2
Locate the DIMM sockets on the mainboard.
3
Press the holding clips on both sides of the socket outward to
release the DIMM (1).
4
Gently pull the DIMM upward to remove it from the socket (2).
Installing a DIMM
1
Observe the ESD precautions and pre-installation instructions
described on page 25.
2
Locate the DIMM sockets on the mainboard.
Note: For dual-channel interleave operation, a minimum of two
DIMM modules must be installed and following the socket
sequence: DIMM 1A and 1B first, then DIMM 2A and 2B.
AA G320_UG_EN.book Page 39 Tuesday, August 30, 2005 2:34 PM