General Tools and Instruments DCS100 User Manual
Page 10
channel of the Seeker 100, press the + or – button on the grip
(see Fig. 2). To change the reception channel of the RCV100,
press the black CH button on its end (see page 6) as many times as
necessary to sync it with your Seeker 100.
4. Select the Seeker 100. Once you have confirmed that the RCV100
and the Seeker 100 are operating on the same channel, check that
the text “KC362” (for Windows XP computers) or “WDM2861
Capture” (for Windows7 computers) appears in ScopeView’s Device
window (the third item from the left on its toolbar).
5. Deselect the laptop camera. If you are using a laptop computer
equipped with a video camera, the camera is likely to be the default
device. Using the pulldown menu in the Device window, deselect the
camera, select either KC362 or WDM2861, and click (the
tab to the right of the Device window).
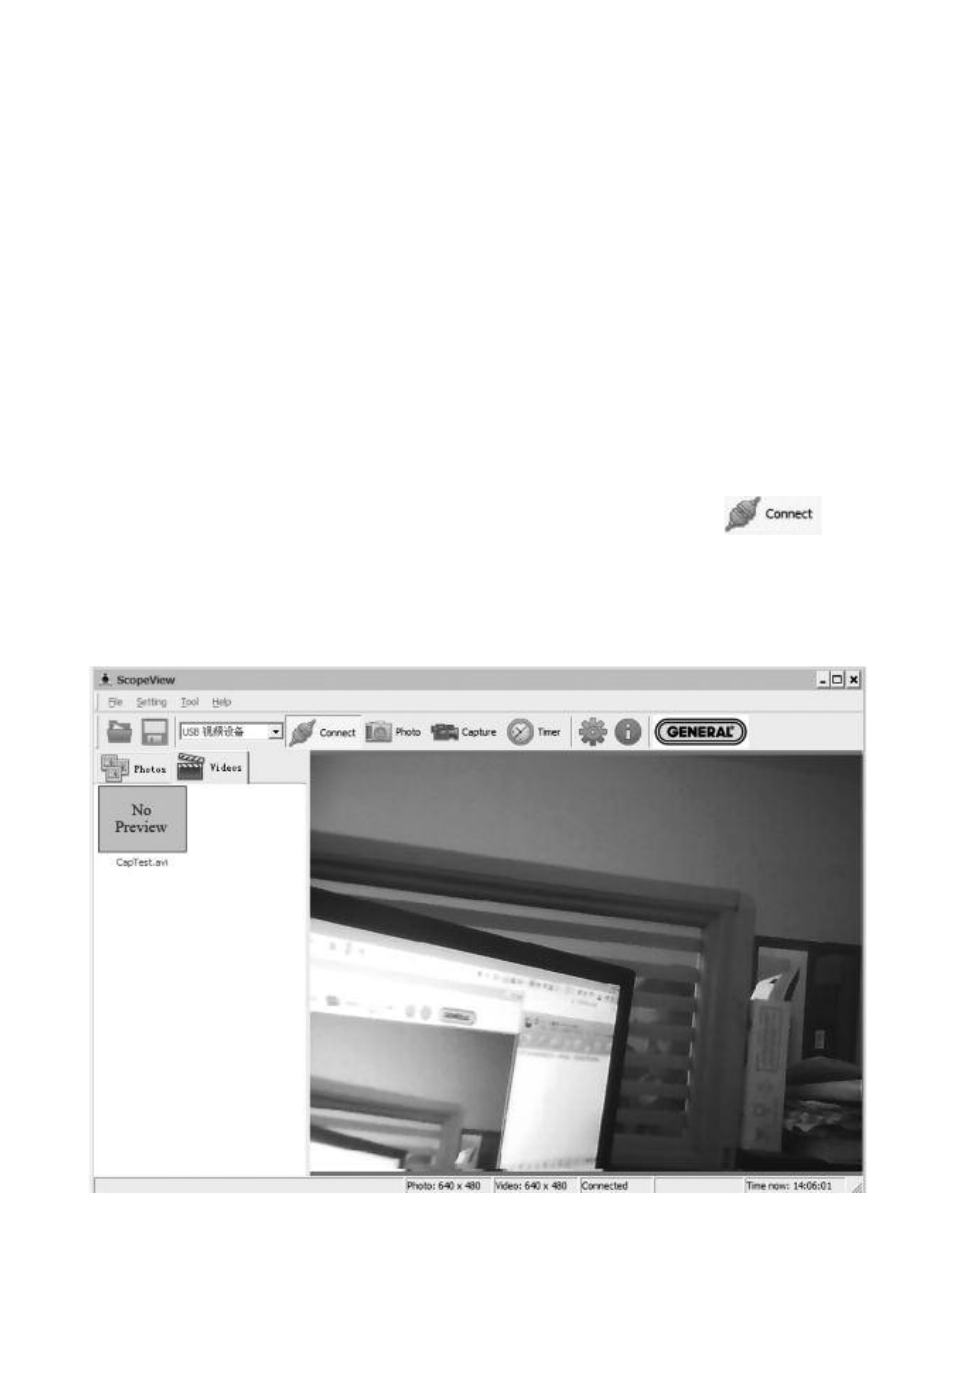
When you click Connect, the main screen of ScopeView should begin
showing a live video feed from your Seeker 100 that looks like this:
Note that once the RCV100 is connected, the green LED below the
General logo will light, indicating its readiness to receive video and
photos.
10