Equipment setup – PASCO ET-8593 Energy Transfer Solar User Manual
Page 6
®
Model No. ET-8593
Energy Transfer - Solar
5
Equipment Setup
Note: A rod stand is required for adjusting the Solar Box to the sun’s
angle.
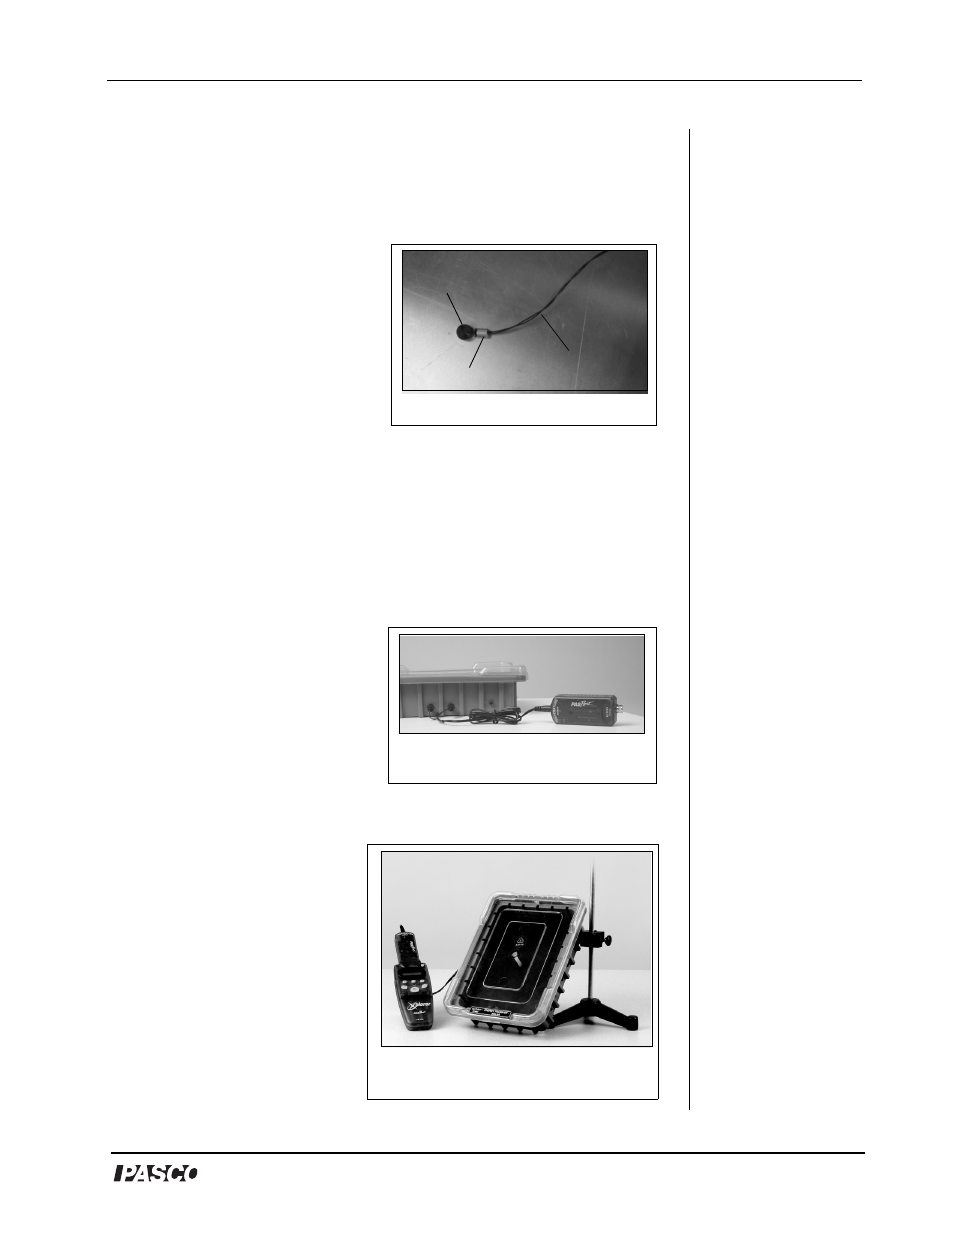
1. Remove the thumbscrew on
the aluminum plate. Place
the thermistor lug
underneath the center hole
on the aluminum side of the
plate. Insert the thumbscrew
through the hole. On the
black side, put the shadow
indicator over the screw and
tighten (See Figure 1).
2. Place the aluminum plate inside the Solar Box, with the black side
face up. (Note: Keep the thermistor contact on the underside of the
plate.)
3. Snap the bottom and top tabs of the clear, plastic cover onto the
Solar Box. (See Figure 3).
4. Using the thermistor cable,
connect the Temperature
Sensor (or Thermistor
Sensor) to the two jacks on
the side of the Solar Box
(Figure 2). If a Temperature
Sensor is not available,
connect an ohmmeter to the
side jacks.
5. Use the rod clamp (on the
side of the Solar Box) to
mount the base of the
Solar Box to a rod stand
(Figure 3).
6. Adjust the angle of the
box such that the sun's
rays enter the box
perpendicularly. Use the
white knob indicator as a
guide.
Figure 1: Thermistor position
thermistor lug
thumbscrew
thermistor cable
Figure 2: Connecting the
thermistor cable
Figure 3: Mounting the
Solar Box to a rod stand