Set-up and experiment considerations, Equipment set-up, Sensor calibration – PASCO ME-6668 EcoZone System User Manual
Page 2: Xplorer glx set-up
®
E c o Z o n e S y s t e m
M E- 6 6 68
2
Students can measure many aspects of the traditional ecosys-
tem—terrestrial, aquatic, and decomposition chambers. Students
can also use each chamber individually by decoupling the cham-
bers and constructing a single biome.
The unique design of the EcoZones allows the system to remain
closed, which allows for measurements to have a minimal impact
on the system. Environmental science probes can be used to
actively measure variables in the ecosystem model. A syringe
and tubing are included to extract water for chemical testing,
replenished water without opening the system, and inject pollut-
ants for chamber manipulation.
Set-up and Experiment
Considerations
Before setting up the EcoZone System, there are some things that
should be taken into consideration.
Consider what you are interested in measuring. There are nine
open spaces available for sensors in the lids of the chambers;
however, the Xplorer GLX has only 4 ports. If you intend to mea-
sure water quality (dissolved oxygen, conductivity, etc.), con-
sider using the Water Quality Sensor, which supports several
different probes, instead of individual sensors to save port space.
A cotton rope is included to allow for efficient wicking of water
from the aquatic chamber to the other chambers. Be sure that this
wick covers each chamber sufficiently. Lay the wick underneath
the plants both under and over the plants in the terrestrial cham-
ber, for example, to ensure that plants receive sufficient water.
Use approximately 36 inches of rope.
Cotton rope is used for its excellent wicking ability; however
note that cotton in contact with soil may decompose over a period
of weeks. You may need to check and replace it periodically.
Equipment Set-up
Important: When carrying the EcoZone System, do NOT pick the system
up by the aquatic chamber (the heaviest chamber). Pick the entire system
up by the tray.
1.
Place the three EcoChambers into the custom tray.
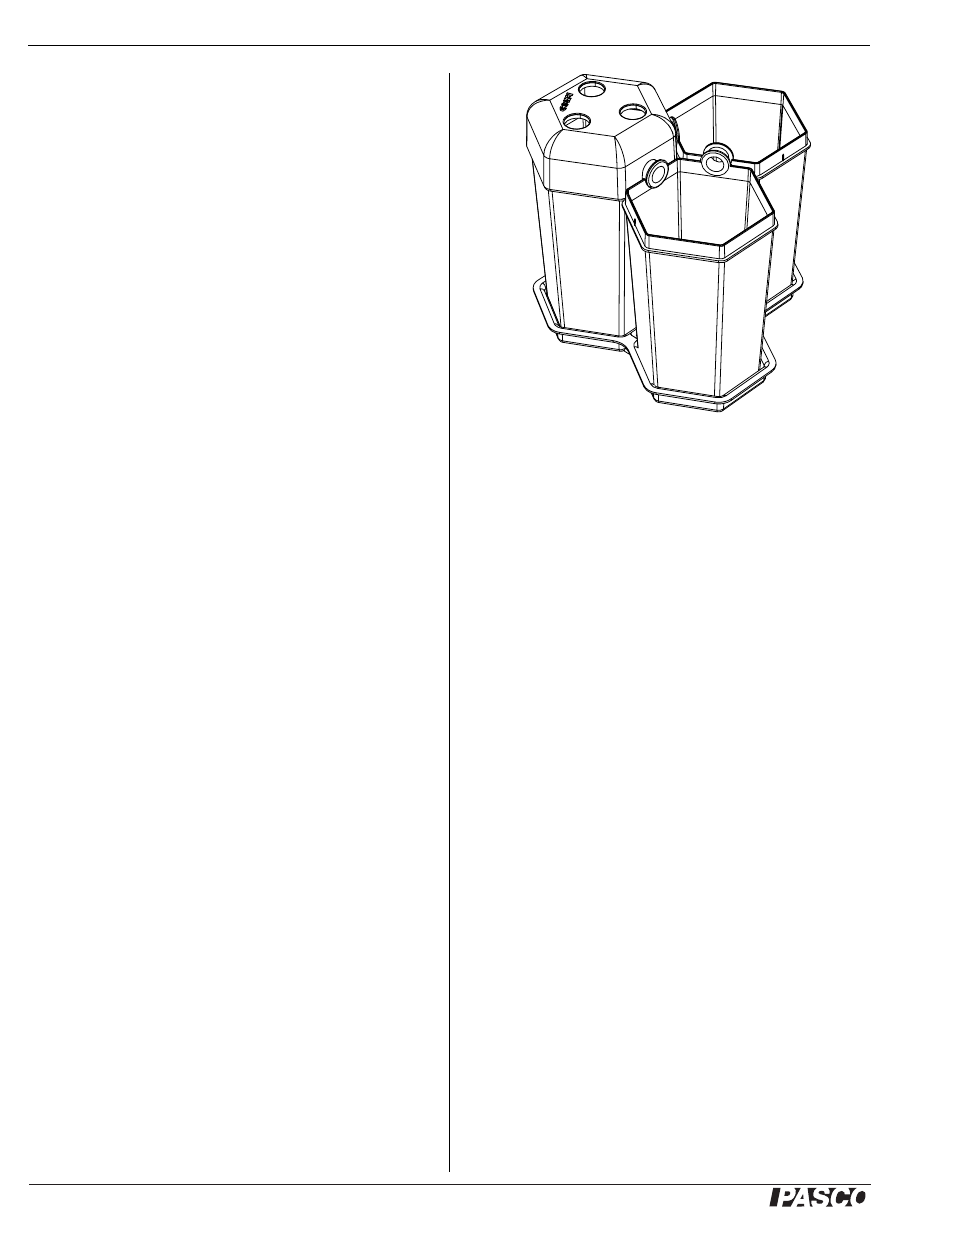
2.
Connect the EcoChambers using the rubber grommets as
illustrated.
3.
Fill each EcoChamber according to the instructions in the lab
you are performing.
4.
Select the sensors and interface that you intend to use for the
experiment.
5.
Place the lids onto the EcoChambers, lining up open arches
at the bottom of each lid with the rubber connection grom-
mets on the chambers.
6.
Insert large stoppers with holes into the holes in the lids.
7.
Insert probes into the holes in the stoppers.
8.
Insert small solid stoppers into unused holes in the larger
stoppers.
9.
Connect the sensors to Xplorer GLX or other interface.
Sensor Calibration
Calibrate sensors prior to using them in an experiment. Refer to
the documentation provided with each sensor for calibration
instructions.
Note: In some cases, sensors do not require calibration. If, for example,
you wish to measure only relative dissolved oxygen changes, the sensor
does not to be calibrated.
Xplorer GLX Set-up
Note: The interface set-up and data collection instructions and sample
data in this and the following sections apply to the Xplorer GLX datalog-
ger. Other data collection systems can also be used.
EcoZones experiments are typically long-term experiments. If
data is collected at the default rate, the volume of information
may fill the memory of the GLX before the end of the experi-
ment. To prevent the Xplorer GLX from ending the experiment
early, change the sample rate of every sensor.
1.
Press
h+I to access the Sensors screen. The sensors
currently connected to the Xplorer GLX will show across the
top of the screen. The Sample Rate Unit will be highlighted
for the sensor in port 1.
Chambers connected with grommets