Equipment setup, Using the temperature probe in chemical solutions, Sample temperature data – PASCO CI-6605A Stainless Steel Temperature Sensor User Manual
Page 2
®
Stainless Steel Temperature Sensor
Equipment Setup
2
The voltage reference is connected to the top of the divider
network and the voltage output is taken from the middle of the
divider.
The relationship of the 10K thermistor’s resistance (Rt) to the
voltage output (V
out
) is
where V
in
is the reference voltage, 10VDC and R
ref
is 13K
ohms.
The Steinhart-Hart equation is used to convert from resistance
to temperature. Temperature (T) in degrees Celsius is:
where R10=Rt/10,000.
DataStudio software converts the voltage to resistance and the
resistance to temperature.
Equipment Setup
Note: The sensor is very accurate and generally does not need to be
calibrated.
1. Plug the sensor’s DIN 8-pin connector into any analog
channel (A, B, or C) on a ScienceWorkshop interface or a
PASPORT USB interface with an analog adapter
(PS-2158).
2. Open DataStudio. In the Welcome to DataStudio win-
dow, double click “Create Experiment.”
CAUTION: Do not place the Stainless Steel Temperature Sensor in a
direct flame or on a hot plate. To prevent damage to the sensor, do not
exceed the range of -35°C to +135°C.
3. In the Sensors list of the Experiment Setup window, click
and drag the Stainless Steel Temperature icon (
) to the
analog channel in which you have your sensor connected.
4. To change measurement units or view resistance values,
double click on the Stainless Steel icon in the Setup win-
dow. In the Measurement tab, select the desired measure-
ment unit (°C,°F, K, or Kohms) and click the OK button.
5. Place the end of the probe in the solution, gas, or object
you are measuring.
WARNING: To avoid burns or bodily injury, do not touch the end of the
probe with your hand, fingers, etc. when measuring temperatures of
hot liquids, materials, etc.
6. In DataStudio, open a display and click the Start button.
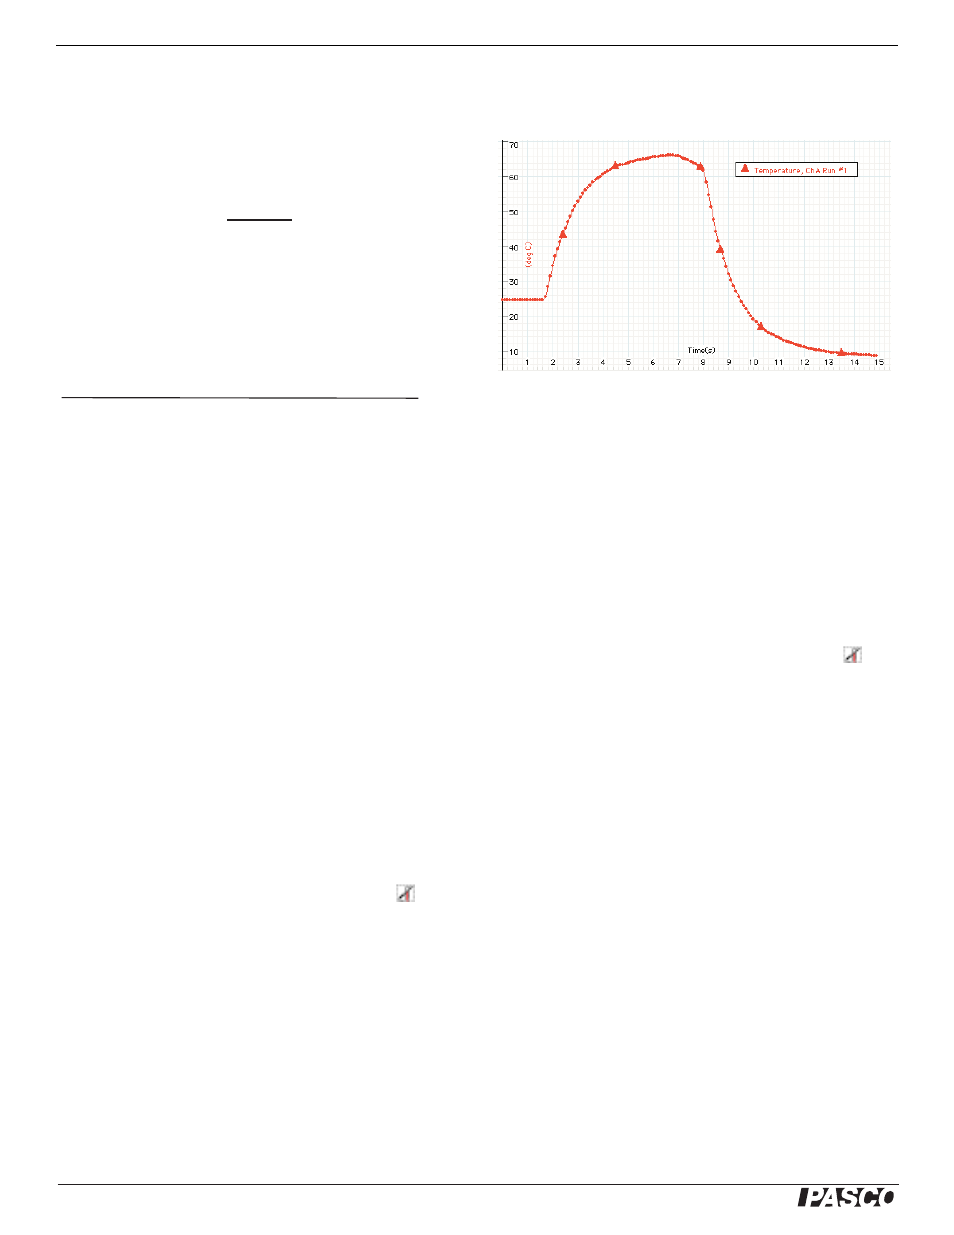
Sample Temperature Data
Using the Temperature Sensor
with DataStudio Workbook
Activities
Note: If you are using the Stainless Steel Temperature Sensor (SST)
with a pre-existing DataStudio activity file or workbook for a different
type of temperature sensor, do the following:
1. In the Setup window, click on and delete the existing
Temperature Sensor icon.
2. In the sensors list, scroll to the SST Sensor icon(
).
Click and drag the SST icon to an analog channel on the
picture of the interface.
3. From the Data list, drag the SST icon to any open dis-
plays.
Using the Temperature Probe
in Chemical Solutions
The Stainless Steel Probe can be used in basic and mildly
acidic solutions. Use an optional Teflon cover when placing
the Stainless Steel Temperature (SST) probe in strong acids or
chemical solutions that may damage the probe. When a
Teflon cover is used, the probe can be placed in most chemical
solutions. The Teflon cover will not change the temperature
reading, but the sensor’s response to changes in temperature
will be slower than when the cover is not used.
A package of ten Teflon Sensor Covers is available from
PASCO scientific (part number CI-6549). See the PASCO cat-
alog for more information.
CAUTION: Without the optional Teflon cover over the probe, do not
use the probe in the following chemicals: Acetic Acid, Aluminum
halides, Hydrochloric Acid, Iodine, Nitrating Acid, Phosphoric Acid, and
V
out
.
R
ref
V
in
-
V
out
1
(
3.35x10
-3
+2.56x10
-4
.ln(R10) + 2.38x10
-6
.ln(R10)
2
+ 8.37x10
-8
.ln(R10)
3
)
-273.15