3 audio, 4 alarm in – KT&C KVR-0412H User Manual
Page 53
53
While pressing (+) or (-) button, ID increases or decreases by 10 units.
Choose ‘OK’ to confirm the setting.
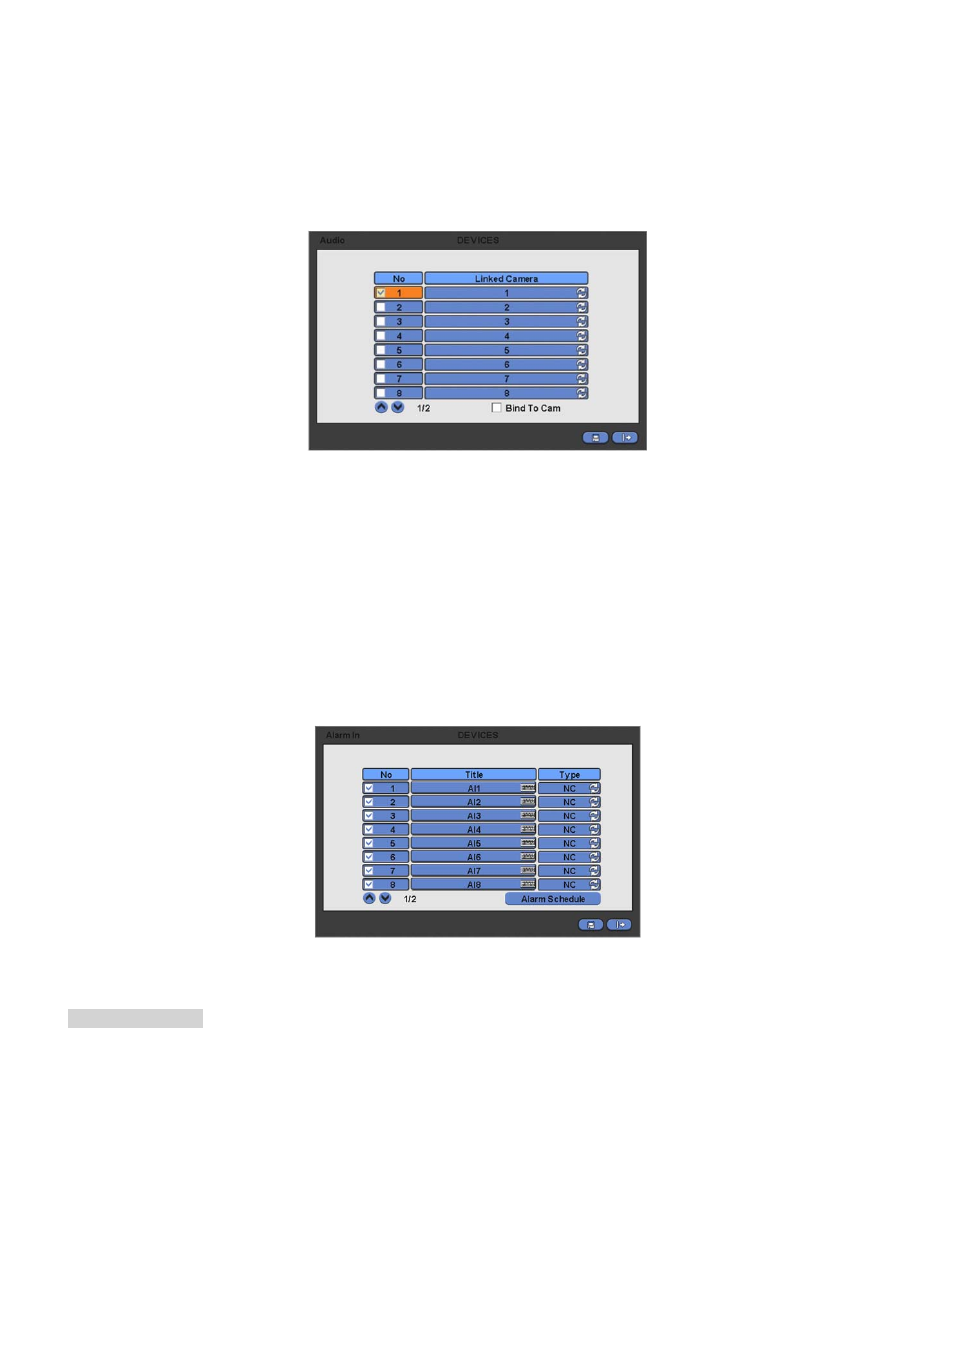
4.4.3 Audio
Please click ( ) DEVICES>Audio and the following screen will appear.
The Audio menu will allow user to choose whether to record Audio.
When a check box is marked on No column, corresponding audio and video from Linked Camera will be recorded.
However, if the check box is not marked, audio will not record.
If users check on bind to cam, then the audio and video of same channel will come out. If not, the audio of unchecked
channel will not come out. In addition, this function will effect on live screen. (The default audio channel is No. 1)
Choose ‘OK’ to confirm the setting.
4.4.4 Alarm In
Please click ( ) DEVICES>Alarm In and the following screen will appear.
The Alarm In menu will allow user to give title and to select the type of Alarm input.
Alarm In Setting
Click ( ) the keyboard icon on the right-hand side of each frame on Title column and the virtual keyboard will appear. Then,
please register the title of Alarm input.
When a check box is marked on No column, a corresponding Alarm starts operating. However, if user does not check the
check box, the operation stops.
Click ( ) each frame on Type column to select type of a corresponding Alarm input.
-
NO: contact is normally open (Normally open)
-
NC: contact is normally closed (Normally closed)
User may change the type of all Alarm input at a time by clicking the Type box on the menu tab.
Choose ‘OK’ to confirm setting.