Alignment – Datamax-O'Neil H-Class Linear Scanner Option User Manual
Page 15
13
Alignment
Although normally not required if factory-installed, scanner alignment may be necessary under certain
circumstances:
If the scanner option was just field-installed;
If the original alignment has been changed (e.g., if the scanner was lowered to the 5-Mil Position); or,
If the exit angle of the labels has changed (e.g., if an output device such as an external rewinder has
been added).
CAUTION
The use of controls, adjustments, or procedures other than those specified herein may
result in hazardous LED light exposure. Class 1 LED power up to 15 mW in a 0.1 ms
pulse at 635-670 nm could be accessible in the interior of the Linear Scanner.
Follow the steps below to align the Linear Scanner:
Note:
If scanning 5-Mil bar codes, change the scanner’s position before proceeding; see “Scan
Resolutions.”
1) Load the printer with four-inch (101 mm) wide media and ribbon. Ensure that the Tear Bar, Peel
Mechanism, or Rewind Plate has been mounted onto the printer. (If using an external rewinder,
attach the labels to that device; see the Operator’s Manual or the manufacturer’s documentation for
details.)
2) Turn ON the printer.
3) Press
TEST, and then press it again to produce a Print Quality Label.
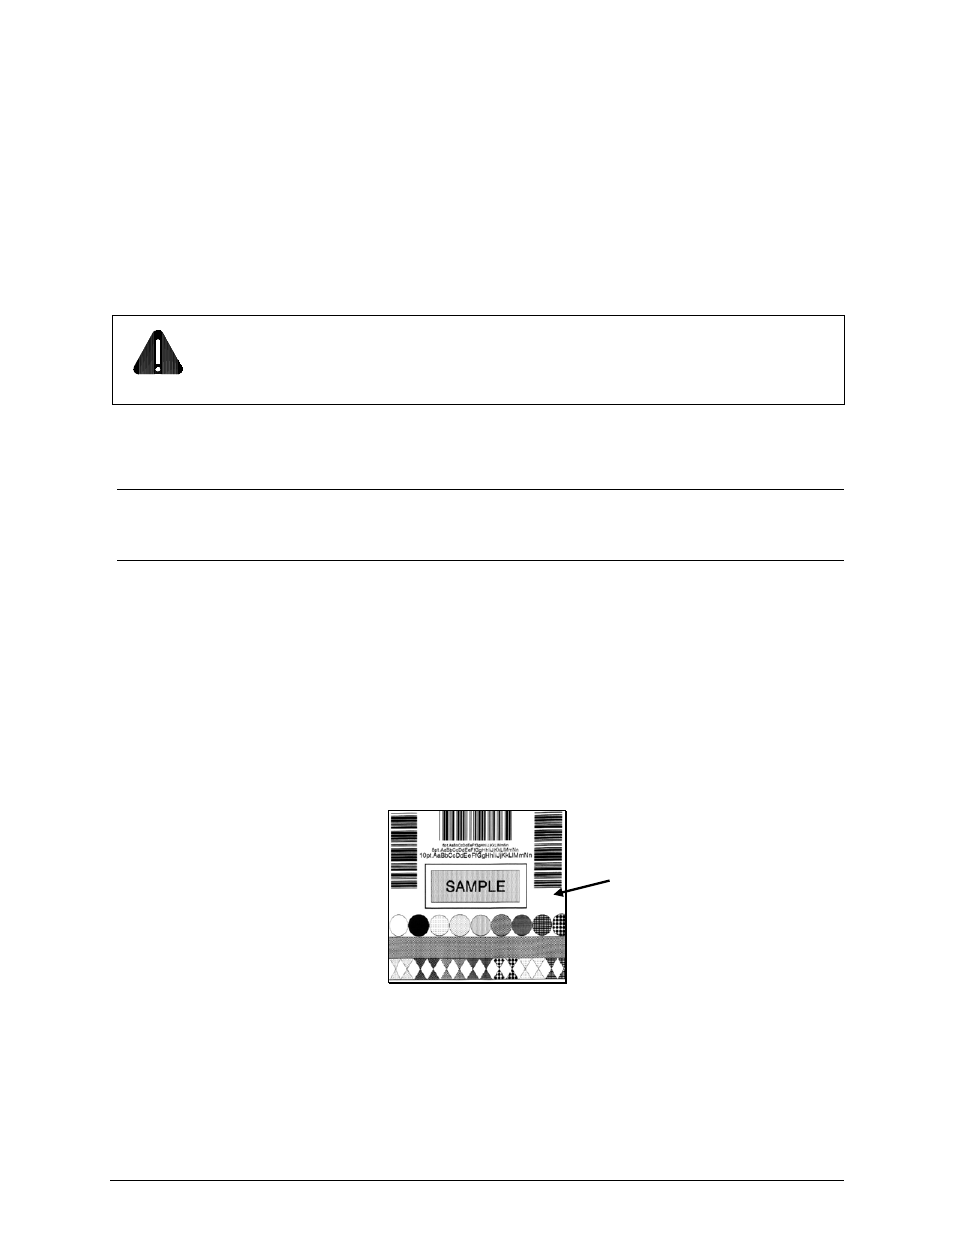
4) Raise the Printhead Assembly. Position a Print Quality Label squarely under the Printhead Assembly,
so that only 1/8-inch (3 mm) of the Picket Fence Bar Code is evenly visible (as shown below). Lower
and lock the Printhead Assembly.
Print Quality Label