Analog Way Smart Vu User Manual
Page 4
3/ Select Record Logos in the Logos/Frames menu by rotating the scroll
knob, then pressing ENTER. A small white rectangle will appear on your
main display, indicating the logo which will be captured.
4/ Adjust logo size, position, and fine tune key attributes by rotating the
scroll knob and pressing ENTER to memorize logo settings.
5/ Select an empty logo memory (empty logos are indicated in the sub-
menu) to store the logo into. Press the ENTER button. The
Smart Vu
will
display a progress status bar on the VFD screen.
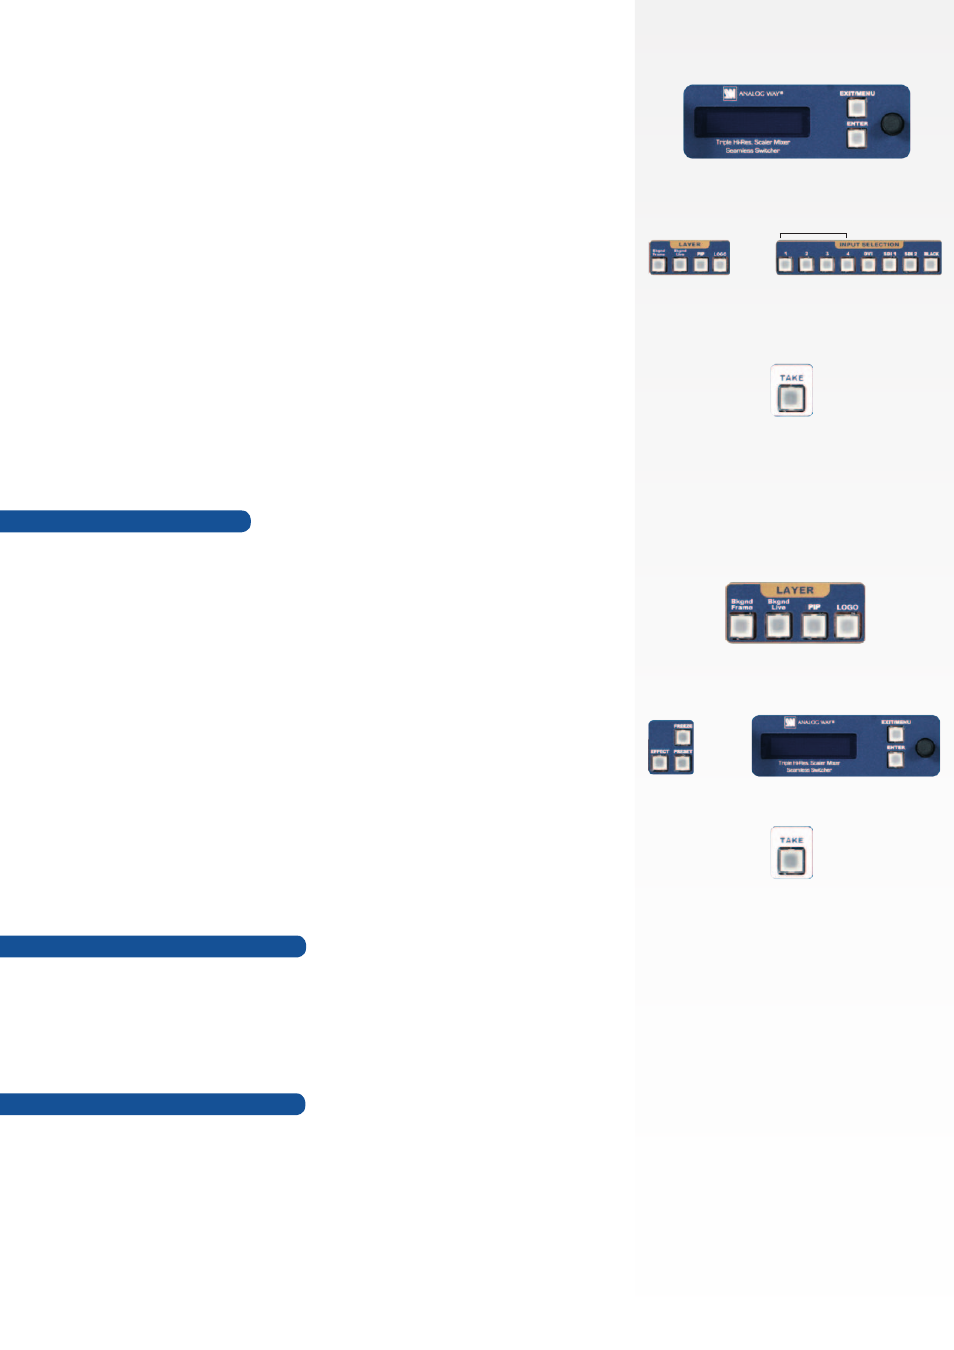
6/ In the Layer Selection section, press the LOGO button, and select
logo number (1-4) you wish to use. Your logo will appear on the preview*
screen above any existing layer on screen.
7/ Press the TAKE button. Your logo will appear on the main display.
- LIVE BACKGROUND:
To work with a live background, press the
BACKGROUND LIVE button, then select a live input source from the
Input Selection section of the
Smart Vu
. The background will appear on
your Preview*. Simply press the TAKE button to view the results on your
Main output.
Whether catering to complex event setups, or putting together intricate
shows, your
Smart Vu
will deliver exciting transitions and like you could
expect from a dedicated mixer.
1/ In the Layer Selection section, press the PIP button. The button will start
blinking. On your Preview* screen, PIP will appear as a color rectangle.
The parameters of the layer will automatically appear on your
Smart Vu
VFD menu screen.
2/ Pressing the EFFECT button will give you direct access to the Layer
menu, where you can parameter layer effects. Alternatively, in the Layer
menu, select Opening Effect, press the ENTER button and select Type.
Select an opening effect and press the ENTER button. Navigate to Duration
in the Opening Effect sub-menu, and set the duration of your effect by
rotating the selection knob and pressing ENTER.
3/ Set a closing effect for your PIP by navigating to the Closing Effect
menu, then press TAKE to view the transition effect on your Main output.
Making a transition
Warranty
Going further with the Smart Vu
This
Analog Way
product has a 3 year warranty on parts and labor,
back to factory. This warranty does not include faults resulting from user
negligence, special modifications, electrical surges, mishandling (drop/
crush), and/or any other damage caused by misuse.
For complete details and operation procedures, please refer to the
Smart Vu
User Manual and our website for further information:
www.analogway.com
+
Logo
Memories
or
Version: 4.0 - 19/03/2012
Code: 140109