Installing and removing storage devices, Replacing the 3.5-inch floppy drive – Acer Altos G610 User Manual
Page 75
65
Installing and removing storage
devices
Your system supports one 3.5-inch and five 5.25-inch internal storage
devices. The empty drive bays allow you to install additional drives
such as a CD-ROM drive, a digital audio tape (DAT) drive or another
hard disk drive. These would provide your system additional storage
capacity.
Note: Your basic system already comes pre-installed with a
CD-ROM drive and a 3.5-inch floppy drive.
Replacing the 3.5-inch floppy drive
1
Remove the housing panels. Refer to page 51 for more detailed
instructions.
2
Disconnect the power and signal cables from the old drive.
3
Detach the old 3.5-inch drive with the drive frame from the
housing by removing the two chassis screws. Keep the screws for
later use.
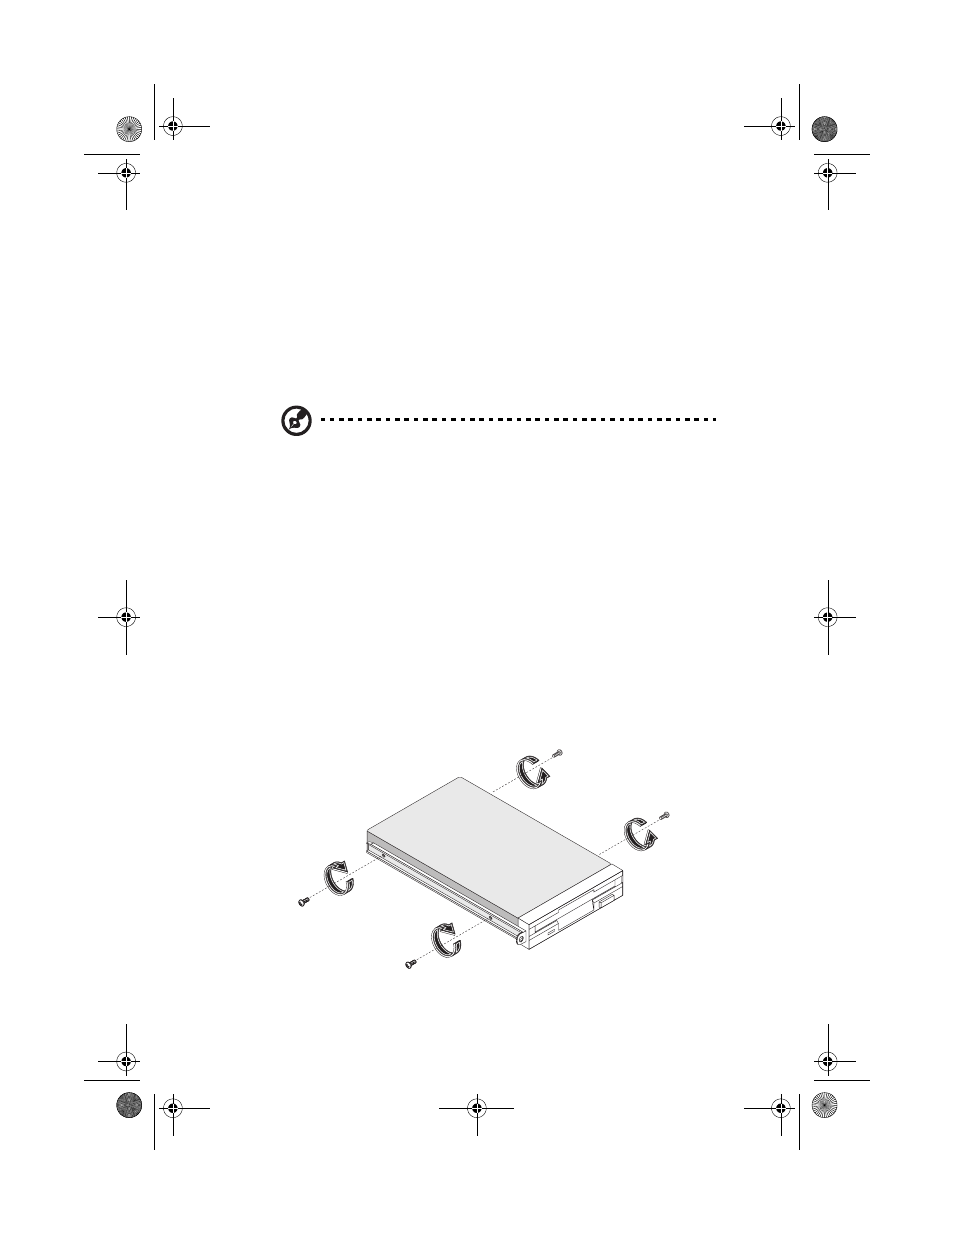
4
Remove the four frame screws that hold the old drive to the drive
frame then pull out the drive.
5
Install a new 3.5-inch drive to the drive frame and secure it with
the four frame screws you have previously removed.
AA G610.book Page 65 Monday, October 22, 2001 9:46 AM