Associated Equipment 12-1015 Quick Guide User Manual
Page 4
4
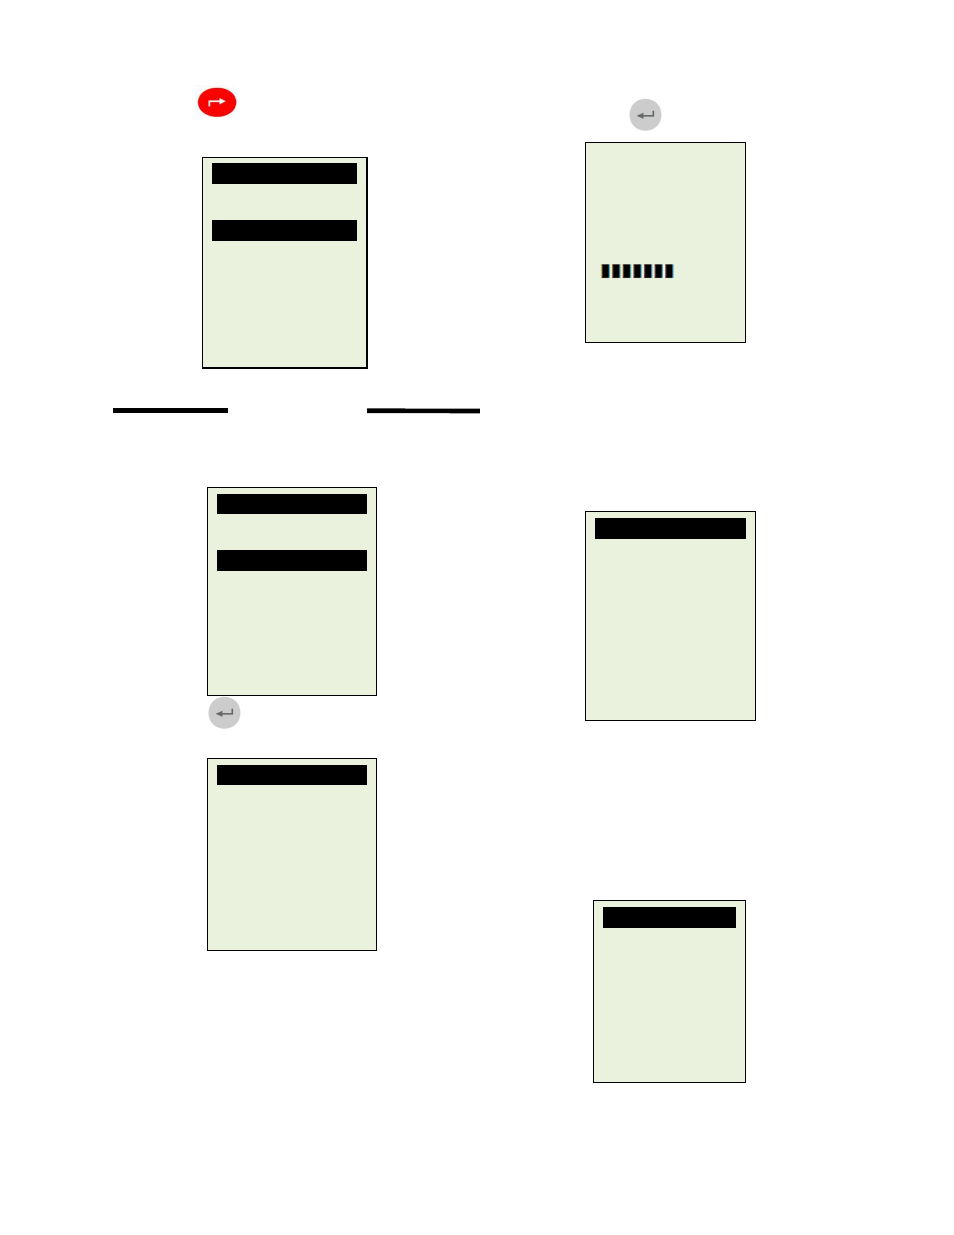
12. Press key will return to the Main Menu
as shown below:
Grounding Test
13. Pressing key once will scroll down to the
“Grounding Test”
14. Press key will proceed to the display
as follows.
15. Now transfer the BLACK tester clip from the
battery [-] terminal to a suitable position on
the engine or chassis body leaving the RED
clip still attached to the battery [+] terminal.
16. Now press key again and it will starts
analysing.
17. Once it has finished analysing, it will prompt
you with an instruction stating that you should
unclamp the Black tester clip from the engine
or chassis body and transfer to the battery
negative [-] terminal within 20 seconds time
limit if not the testing procedure has to be
repeated again as the gathered data will be
lost.
NOTE:
20 seconds
is given to establish the
contact to the battery [-] post failing which the
data obtained earlier will be lost. Then you
need to repeat the whole testing procedures
again.
18. Once the Black clip is clamped onto the
battery [-] terminal, the Analyser display will
light up as shown.
Select Test
Battery Test
Grounding Test
Starter Test
Alternator Test
Then press [Enter].
Select Test
Battery Test
Grounding Test
Starter Test
Alternator Test
Then press [Enter]
Grounding Test
Clip the Black clip to
engine body or the car
chassis and the Red
clip to the battery [+]
post.
Analysing ...
Please wait!
Grounding Test
Now transfer the Black
clip to the battery [-]
post.
The time limit given is
20 seconds before the
memory is lost.
Grounding Test
Press [Enter] to
continue the test.