Associated Equipment 12-1015 Quick Guide User Manual
Page 2
2
1. Connect the tester clamps to the battery
posts, Red to the positive (+) terminal and
Black to the negative (-) terminal. Rock each
clamp back and forth for better contact.
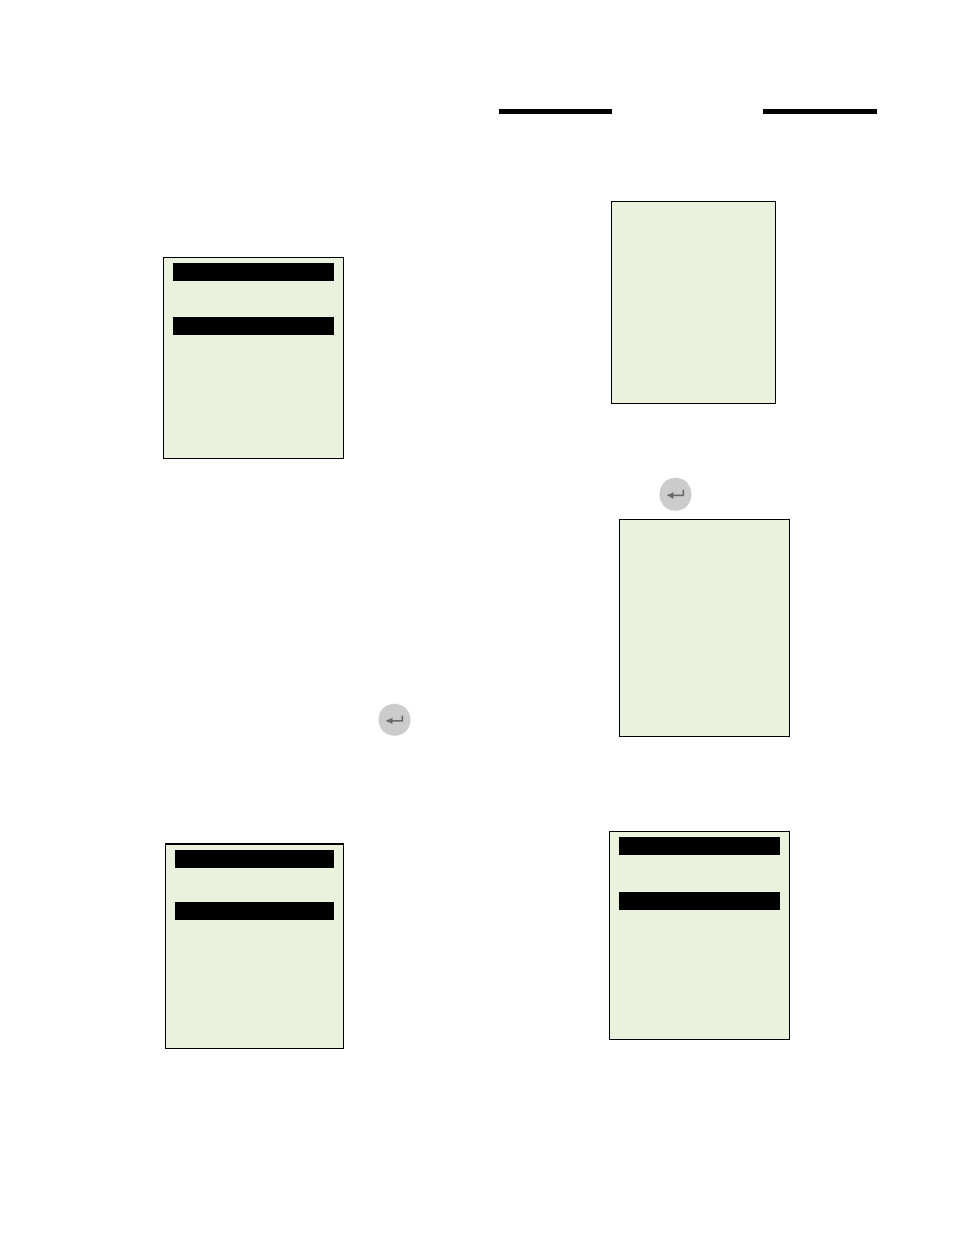
2. It will run through a self-test and when
completed it displays the Main Menu as
shown below:
New: Clear Memory
Selecting this item will allow the tester to clear the last
tested results stored in its memory and begin a new
test.
Continue Testing
Selecting this item will allow you to continue the last
test on the same car from where you had stopped.
View Last Test
Review the test results of the last tested car
After you have made your choice, selecting “New:
Clear Memory” or “Continue Test…” press key
will proceed to the display below:
3. After you have made your choice, selecting
“New: Clear Memory” or “Continue…Test” will
proceed to the display below:
BATTERY TEST
4. If the surface charge is too great for the
analyser to handle, it will prompt you with the
instructions as shown below:
5. Wait until the surface charge removal had
completed, the tester will advise as follows
and then press key.
6. If there is no surface charge present, then it
will straight away enter into “Select Battery”
menu screen as shown below:
Select Menu
New: Clear Memory
Continue Testing
View last Test
Setup Menu
Then press [Enter].
Select Test
Battery Test
Grounding Test
Starter Test
Alternator Test
Then press [Enter].
Select Battery
SLI (Wet Type)
AGM (Flat/Spiral)
[Enter] to proceed
Battery surface charge
is present!
Turn the ignition key
to ON position.
Switch ON the
headlights to remove
surface charge.
Battery surface charge
has been removed.
Turn ignition key to
OFF position.
Switch OFF the
headlights and then
press [Enter].