Button labels – Extron Electronics Matrix 50 Series User Manual
Page 69
B-11
Matrix 50 Series Switchers • Reference Information
Switcher type
Matrix size
JMP2 JMP3 JMP4 JMP5 JMP6 JMP7 JMP8 JMP9
Video only
Video &
audio
Audio only
X
O
X
O
X
O
O
O
8 x 4
X
O
X
O
O
X
O
O
8 x 8
X
O
X
O
O
O
O
O
12 x 4
O
O
X
O
X
X
O
O
12 x 8
O
X
X
O
O
X
O
O
8 x 4
O
X
X
O
X
O
O
O
8 x 8
X
X
X
O
X
O
O
O
12 x 4
O
X
X
O
O
O
O
O
12 x 8
X
O
X
O
O
O
X
O
8 x 4
O
O
X
O
X
O
X
O
8 x 8
O
O
X
O
O
O
X
O
12 x 4
X
X
X
O
X
X
O
O
12 x 8
JMP9
JMP8
JMP7
JMP6
JMP5
JMP4
JMP3
JMP2
X = jumper installed, O = jumper removed
Figure B-9 — Jumper settings, Matrix 50 series switchers
If you choose to check for proper operation before putting the cover back
on, ensure that tools and hands are outside the switcher and then perform
step 4. After recognizing the new configuration, the switcher should
power up normally. Unplug the AC power cord, and reinstall the
switcher.
4.
Reinitialize the switcher to recognize the new configuration as follows:
a
.
Connect the power cord to the AC power source.
b
.
Press and hold the Enter button while you connect the power cord to the
switcher.
c
.
Observe that the Input, Output, Preset, View, and Esc LEDs all flash.
d
.
Release the Enter button.
5
.
Ensure that the switcher is working properly.
6.
If the switcher was removed from a rack, remove its power cord, reattach the
switcher to the rack, and reconnect the power cord.
7
.
Reconnect the input and output cables.
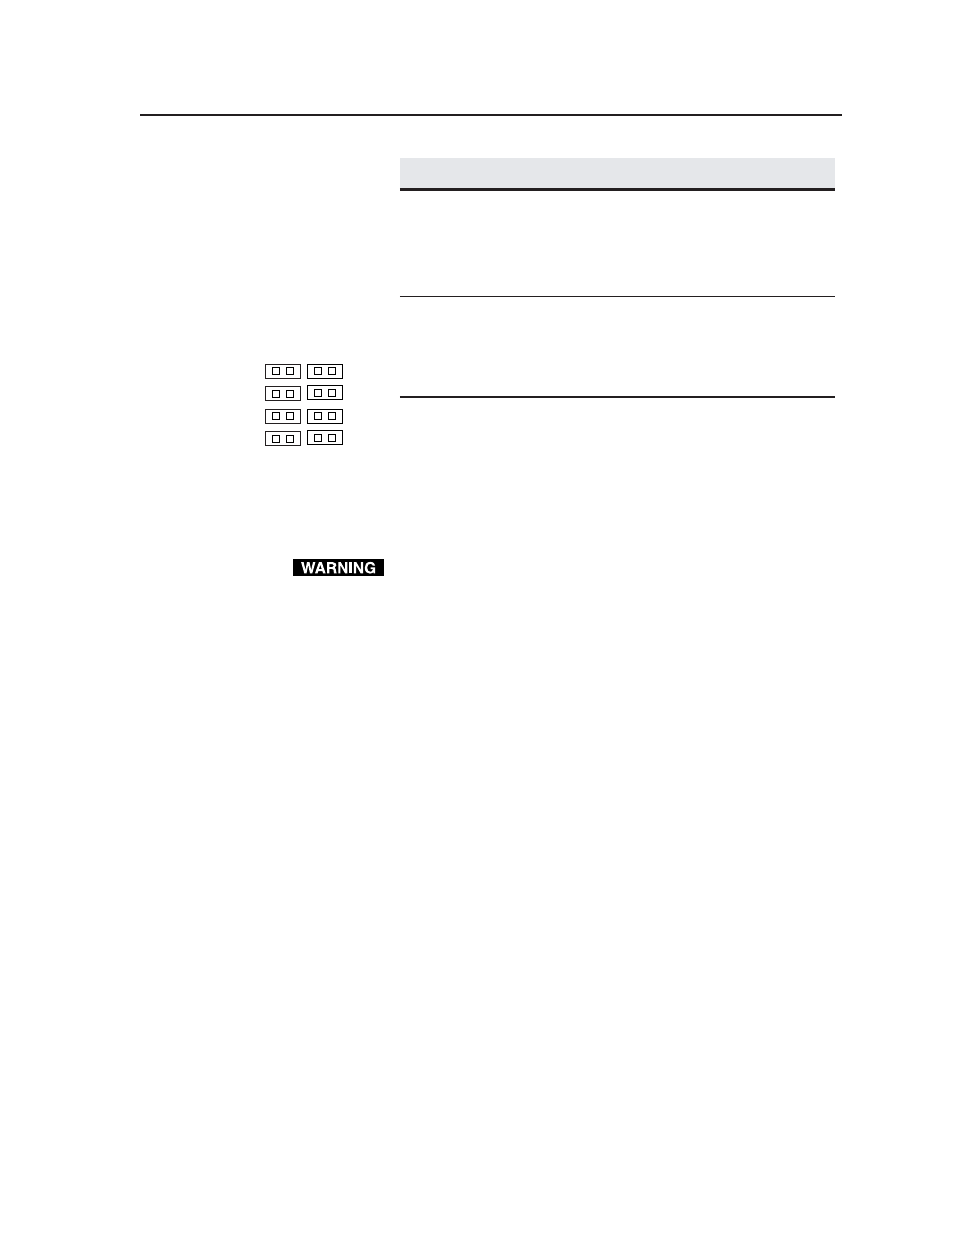
Button Labels
Figure B-10 provides blanks of a 12-button strip of button labels. Feel free to
photocopy them or cut them out of the manual, write button information in each
button area as desired, and put them in the switcher’s label window. For 8-button
strips and 4-button strips, use scissors to trim the blank to the appropriate length.