Asus A8N-SLI User Manual
Page 82
3 - 6
3 - 6
3 - 6
3 - 6
3 - 6
C h a p t e r 3 : N V I D I A
C h a p t e r 3 : N V I D I A
C h a p t e r 3 : N V I D I A
C h a p t e r 3 : N V I D I A
C h a p t e r 3 : N V I D I A
®
®
®
®
®
S L I ™ t e c h n o l o g y s u p p o r t
S L I ™ t e c h n o l o g y s u p p o r t
S L I ™ t e c h n o l o g y s u p p o r t
S L I ™ t e c h n o l o g y s u p p o r t
S L I ™ t e c h n o l o g y s u p p o r t
3.2.2
3.2.2
3.2.2
3.2.2
3.2.2
Installing SLI-ready graphics cards
Installing SLI-ready graphics cards
Installing SLI-ready graphics cards
Installing SLI-ready graphics cards
Installing SLI-ready graphics cards
Install only identical SLI-ready graphics cards that are NVIDIA
®
certified.
Different types of graphics cards will not work together properly.
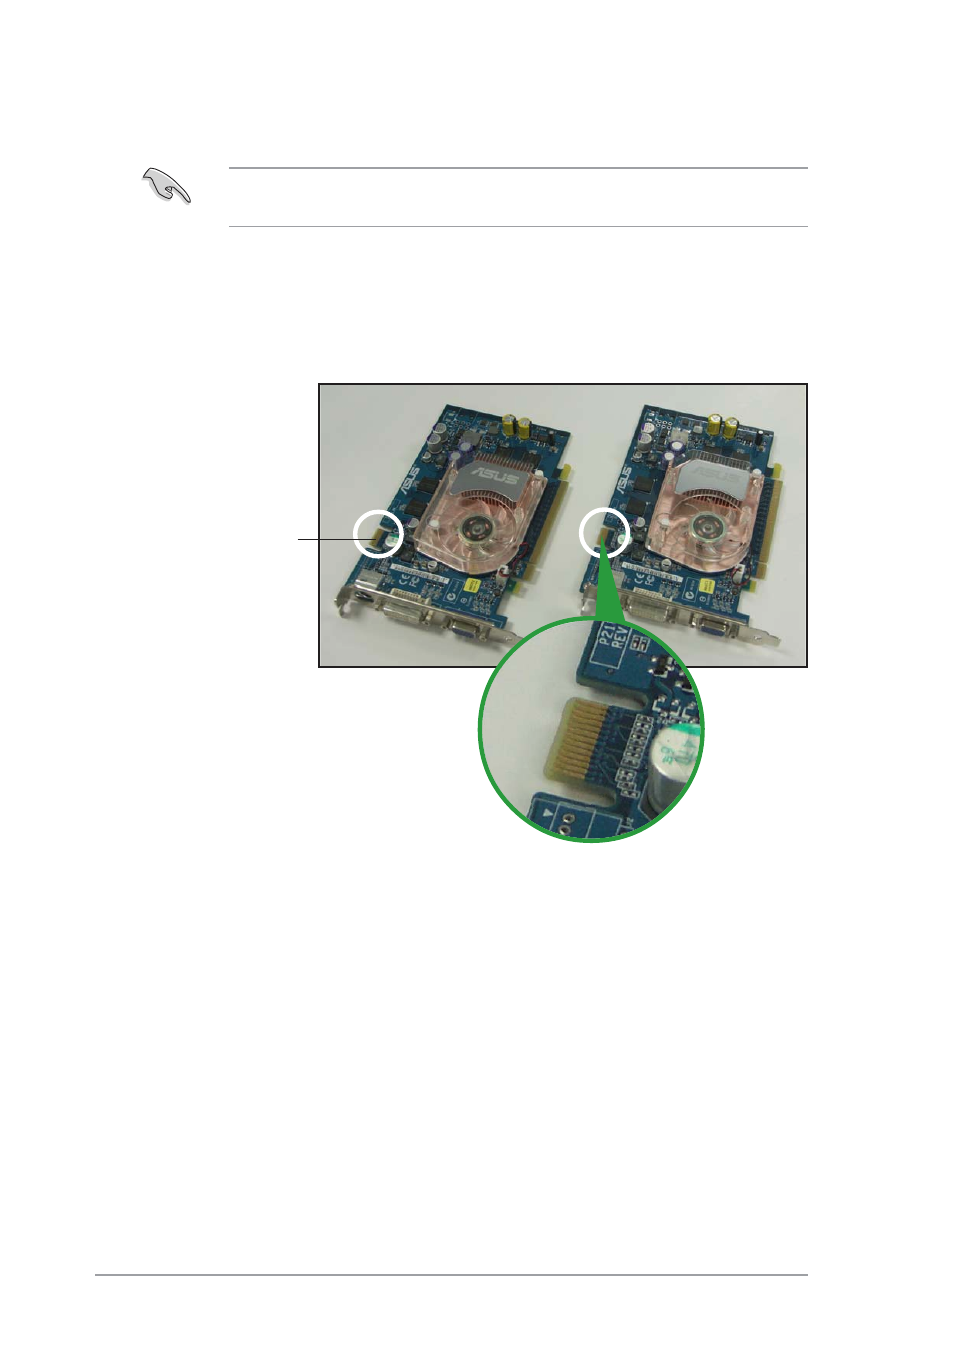
G o l d f i n g e r s
G o l d f i n g e r s
G o l d f i n g e r s
G o l d f i n g e r s
G o l d f i n g e r s
To install the graphics cards:
1.
Prepare two graphics cards. Each graphics card should have
goldfingers for the SLI connector.
2.
Remove the metal bracket covers opposite the two PCI Express x16
slots.