2 installing the cpu heatsink and fan, Installing the cpu heatsink and fan -9 – Asus P5N73-AM User Manual
Page 19
ASUS P5N73-AM
1-9
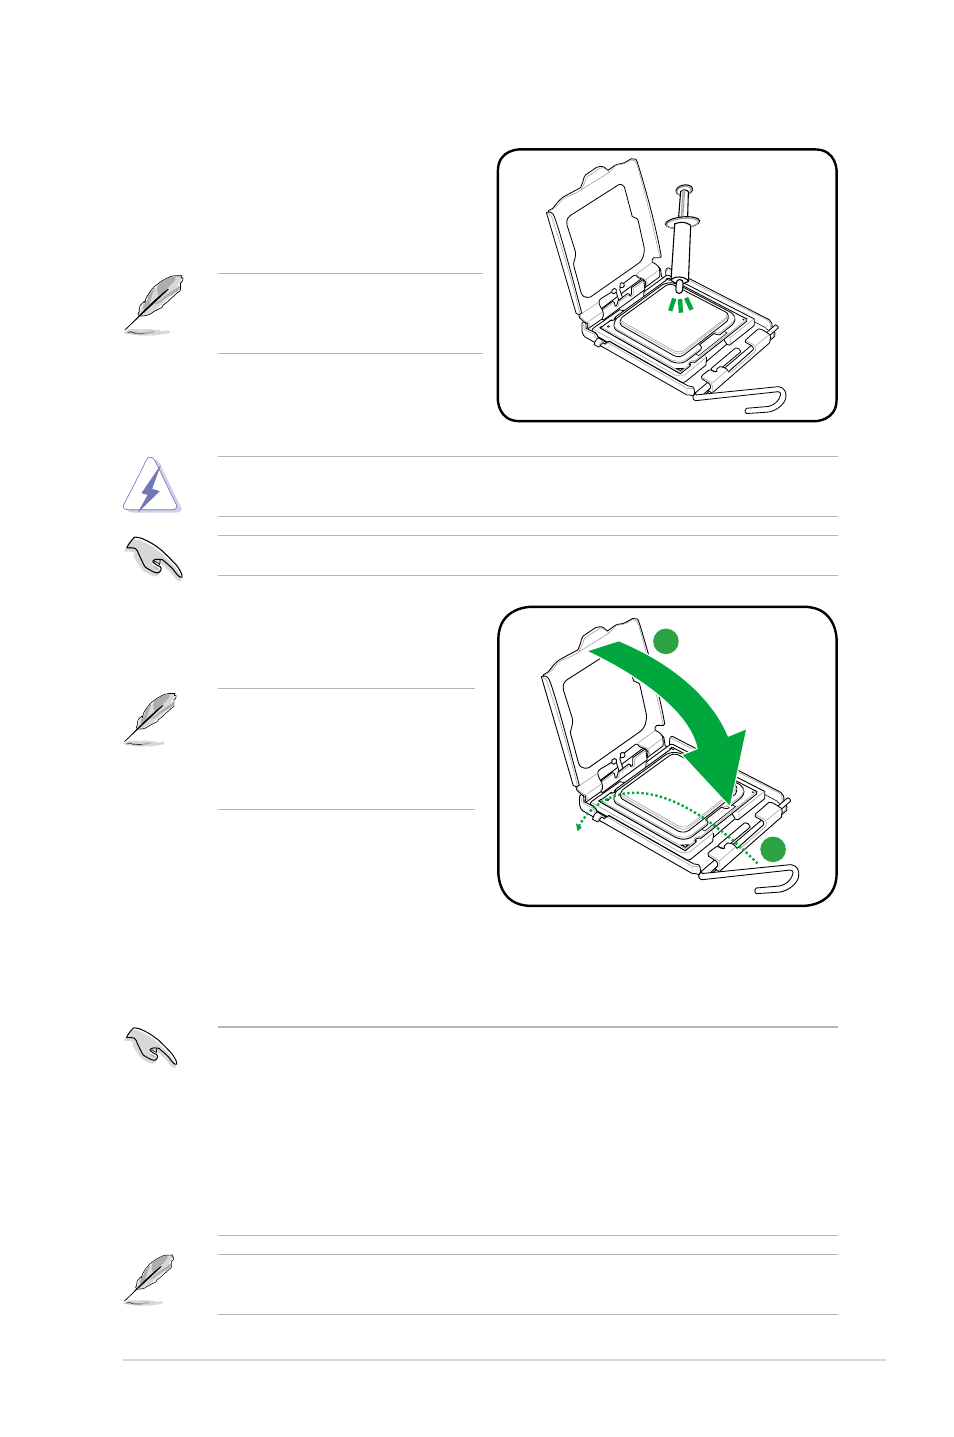
6.
Apply some Thermal Interface Material
to the exposed area of the CPU that the
heatsink will be in contact with, ensuring
that it is spread in an even thin layer.
DO NOT eat the Thermal Interface Material. If it gets into your eyes or touches your skin,
ensure that you wash it off immediately, and seek professional medical help.
Some heatsinks come with pre-
applied thermal paste. If so, skip this
step.
To prevent contaminating the paste, DO NOT spread the paste with your finger directly.
7.
Close the load plate (A), then push
the load lever (B) until it snaps into the
retention tab.
A
B
This motherboard supports
Intel
®
LGA775 processors with the
Intel
®
Enhanced Intel SpeedStep
®
Technology (EIST) and
Hyper-Threading Technology.
1.6.2
Installing the CPU heatsink and fan
The Intel
®
LGA775 processor requires a specially designed heatsink and fan assembly to
ensure optimum thermal condition and performance.
• When you buy a boxed Intel
®
processor, the package includes the CPU fan and
heatsink assembly. If you buy a CPU separately, ensure that you use only Intel
®
-certified
multi-directional heatsink and fan.
• Ensure that you have installed the motherboard to the chassis before you install the
CPU fan and heatsink assembly.
• If you purchased a separate CPU heatsink and fan assembly, make sure that you have
properly applied Thermal Interface Material to the CPU heatsink or CPU before you
install the heatsink and fan assembly.
Your Intel
®
LGA775 heatsink and fan assembly comes in a push-pin design and requires no
tool to install.