Rough Country 1304 User Manual
Page 3
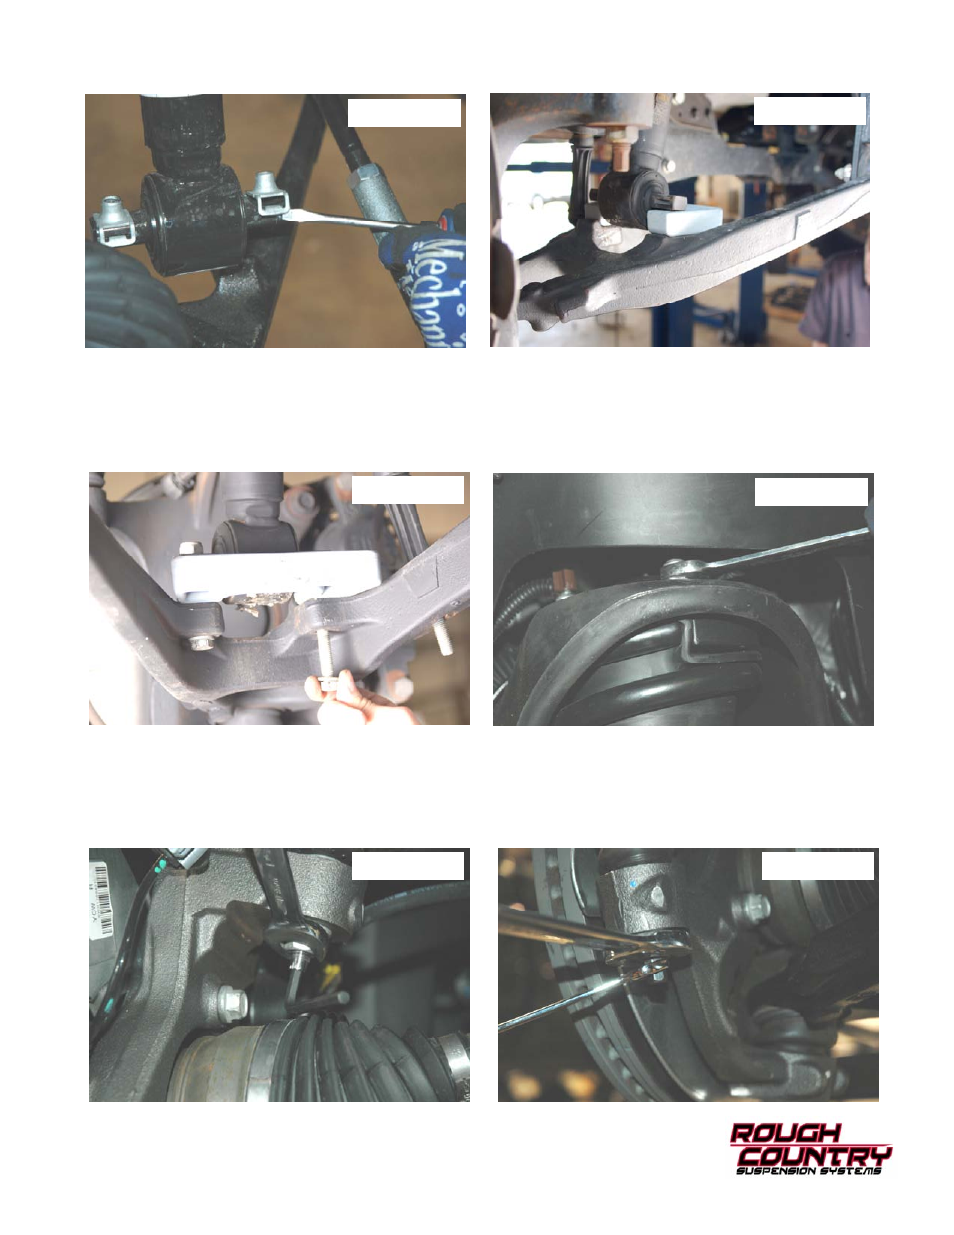
9. Place strut spacer under the lower strut mount and align holes. See Photo 8.
10. Install the new 10mm bolts, washers and nuts provided in the kit. Install bolts with the head going down as shown in
Photo 9. Tighten to 30-35 ft/lbs. Do not over-tighten the bolts. You may have to move the knuckle to one side to
allow room to install the bolt by the axle shaft.
11. Tighten the bolt using a 17mm wrench, and a 16mm wrench for the nut.
12. Using a 18mm wrench tighten the upper strut nuts, torque to factory specs
See Photo 10
.
13. Raise the lower control arm and connect the upper ball joint on the upper control arm to the spindle. Using a 18mm
wrench, torque to manufacturer specs.
If ball joint turns while tightening, use a 7/32”allen wrench to hold the ball
joint
.
See Photo 11
.
14. Reinstall the steering linkage nut using a 21mm wrench. If ball joint turns while tightening, use a 10mm wrench to
hold the bottom of the tie rod. See Photo 12.
Photo 11
Photo 9
Photo 7
Photo 8
Photo 10
Photo 12