Rmc 7152, Pc 5192 – Acnodes PC 5192 User Manual
Page 93
661 Brea Canyon Rd., Suite 3
Walnut, CA 91789
tel: 909.598.7388, fax: 909.598.0218, www.acnodes.com
© Copyright 2009 Acnodes, Inc.
All rights reserved. Product description and product specifications
are subject to change without notice. For latest product information,
please visit Acnodes’ web site at
RMC 7152
14” short depth server
RMC 7152
14” short depth server
93
PC 5192
19-inch sunlight readable touch panel PC
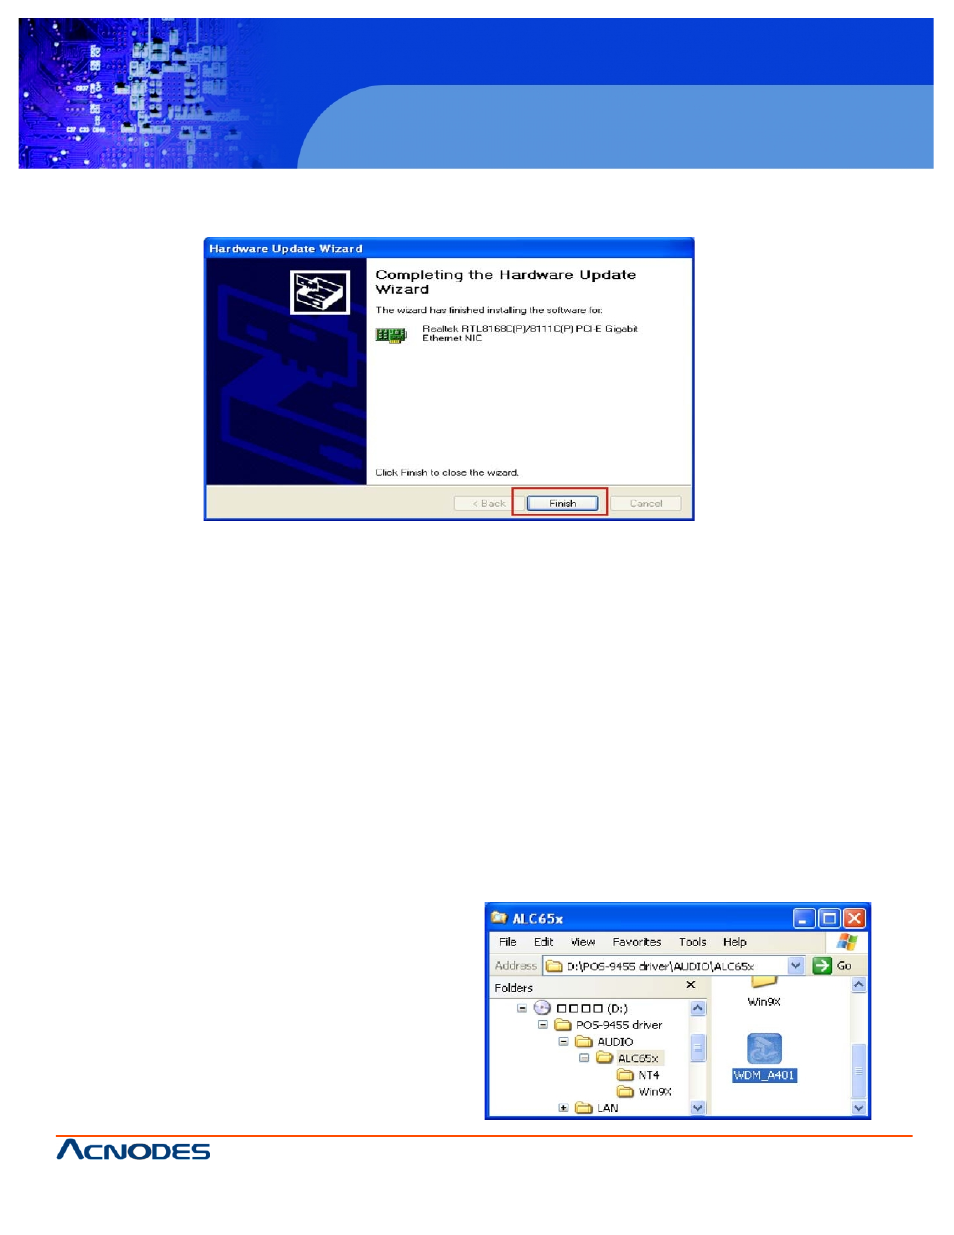
Step 9: After the installation wizard finds the Gigabit Ethernet driver, the Hardware
Update Completed window appears (Figure 6-20).
Figure 6-20: Hardware Installation Complete
Step 10: Click FINISH to exit the installation wizard and complete the installation process.
6.5 Audio Driver
To install the audio driver, the audio needs to be enabled in the BIOS and then the software driver can be installed.
6.5.1 BIOS Setup
Step 1: Enter the BIOS setup. To do this, reboot the system and press DEL during POST.
Step 2: Go to the Southbridge Configuration menu. Set the Audio Controller option to [auto].
Step 3: Press F10 to save the changes and exit the BIOS setup. The system reboots.
6.5.2 Driver Installation
To install the audio driver please follow the steps below.
Step 1: Browse to the AUDIO folder on the installation CD (Figure 6-21).
Step 2: Double-click the Setup icon.
Step 3: The audio setup window appears (Figure 6-22).