Table 7 – 3Com V7111 User Manual
Page 22
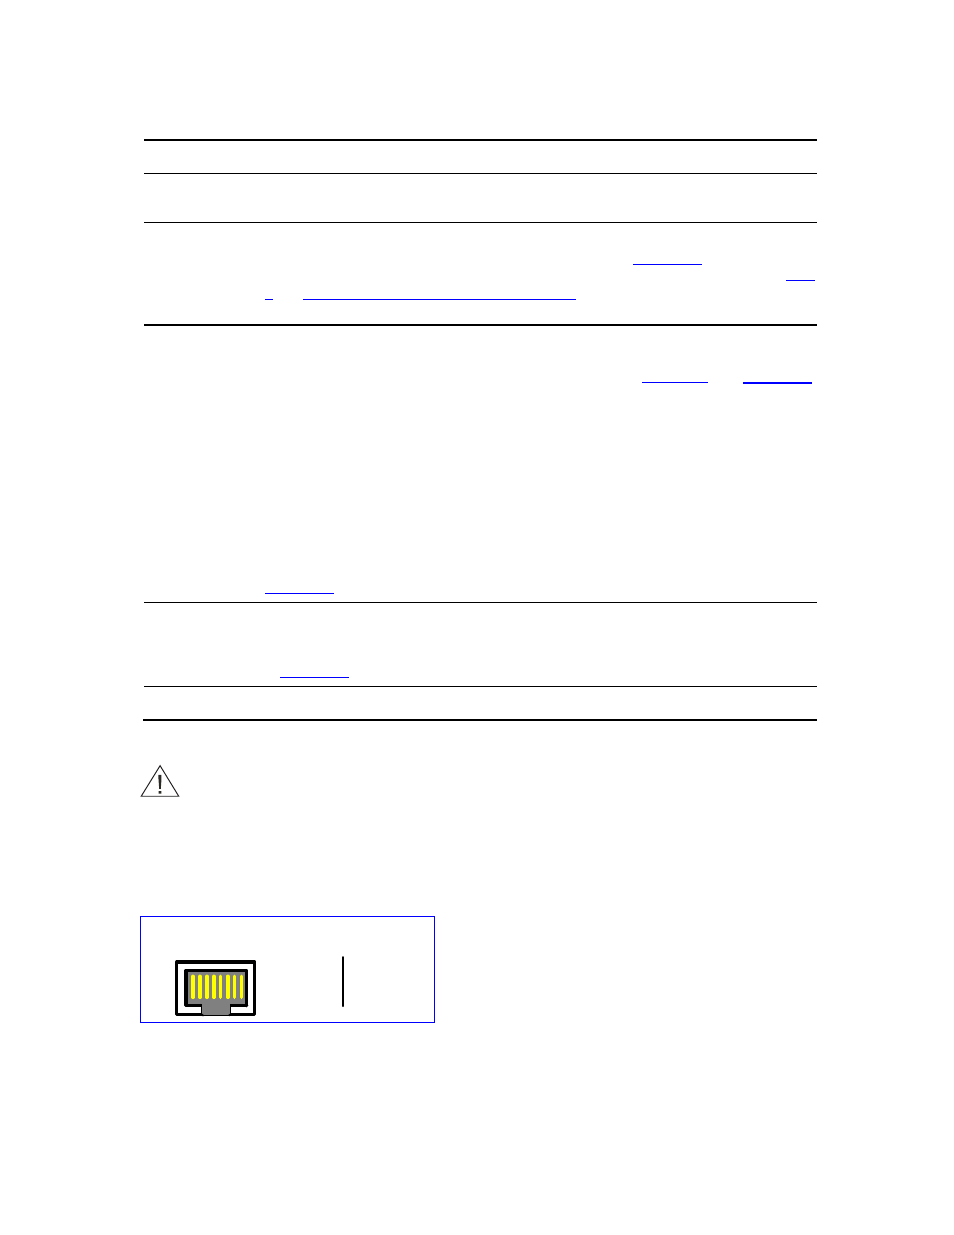
Table 7
V7111 24-PORT Cables and Cabling Procedure
Cable Cabling
Procedure
Protective
earthing strap
Connect an earthed strap to the chassis protective earthing screw and fasten it securely
according to the safety standards.
Connect the Ethernet connection on the V7111 24-PORT directly to the network using a
standard RJ-45 Ethernet cable. For connector pinouts, see
RJ-45 Ethernet
cable
.
Note that when assigning an IP address to the V7111 24-PORT using HTTP (under
Assigning an IP Address Using HTTP
), you may be required to disconnect
this cable and re-cable it differently.
See the V7111 24-PORT Safety Notice below.
50-pin Telco
cable (V7111 24-
PORT devices
only).
An Octopus cable
is not included
with the V7111
24-PORT
package.
Wire the 50-pin Telco connectors according to the pinouts in
.
Attach each pair of wires from a 25-pair Octopus cable to its corresponding socket on the
MDF Adaptor Block’s rear.
Connect the wire-pairs at the other end of the cable to a male 50-pin Telco connector.
Insert and fasten this connector to the female 50-pin Telco connector on the V7111 24-
PORT rear panel (labeled Analog Lines 1-24).
Connect the telephone lines from the Adaptor Block to a fax machine, modem, or
telephones by inserting each RJ-11 connector on the 2-wire line cords of the POTS
phones into the RJ-11 sockets on the front of an MDF Adaptor Block as shown in
Using a standard RS-232 straight cable (not a cross-over cable) with DB-9 connectors,
connect the V7111 24-PORT RS-232 port to either COM1 or COM2 RS-232
communication port on your PC. The required connector pinouts and gender are shown
in
RS-232 serial
cable
AC Power cable
Connect the V7111 24-PORT power socket to the mains.
CAUTION: V7111 24-PORT Safety Notice
To protect against electrical shock and fire, use a 26 AWG min wire to connect
analog FXS lines to the 50-pin Telco connector.
Figure 13
RJ-45 Ethernet Connector Pinouts
1 2 3 4 5 6 7 8
RJ-45 Connector and Pinout
4, 5, 7, 8
not
connected
1 - Tx+
2 - Tx-
3 - Rx+
6 - Rx-
22
3Com VCX V7111 Analog Gateway Installation Guide