3 calibrating the uw/w 100, 1 calibrating the rear tensioning system – Xerox 83xx User Manual
Page 24
3-10
3.3 CALIBRATING THE UW/W 100
3.3.1 Calibrating the rear tensioning system
Parts and Tools needed
Included in kit
No.
Description
Quantity
1
Synthetic paper strip
1
2
Hexagon wrench 2,5 mm
1
3
Hexagon wrench 3 mm
1
4
Hexagon wrench 4 mm
1
NOT included in kit
No.
Description
Quantity
1 Tape
1
2 Pencil
1
3.3.1.1 Checking the calibration
The procedure below describes the calibration check of the rear tensioning system. The method to check
the front tensioning system is the same. However, the front and rear tensioning bars use different bars to
complete the calibration.
Procedure :
P
ART
1
:
P
REPARING THE SYNTHETIC PAPER STRIP
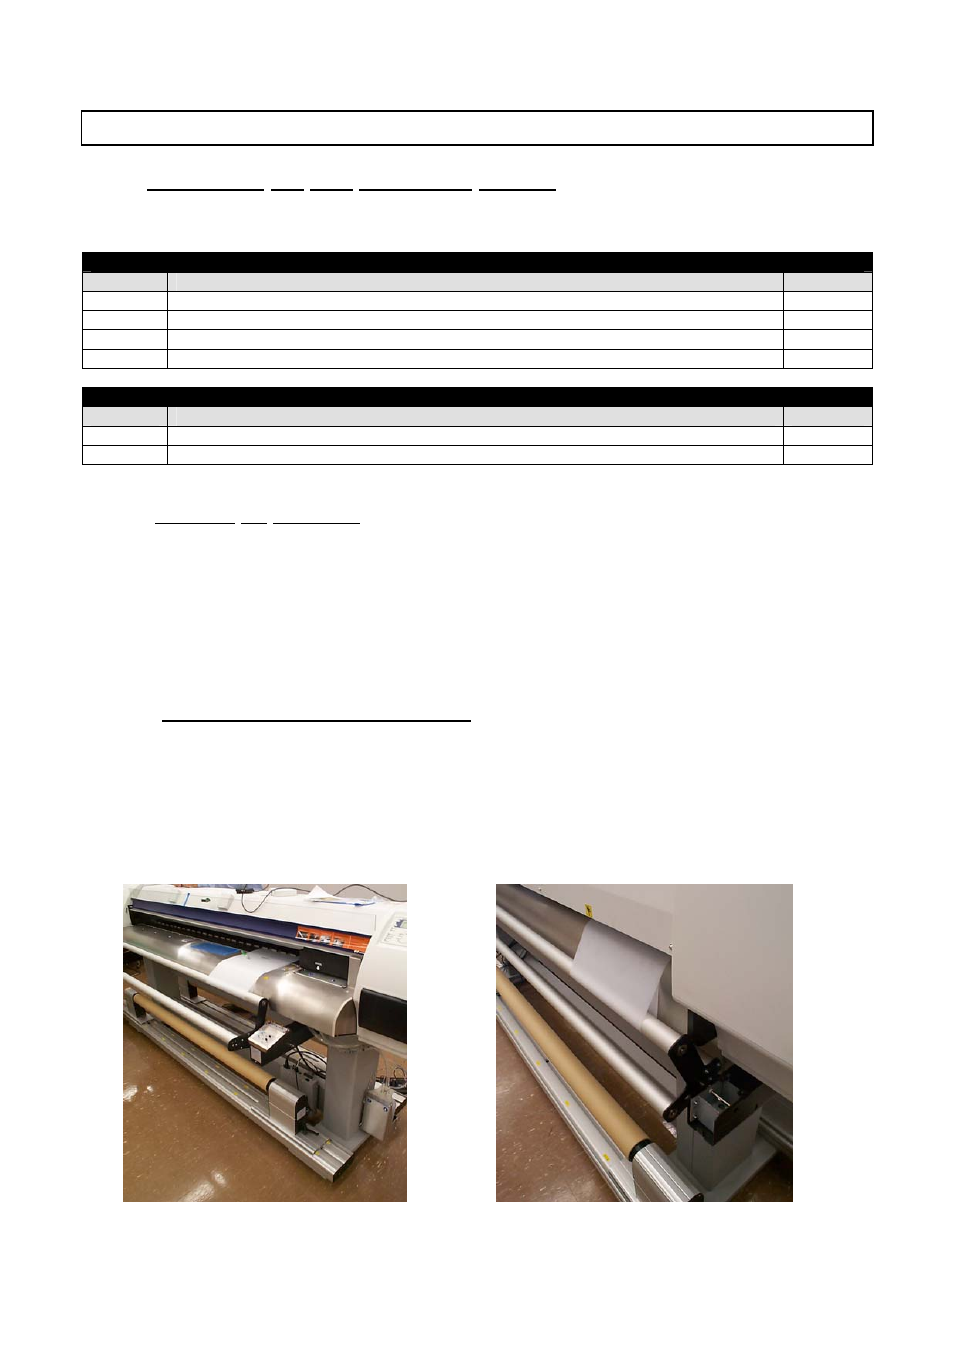
Step 1 :
Put the pressure rollers in the up position.
Step 2 :
Go to the back of the machine.
Step 3 :
Create a loop with the synthetic paper strip around the upper bar of the rear tension system at
the left side when standing at the back of the printer.
FRONT REAR