2 configuring host mapping – TP-Link TL-SG3109 User Manual
Page 50
field values are:
– Dynamic — The IP address is dynamically created.
– Static — The IP address is a static IP address.
Remove — Removes DNS servers. The possible field values are:
– Checked — Removes the selected DNS server
– Unchecked — Maintains the current DNS server list.
DNS Server — Displays the DNS server IP address. DNS servers are added in the Add DNS Server Page.
Active Server — Specifies the DNS server that is currently active. The possible field values are:
–
Selected — Activates the selected DNS server after the device is reset.
–
Unselected — Deactivates the selected DNS server after the device is reset. This is the default value.
2. Click the Enable DNS checkbox.
3. Define the Default Domain Name.
4. Click
. The Add DNS Server Page opens:
Figure 62: Add DNS Server Page
5. Enter the DNS Server name and click Set DNS Server
Active.
6. Click
. The new server is added, and device
information is updated.
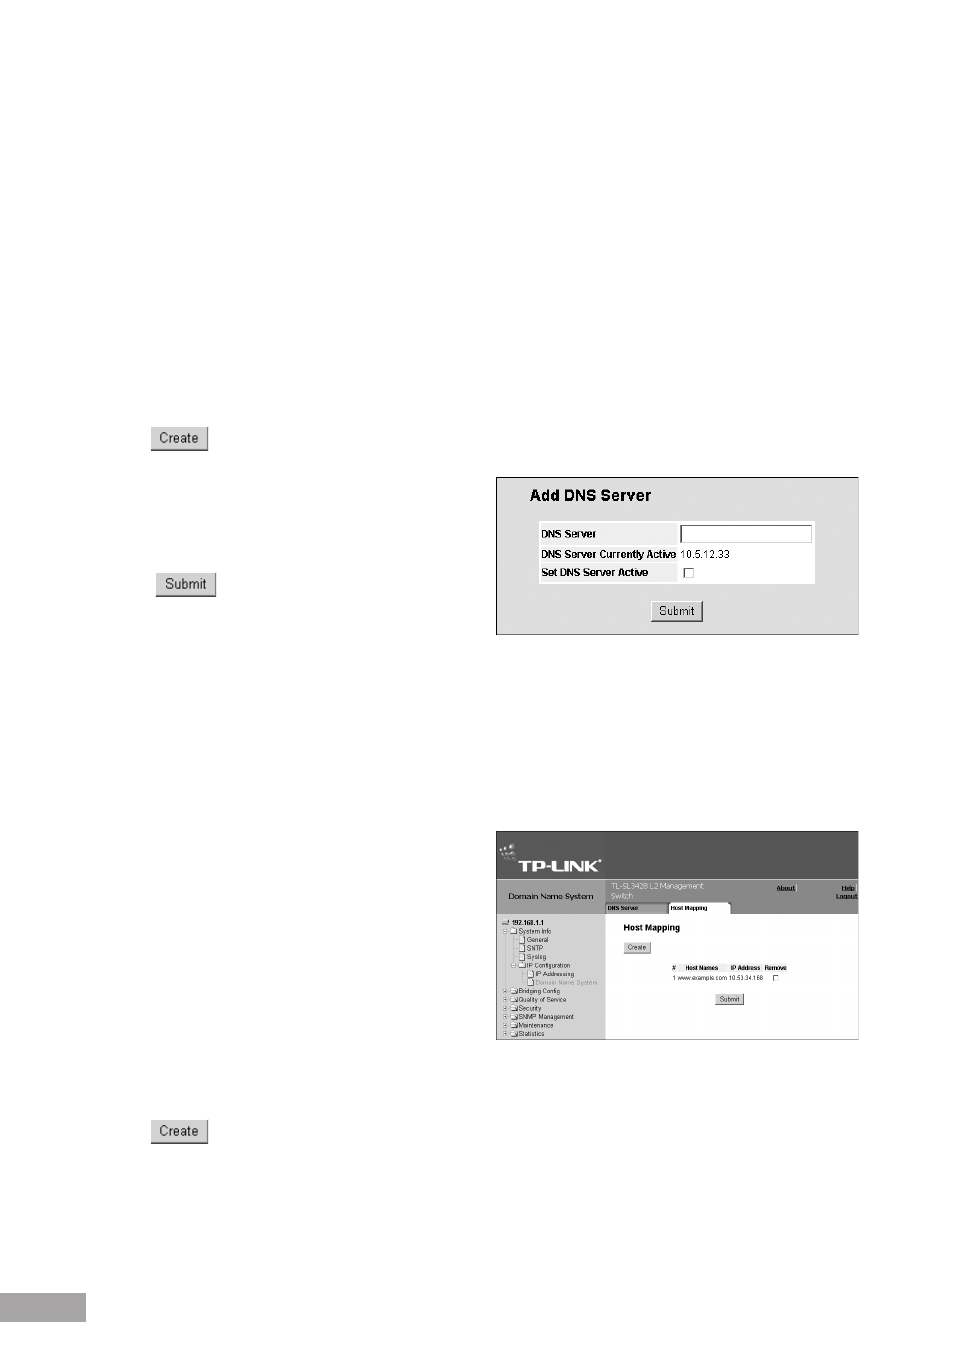
6.2.2 Configuring Host Mapping
The DNS Host Mapping Page provides information for defining DNS Host Mapping.
To define DNS host mapping:
1. Click
System > System Info > IP Configuration > Domain Name System > Host Mapping. The Host Mapping Page
opens:
Figure 63: Host Mapping Page
The Host Mapping Page contains the following fields:
Host Names — Displays a user-defined default
domain name. When defined, the default domain name
is applied to all unqualified host names. The Host
Name field can contain up to 158 characters.
IP Address — Displays the DNS host IP address.
Remove — Removes default domain names. The
possible field values are:
– Checked — Removes the selected DNS host.
– Unchecked — Maintains the current DNS host mapping list.
2. Click
. The Add DNS Host Page opens: