Step 4: attach lun to udv, Please refer to step 3 of example 1 to attach lun, Step 5: set dedicated spare disk – Thecus Technology i Series User Manual
Page 49: Select “/ volume config / physical disk, There is a “ds” icon shown up at status 1 column, Figure 3.6.7.13, Step 6: done. the pds can be used as iscsi disks, Delete udvs, vg, please follow the steps, Step 7: detach lun from udv, Please refer to step 6 of example 1 to detach lun
Step 4:
Attach LUN to UDV.
Please refer to Step 3 of Example 1 to attach LUN.
Step 5:
Set dedicated spare disk.
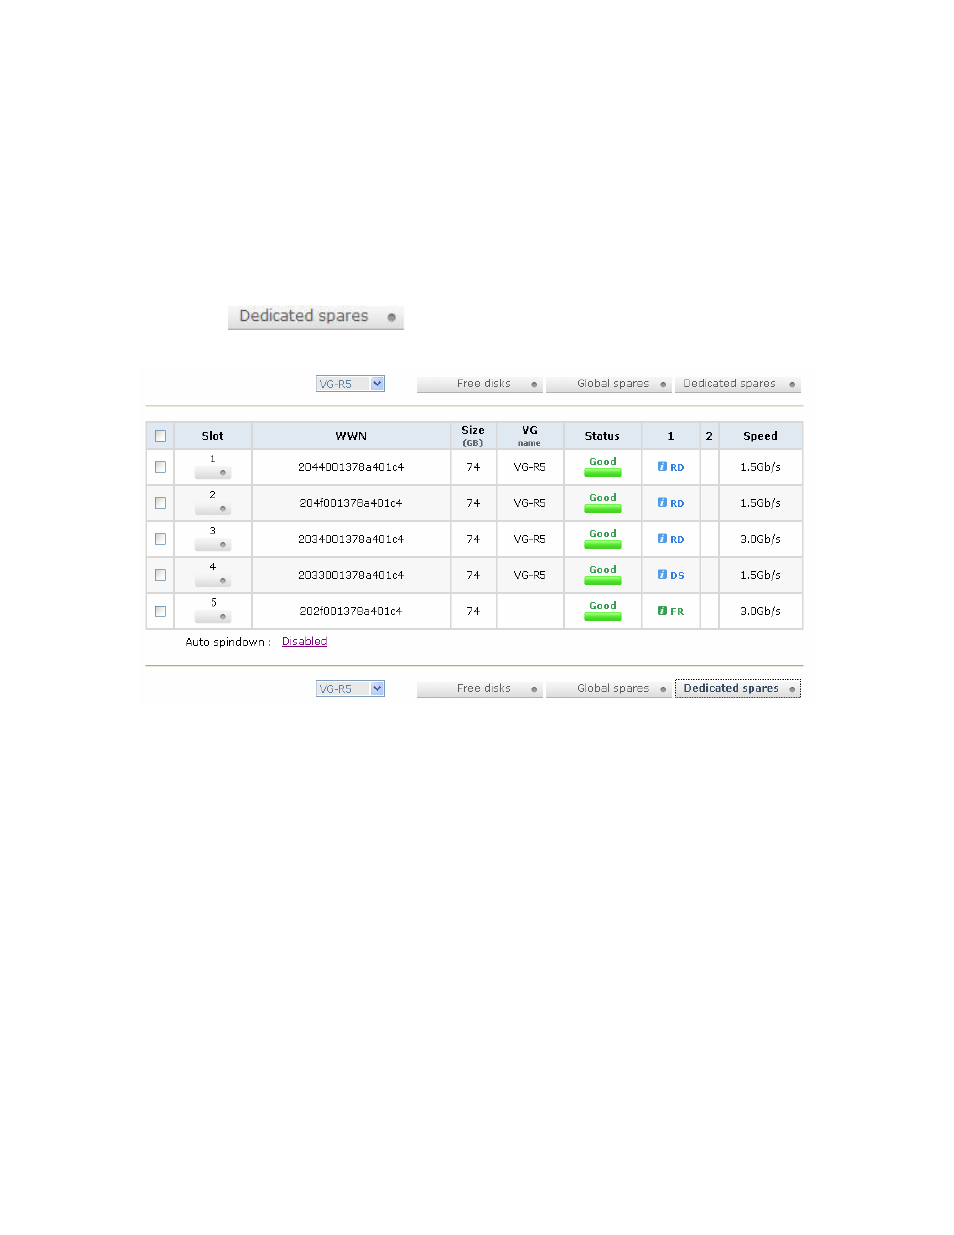
To set dedicated spare disks, please follow the procedures:
1. Select “/ Volume config / Physical disk”.
2. Select a VG from the list box, then select the free disk(s), click
“
” to set as dedicated spare for the selected VG.
3. There is a “DS” icon shown up at status 1 column.
Figure 3.6.7.13
(Figure 3.6.7.13: Slot 4 has been set as dedicated spare disk of VG named “VG-R5”.)
Step 6:
Done. The PDs can be used as iSCSI disks.
Delete UDVs, VG, please follow the steps.
Step 7:
Detach LUN from UDV.
Please refer to Step 6 of Example 1 to detach LUN.
Step 8:
Delete UDV (User Data Volume).
Please refer to Step 7 of Example 1 to delete UDV.
Step 9:
Delete VG (User Data Volume).
Please refer to Step 8 of Example 1 to delete VG.
Step 10:
Free dedicated spare disk.
- 49 -