One-touch timer recording (otr), Timer recording – Toshiba RD-XV48KE User Manual
Page 33
33
EN
One-touch Timer Recording
(OTR)
This is a simple way to set the recording time in
blocks of 30 minutes. Check that the disc you are
recording onto has enough space remaining for the
time you set. (See page 82 for VCR recording.)
1
Follow steps
1
to
6
in “Basic
Recording” on page 32.
2
Press [REC I] repeatedly until the
desired recording time (30 minutes
to 8 hours) appears on the TV
screen.
One-touch Timer Recording will start.
• When the unit reaches the specified time, it will
be turned off automatically.
• To change the recording length during One-
touch Timer Recording, press [REC I]
repeatedly until the desired length appears.
• To cancel One-touch Timer Recording within
the specified time, press [STOP C].
Hint
• The remaining recording time will appear on the TV
screen during One-touch Timer Recording. Press
[DISPLAY] to see it on the TV screen.
• The remaining recording time will be displayed on
the front panel display during One-touch Timer
Recording.
• Unlike the timer recording, you can perform the
following operations during One-touch Timer
Recording.
- Turn off the power. (One-touch timer recording will
be cancelled.)
- Use [REC I] on the remote control.
Note
• You cannot use the pause function during One-
touch Timer Recording.
• The unit will be turned off automatically under the
following conditions.
- No space remains on the disc.
- If a power failure occurs.
• If the external equipment is connected to AV2, the
picture of the external equipment will be output
except during the DVD playback of this unit. Turn off
the external equipment or press [DISPLAY] to
output the picture of this unit.
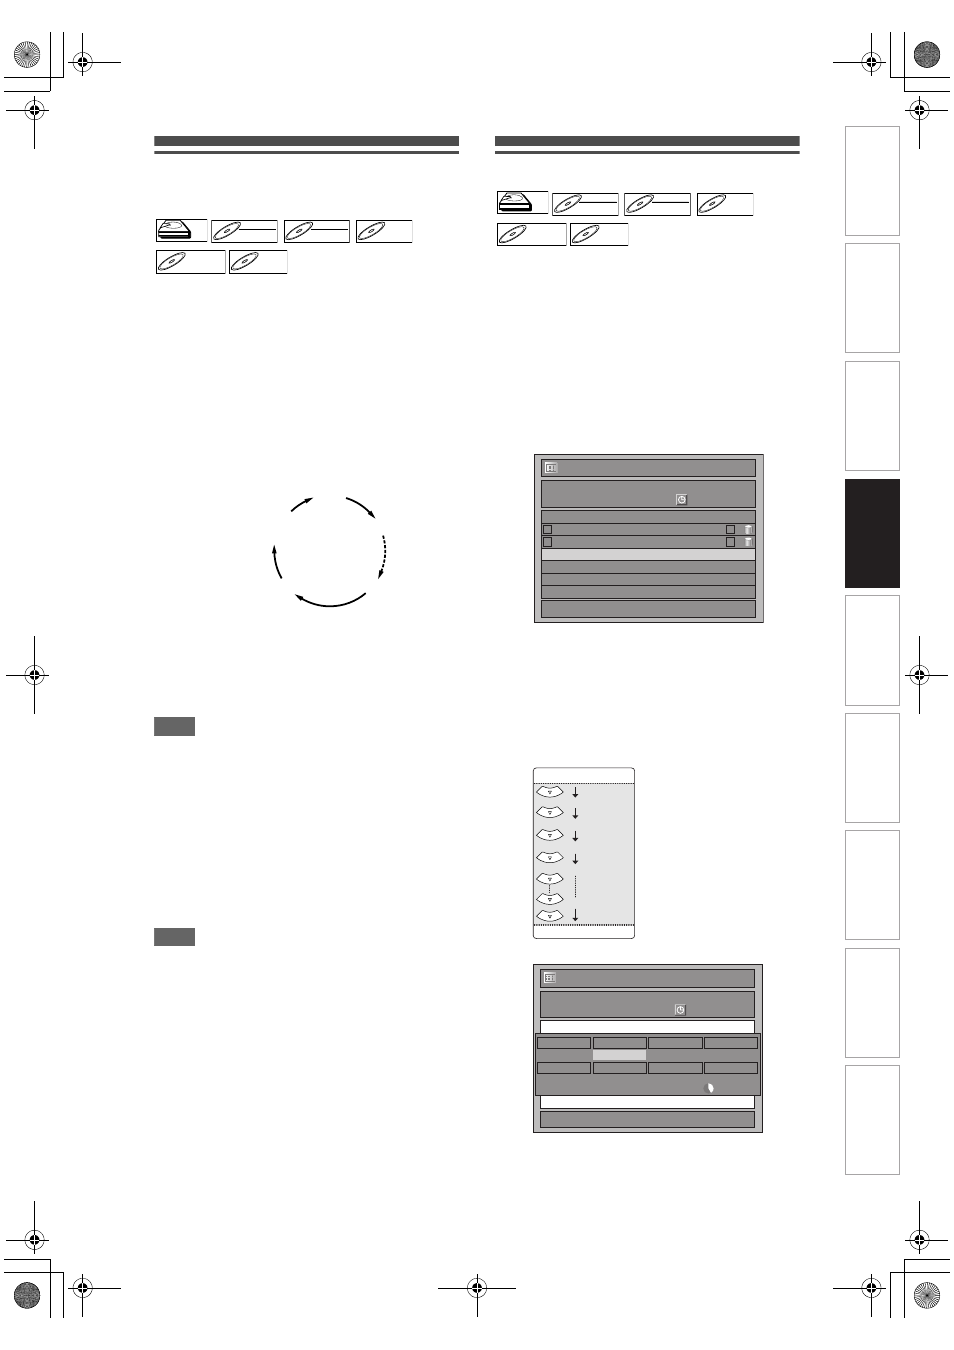
Timer Recording
You can set the unit to record up to 36 programmes,
up to a month in advance. Daily or weekly programme
recordings are also available.
• Be sure to set the clock before entering a timer
programming.
Insert a recordable disc.
1
In stop mode, press [TIMER PROG.].
“Timer Programming” list will appear.
2
Select “New Programme” using
[
U \ D], then press [ENTER].
• If there are 7 programmes or more, use
[SKIP H
\ G] to turn the page.
3
Enter the date using [
U \ D], then
press [
P].
Each time you press [
D] at the current date, the
timer recording date will change as follows.
e.g., 1st January
4
Enter the time to start and to end
using [
U \ D], then press [P].
HDD
HDD
D
DVD-R
VD-RW
W
DVD-RW
Video
DVD-RW
DVD-RW
VR
DVD-R
DVD-R
D
DVD+R
VD+RW
W
DVD+RW
D
DVD+R
VD+R
DVD+R
0:30
8:00
7:30
1:00
Normal
Recording
HDD
HDD
D
DVD-R
VD-RW
W
DVD-RW
Video
DVD-RW
DVD-RW
VR
DVD-R
DVD-R
D
DVD+R
VD+RW
W
DVD+RW
D
DVD+R
VD+R
DVD+R
1/1
06/12
0:00
06/12
07/12
7:00
9:00
9:00
9:30
P10
P08
VPS
PDC
Timer Programming
THU
Date
Start
End
CH
New Programme
01/01
31/01
Daily
M-F
W-SAT
W-FRI
W-SUN
(Mon.-Fri.)
1/1
P01 ARD
01/01
XP
1:00
XP
-- : --
-- : --
0:00
06/12
Timer Programming
THU
CH
Skip
Date
Start
End
REC To
Mode
VPS/PDC
HDD
OFF
In
trod
ucti
on
Con
n
e
c
tio
n
s
B
asi
c Se
tu
p
P
la
y
b
ack
Ed
iti
n
g
O
th
ers
Fu
nc
ti
on
S
e
tup
Reco
rdi
n
g
V
C
R Fu
nct
ion
s
E3LG0ED_EN.book Page 33 Wednesday, April 30, 2008 11:52 AM