Orion STARSHOOT 52085 User Manual
Page 14

26
27
sen as the reference is rejected from the stack, you will not be able to Overlay
All Images.
6. Now, click the Overlay All Images button. All of the selected images will
stack on top of each other to form one resultant image. Click OK
Set the Screen Stretch Window to Medium (or otherwise manually adjust
for best image appearance), and use Save under the File menu to save your
image. You can now perform any wanted imaging processing.
Combine Methods
We previously mentioned in “Imaging Deep Sky Objects” that Average is one
of the methods to combine your images. There are three other methods that
will achieve slightly different results: Sum, Median, and Sigma-Clip. Each of
these methods will improve your image by stacking it, but each one combines
the images in different ways.
1. Average sums all the pixels and divides by the number of images chosen
to combine.
2. Sum adds up all the pixels in the images. This will increase the Max Pixel
value and the offset in the Screen Stretch window. If you Sum the image,
the file should be saved as a fit in IEEE Float (beyond 16 bits) to preserve
all the data in the image.
3. Median takes the middle pixel value from all of the images. The Median
mode is useful when some pixels are extremely bright or dark (hot/dark
pixels, cosmic ray hits). If Median mode is used, a Normalize option is
available. Normalize will remove differences in the image scaling which
could interfere with the median processing.
4. Sigma-Clip combines the best features of Average and Median. Sigma-
Clip is the best choice for removing unwanted noise, hot pixels and satel-
lite trails. It works like Average but also calculates the standard deviation
of the averaged pixel values. The Sigma Factor will determine how many
pixels from the standard deviation are discarded. The lower the Sigma
Factor, the more pixels are discarded. 0.5 is a good value to start with.
A new average is calculated without the discarded pixel. This value is
assigned to the corresponding pixel in the output image.
Filter
Filtering an image is an operation that emphasizes certain characteristics of an
image while suppressing others. MaxIm DL Essentials supports two kinds of
filters: Unsharp Mask and Gaussian Blur. In the Filter window select which
one of these filter types you would like to apply.
Unsharp Mask is a method of sharpening or high-pass filtering an image. It
amounts to subtracting a low-pass filtered version of an image from itself. The
low-pass filtered version is called the mask. The Low-Pass Filter itself can
be set to Mild or Strong for different effect. Use Mask Weight to control the
strength of the mask applied to the image. The Mask Weight is in percent; the
higher the number, the stronger the mask.
Gaussian Blur is a method of blurring an image. It can be used to suppress
noise in an image at the expense of sharpness. The Radius setting controls
the amount of blurring applied to the image. Increasing the radius increases
the amount of blur applied.
For best results, turn on the Auto Full Screen preview button, and adjust
the settings. This allows you to rapidly adjust the settings until you are satis-
fied with the results. Then, click OK to actually apply the filter settings to the
image.
It is best to use a light touch with this command, to avoid over-processing the
image. Over-processing can create artifacts; i.e. features in the image that are
not real. It also amplifies the noise in the image.
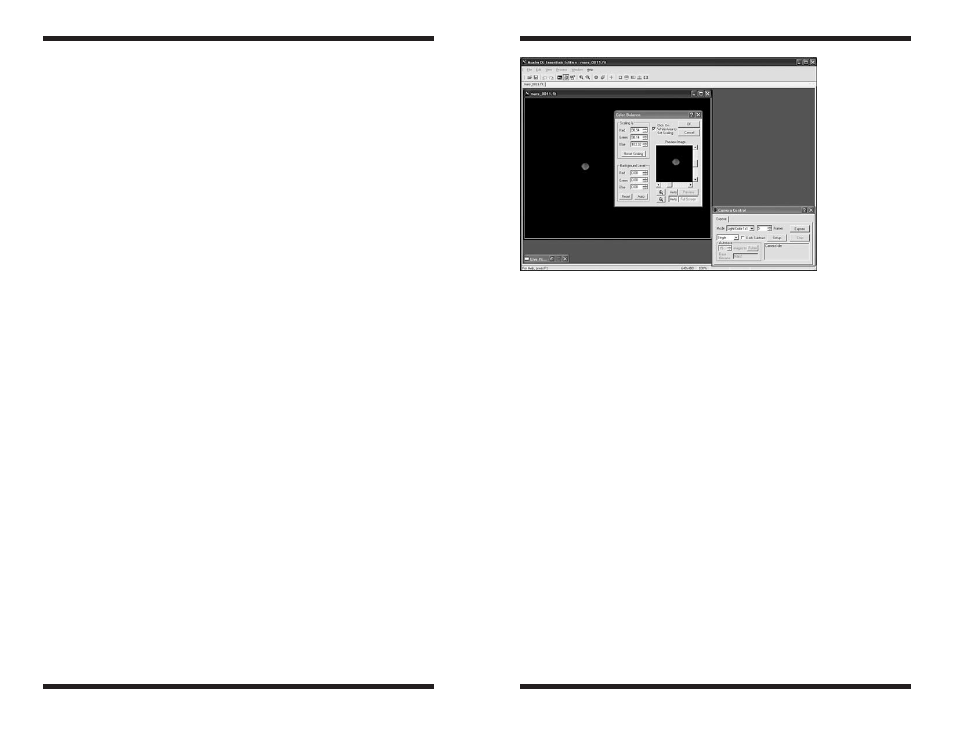
Color Balance
The sensitivity of most CCD cameras as a function of wavelength (color) is dif-
ferent from the response of the human eye. The filters used for creating color
composites also have their own characteristics, as do the telescope optics.
Although “perfect” color rendition is an elusive if not impossible goal (all indi-
viduals see colors slightly differently), it is straightforward to get “good” color
balance with simple weightings. This is where the Color Balance command (in
the Process menu, Figure 20) comes in handy to touch up the resultant colors
in your images. Use the Preview Image to see how altering these parameters
will affect your image (or click the Full Screen button to see the changes
applied to your full image).
Figure 20.
The
Color Balance
command allows
weighting of each
color plane to
improve the overall
color appearance
of an image.
