Orion ATLAS EQ-G User Manual
Page 13
13
5. The hand controller’s LCD screen will show a safe solar
viewing warning message. Press the
ESC button to con-
tinue.
Note: The GoTo hand controller’s LCD backlighting will
become dim and the illuminated buttons will turn off if left idle
for 30 seconds. Pressing any button will re-illuminate the hand
controller.
6. Enter your observing site’s longitude and latitude coordi-
nates. First enter the longitude coordinate and hemisphere,
followed by the latitude coordinate and hemisphere. Use
the numerical keypad to enter the digits, and use the left
and right directional buttons to move to the next digit. Use
the scroll buttons to choose W or E (for longitude) and N
or S (for latitude). If you do not know the longitude and
latitude coordinates of your viewing location, consult an
atlas or geographical map of your area. Press
ENTER to
confirm your coordinates.
Note: Longitude and latitude coordinates must be entered
in degrees and arcminutes. If your map or atlas gives coor-
dinates in decimal values (i.e. latitude = 36.95 N) you must
convert into degrees and arcminutes (i.e. latitude 36.95 N =
latitude 36°57’ N).
Note: If a mistake is entered into the hand controller during
the initial setup procedure, press the
ESC button to go back
to the previous screen.
7. Enter the time zone in which you are observing in hours
(see Appendix D) using the scroll buttons (+ for east of
Prime Meridian, - for west of Prime Meridian) and numeric
keypad. Use the left and right directional buttons to move
to the next digit. Press
ENTER to confirm your choice.
8. Enter the date in mm/dd/yyyy format using the numeric
keypad. Use the left and right directional buttons to move
to the next digit. Press
ENTER to confirm your choice.
9. Enter your current local time using the 24 hour clock for-
mat (example: 2:00PM = 14:00). Press
ENTER to view the
time you entered. If the time is incorrect, press
ESC to go
back to the previous screen. If the time is correct, press
ENTER again.
10. If the date entered in step 8 falls between March
and November, the hand controller will ask “DAYLIGHT
SAVING?” on the LCD screen. Use the scroll buttons to
select “YES” or “NO” to indicate if you are currently on
Daylight Savings Time or not, and press
ENTER.
11. The hand controller will now display “Begin Alignment?”
Press
1 or ENTER to start the alignment procedure. Press
2 or ESC to skip the alignment and exit to the Main Menu.
You are now ready to begin the alignment procedure.
alignment
In order for the GoTo hand controller to accurately locate and
point to objects in the sky, it must first be aligned on known
positions (stars). With the supplied information, the controller
can replicate a model of the sky and the movements of astro-
nomical objects.
There are three ways to align depending on your demand for
accuracy. If you are using the GoTo controller for the first time,
we recommend you begin with the three-star alignment. In
most cases, a three-star alignment produces the most accu-
rate alignment among the three methods. The description
below will lead you through a step-by-step procedure on how
to perform the three-star alignment.
Note: Before performing any of the alignment methods, be
sure your finderscope is well aligned with the telescope tube.
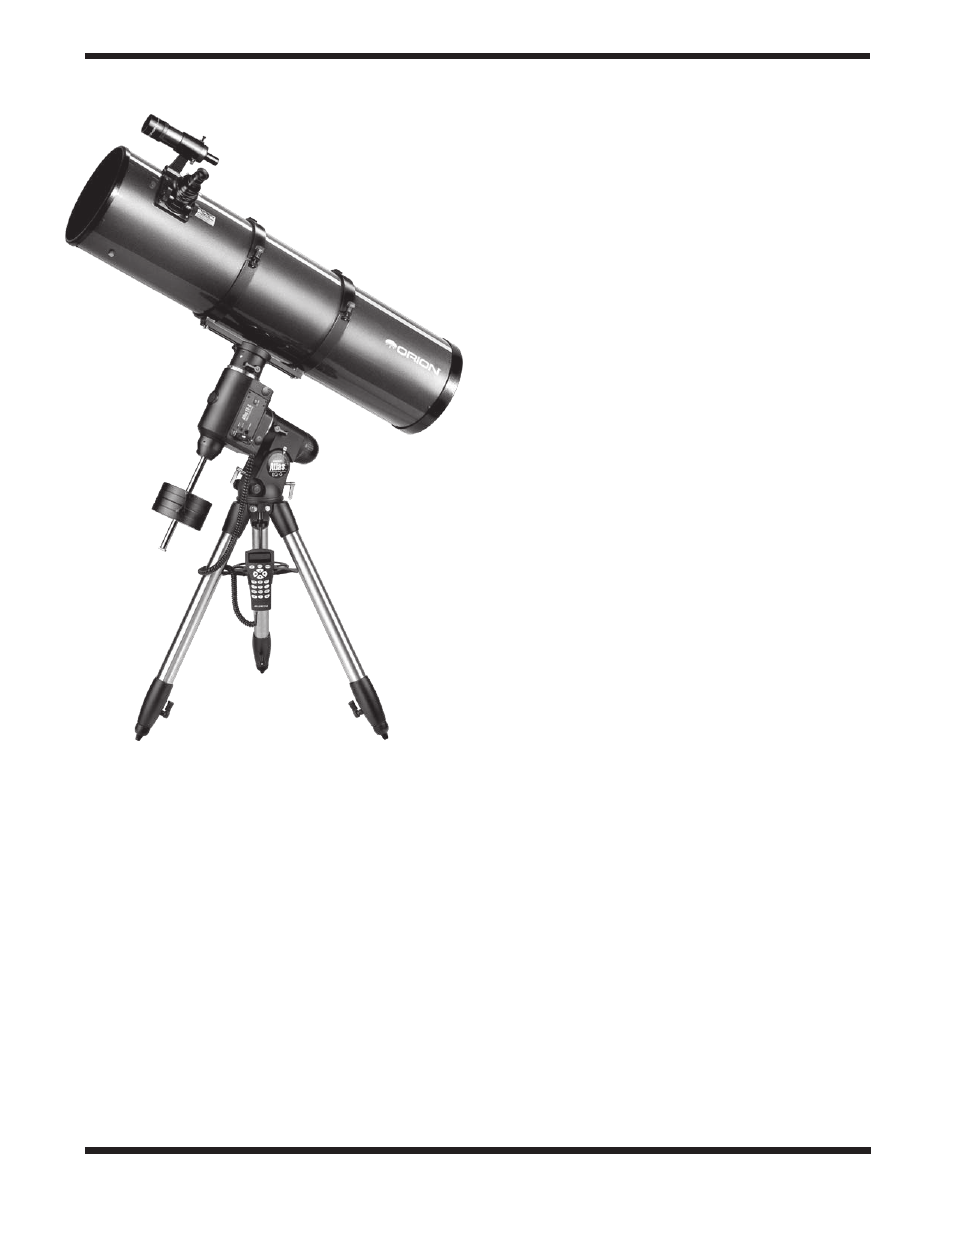
Figure 14.
The telescope and mount in their “home” position