Until the display shows pbx line, [off]. 5 press, The display changes to pbx line, [on]. 6 press – Oki 87 User Manual
Page 39
Installation
27
Warning: Some PBX installations may require additional adjust-
ments to your MFP machine. If you continue to have
difficulty with fax communication after following these
steps, contact your dealer.
PBX LINE
[OFF] YES(
) NO(
)
+
+
+
ABC
2
USER
PROG.
9/SPACE
SELECT
FUNCTION
YES
YES
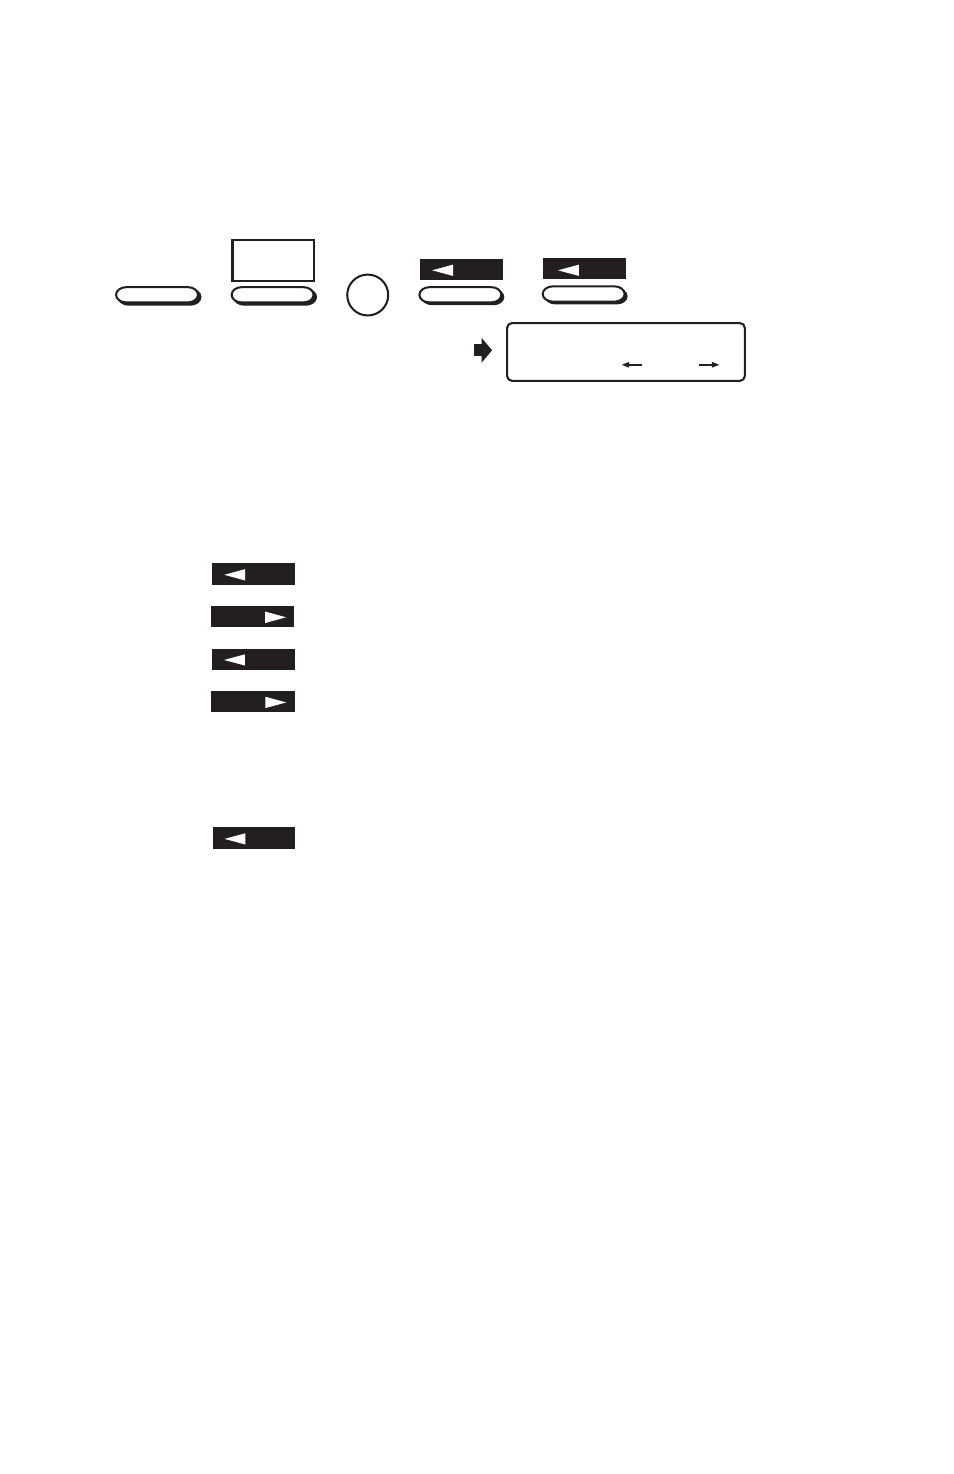
1 Press the SELECT FUNCTION key.
2 Press the 9/USER PROG. One-Touch key.
3 On the numeric keypad, press 2. The display shows 2:DIAL PA-
RAMETER.
4 Press
YES
until the display shows PBX LINE, [OFF].
5 Press
NO
. The display changes to PBX LINE, [ON].
6 Press
YES
until the display shows DIAL PREFIX, [OFF].
7 Press
NO
. The display changes to DIAL PREFIX, [ ] ENTER 4
DIGITS.
8 Using the numeric keypad, enter the number you normally dial from
your PBX to obtain an outside line.
9 Press
YES
.
10 Press the SELECT FUNCTION key to finish.
Tip: Keep in mind that all of the outside telephone numbers you
program into your MFP machine must begin with your PBX’s dial
prefix.
Tip: To later turn off the PBX LINE and DIAL PREFIX functions,
follow Steps 1-7 above. At Step 8, press the 9/SPACE One-Touch
key four times.