Ricoh 3260 User Manual
Page 30
Sending Scan Files by E-mail
22
2
❒ To display details about the
destination, press [Details].
J Select a destination.
K Press [Exit].
Note
❒ An e-mail address found in a
search can be registered in
the list. Press [ProgDest], and
a screen for entering the e-
mail address appears. For
more information, see Gener-
al Settings Guide.
Checking selected destinations
A Use the destination field at the
top of the scre en to check
which destinations are select-
ed.
Note
❒ Press [U
U
U
UPrev.] or [T
T
T
TNext] to
scroll through the list. Desti-
nations are displayed in the
order they were selected.
❒ To check the selected desti-
nations, press the
{{{{Check
Modes
}}}} key.
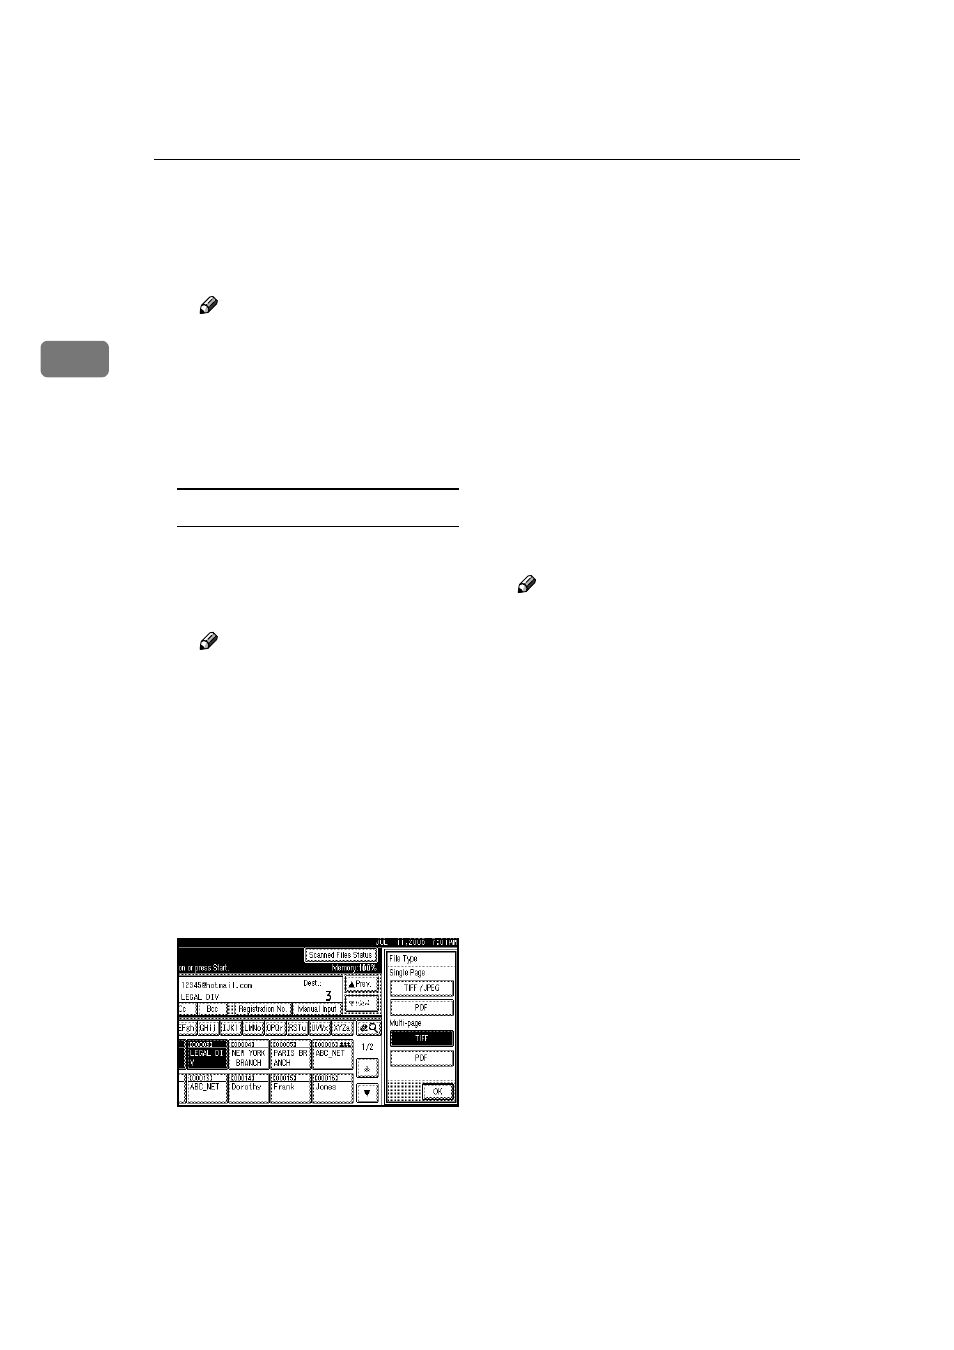
HHHH
Select the file type if necessary.
A Press [Attached File].
B Press [File Type].
C Select the file type of the file.
D Press [OK] twice.
IIII
Specify the file name if necessary.
A Press [Attached File].
B Press [File Name].
The soft keyboard appears.
C Enter a file name.
D Press [OK] twice.
JJJJ
Specify the e-mail sender.
You can specify the sender in the
following ways:
• Select the sender from the list.
• Enter the registration number of
the sender using the number
keys.
• Search for the sender.
Note
❒ If you specify the sender, infor-
mation about the sender is in-
cluded in the file being sent. The
name of the specified sender is
automatically placed in the
from field of the e-mail so that
the sender can be identified
when the e-mail is received.
❒ Depending on system settings,
the administrator's e-mail ad-
dress may appear automatically
in the e-mail header's from
field. To change the address,
specify the sender in Step
❒ To prevent misuse of a sender
name, we recommend you set
protection code for that sender
name.See General Settings Guide.
❒ Depending on the security set-
tings, [Attach Sender's Name] may
be selected as the user name
when logging in.