Ruggedbackbone™ modules, Installing a module, Front panel – RuggedCom RUGGEDBACKBONE RX1501 User Manual
Page 11: 1 installing a module, 2 front panel
RuggedBackbone™ RX1501
Installation Guide
Chapter 2
RuggedBackbone™ Modules
Installing a Module
5
RuggedBackbone™ Modules
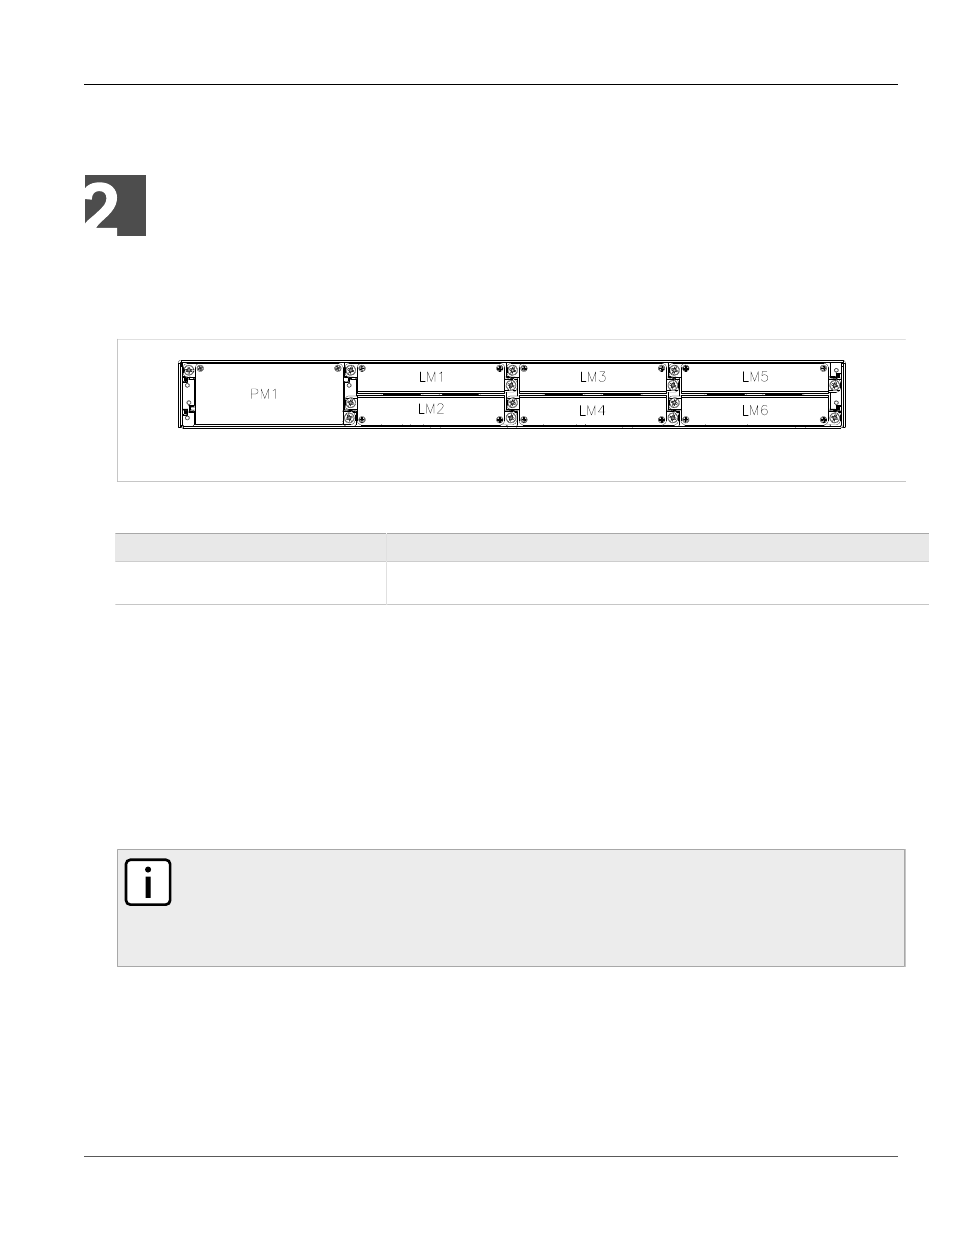
The RX1501 chassis provides seven module slots. Each slot accommodates a particular type of RuggedCom
Figure 1, “Chassis Slot Assignment”
shows the module slots on the RX1501.
Figure 1: Chassis Slot Assignment
The RX1501 chassis supports the following modules:
Parameter
Description
LM1 through LM6
The RX1501 chassis supports up to six line module (LM) cards. For more information on line
Section 2.3, “Line Modules (LM)”
All modules are built to the RuggedRated™ specifications of the RuggedBackbone™ RX1501. Each module type
is described in the following sections.
Section 2.1
Installing a Module
To install a module into the RuggedBackbone™ chassis, align the module guide ribs with the channels on
the chassis. Push the module in as far as it will go, being sure to push through the resistance provided by the
grounding springs. When properly seated, the module flange will rest on the main chassis frame. Tighten the
thumbscrews using finger strength only.
NOTE
Serial line modules are hot-swappable, meaning they can be removed and installed while the device is
running.
When installing a serial line module while the device is running, make sure internal VLANs are
enabled. For more information about configuring VLANs, refer to the ROX User Guide for the RX1501.
Section 2.2
Front Panel
The RX1501 Front Panel is equipped with an RS232 serial console port for initial management functions, and a
locally connected 10/100Base-T Ethernet port for system management out of band from the switch fabric.