Using the vcr2 dvd button, Using the vcr2•dvd button, 22 using the remote control – RCA VR688HF User Manual
Page 24: Program the vcr for remote control, Program the remote control, Operate the component
22
Using the Remote Control
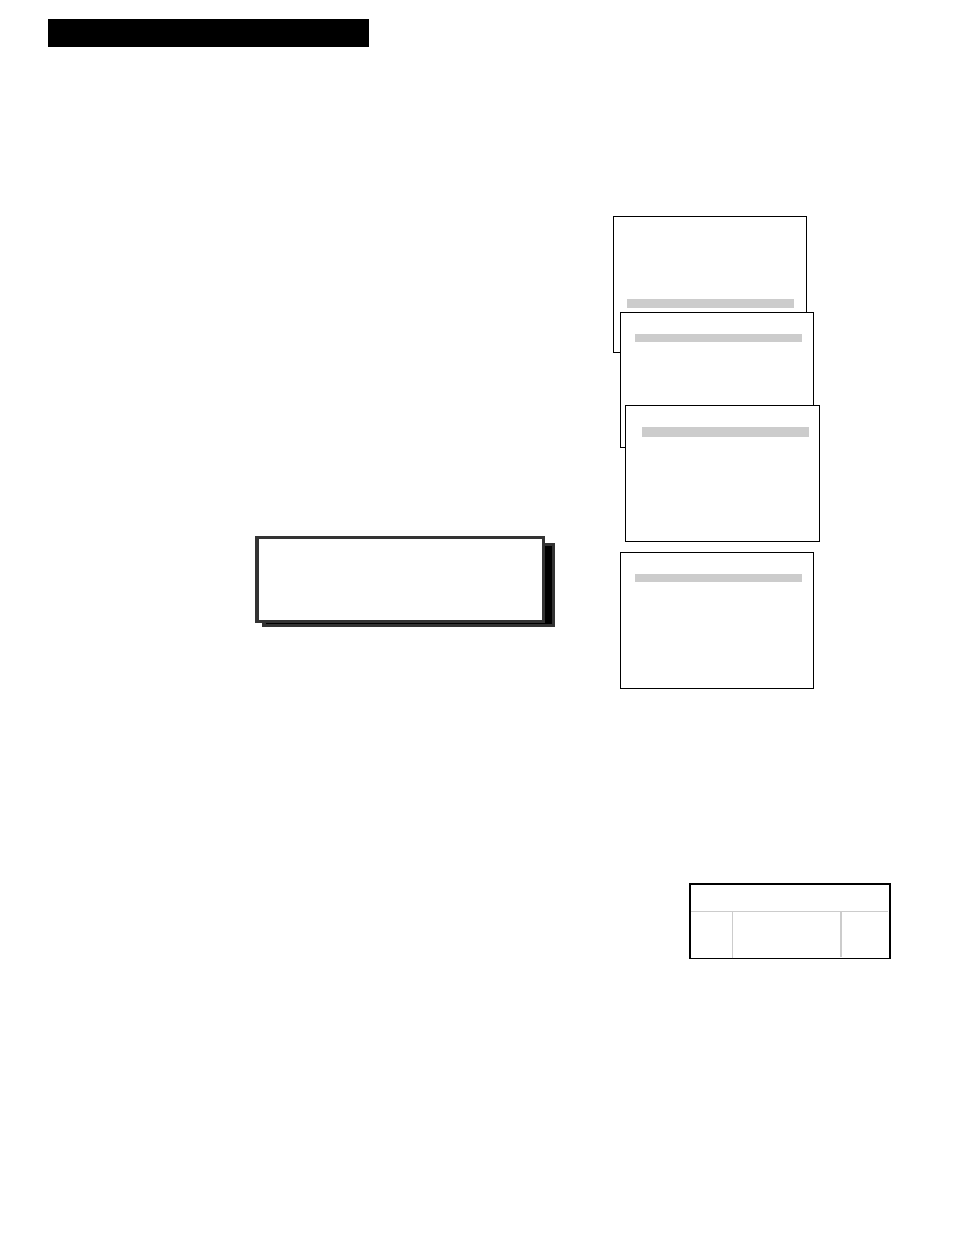
PREFERENCES
1 Remote Control: VCR2
2 Auto Play: ON
3 Auto TV/VCR: ON
4 Front Panel: AUTO
5 CA Marking: ON
6 CA Playback: AUTO
7 CA Display: BLUE
8 Set Auto Repeat
0 Exit
Controlling a VCR
Controlling a LaserDisc Player or DVD Component
The VCR2•DVD button on the VCRÔs remote will also control the primary functions of an RCA, ProScan, or GE
LaserDisc player without being programmed. It can also be programmed to control an RCA DVD component using
the code below. If you ever need to reprogram the remote to operate a VCR or LaserDisc player, use the code
The VCRÕs remote controls two compatible RCA, ProScan, or GE VCRs with the VCR1 and VCR2•DVD
buttons. Most compatible VCRs automatically respond to VCR1 without being programmed. If you own two
compatible VCRs, test them to see if VCR1 turns on both VCRs. If it does, then you may want to program this
VCR to respond to the VCR2•DVD button on the remote.
Program the VCR for Remote Control
Set the Remote Control feature of the VCR to
the VCR1 or VCR2 position. The remote then
controls the VCR with either the VCR1 or
VCR2•DVD
button Ñ whichever position you
select in the menu.
1
. Press MENU•PROG to display the VCR
MAIN MENU
.
2
. Press 6 to display PREFERENCES.
3.
Press 1 to activate the Remote Control
feature.
4
. Press VCR1 or VCR2•DVD to change the
setting and program this VCR to respond
to the VCR1 or VCR2•DVD button Ñ
whichever you select.
Important Reminder:
Remember you must
press VCR1 or VCR2•DVD on the remote Ñ
whichever you selected in the menu Ñ
before the remote will operate this VCR.
VCR LaserDisc Player DVD
037 037 078
RCA, ProScan or GE Codes
Program the Remote Control
1
. Turn on the component.
2
. Point the VCR remote at the component
3
. Hold the VCR2•DVD button and press three numbers buttons to
enter the code for the component.
4
. Release the buttons.
5
. Press PWR. If the component turns off, setup is complete.
Operate the Component
After you have set up your remote to control your component, test the
remote buttons to see which ones operate it.
1
. Point the remote at the component and press VCR2•DVD.
2
. If the component does not turn on in step 1, press VCR2•DVD and
then PWR.
3
. Test the remote buttons to see which ones operate the component.
Using the VCR2•DVD Button
VCR MAIN MENU
1 VCR Plus+
2 Timer Recordings
3 Time
4 Channels
5 Setup
6 Preferences
PREFERENCES
1 Remote Control: VCR1
2 Auto Play: ON
3 Auto TV/VCR: ON
4 Front Panel: AUTO
5 CA Marking: ON
6 CA Playback: AUTO
7 CA Display: BLUE
PREFERENCES
1 Remote Control: VCR1
2 Auto Play: ON
3 Auto TV/VCR: ON
4 Front Panel: AUTO
5 CA Marking: ON
6 CA Playback: AUTO
7 CA Display: BLUE
8 Set Auto Repeat
Press VCR2 to change