Timer recording (continued), ª to put the unit on recording standby, ª flexible recording mode (fr) – Panasonic DMR-E20 User Manual
Page 31: ª to change the programme
31
TV
TV/AV
PROG / CHECK
TOP WINDOW
TV/TEXT
STOP
SV/V+
REC
TIME SLIP
AV LINK
SETUP
AUDIO
REC MODE CANCEL
INPUT
SELECT
MANUAL
SKIP
LAST
MARKER
DIRECT
TV REC
TIMER
REC
1
2
3
4
5
6
7
8
9
0
PAUSE
PLAY
STATUS
RETURN
VOL
OPEN/CLOSE
T
C
E
R
I
D
R
O
T
A
G
I
V
A
N
TO
P
M
EN
U
M
E
N
U
DISPLAY
T
SI
L
Y
A
L
P
ENTER
TV
DVD
TV ASPECT
FRAME
SKIP
SLOW/SEARCH
Á
/
Timer recording (continued)
ªTo put the unit on recording standby
Press [
Á, TIMER REC].
Ensure “
Á” lights on the unit’s display.
ªFlexible recording mode (FR)
≥The unit automatically selects a recording mode between “XP” and “EP” that will enable the
timer recording to fit in the available recording time on the disc with the best possible recording
quality.
≥This only works with timer recording.
≥It may not be possible to record to the finish of the programme if the remaining time doesn’t
allow.
≥This does not work with VPS/PDC.
Note
≥The built-in clock employs 24-hour system.
≥The actual time recorded may be longer than the programme itself when television
programmes are recorded using ShowView (G-code).
≥“Invalid Entry” is displayed when you enter the wrong code. Reenter the code.
≥ “FULL” is displayed in there are already 16 items programmed. Delete unnecessary items
(page 46).
≥The remaining time displayed is calculated based on the current recording mode.
≥Approximetely 30 seconds at the beginning of subsequent programmes is not recorded when
you used recording to record multiple programmes to a DVD-R.
≥Recording is not possible unless you set “Disc Protection“ in “DISC INFORMATION“ to “Off“.
≥You can not record to a disc if the write protect tab on a cartridge disc is set to protect. Release
this before operation (page 91).
≥If the unit is not put in the timer recording standby mode at the latest 10 minutes before the
programmed timer recording starting time, the [
Á] flashes on the unit display. In this case,
press the [
Á, TIMER REC] button to put the unit in the timer recording standby mode.
ªTo change the programme
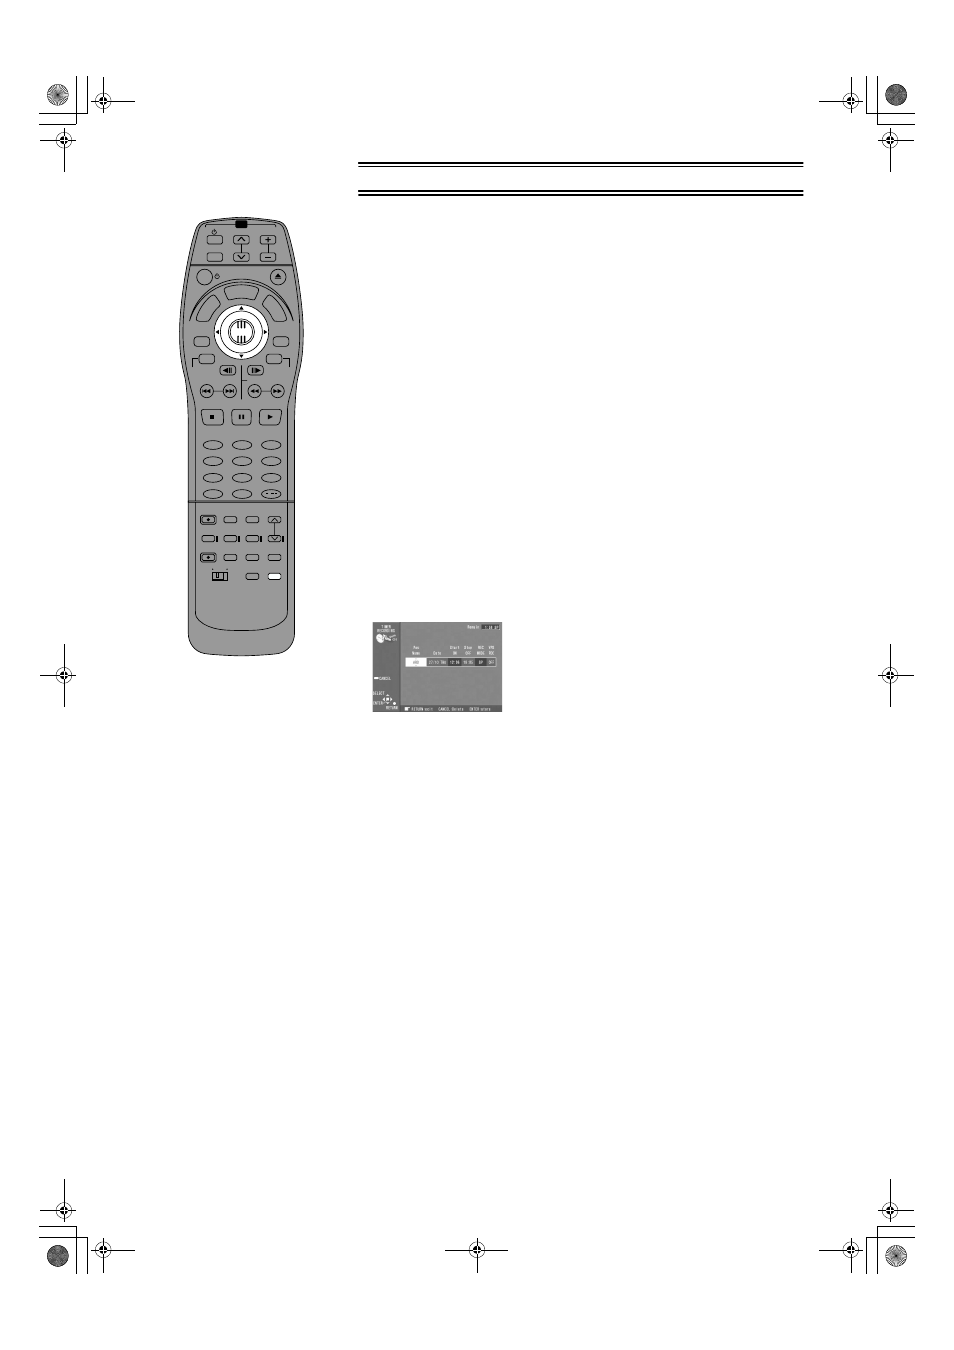
Timer Programme Correction screen (from step 3 on page 30)
1) Use the joystick [
2, 1] to select the item you want to change.
2) Change the setting with the joystick [
3, 4].
The items change as follows:
≥Pos/Name (Programme Position/TV Station Name)
≥Date
Current date
>the day before one month later>Daily (Sunday to Saturday)>
Daily (Monday to Saturday)
>Daily (Monday to Friday)>Weekly (Sundays)>
Weekly (Saturdays)
≥Start ON (start time)/Stop OFF (finish time)
The time increases or decreases in 30-minute increments if you hold the button.
≥REC MODE (Recording mode)
XP
>SP>LP>EP>FR (page 24)
≥VPS/PDC (For Continental Europe)
ON
>OFF(jjj) (page 32)
3) Press [ENTER] when you have finished making changes.
The Timer Programme List screen appears.