Recording, English, Analogue recording – Philips CDR 560 User Manual
Page 16
14
English
After recording the display will show UPDATE for several
seconds.
Note:
- The CD recorder will not start until it recognizes a digital
signal. Although the reaction time is less than 200
milliseconds, the very beginning of the music may
sometimes not be recorded. If this happens, you can start
the recording manually (see digital recording-
unsynchronized).
- Recordings from DAT or DCC will only stop after 20 silence.
Only make analogue recordings if digital recording is not
possible.
Preparing for analogue recording
1 Make sure the disc is absolutely free of scratches and dust
particles.
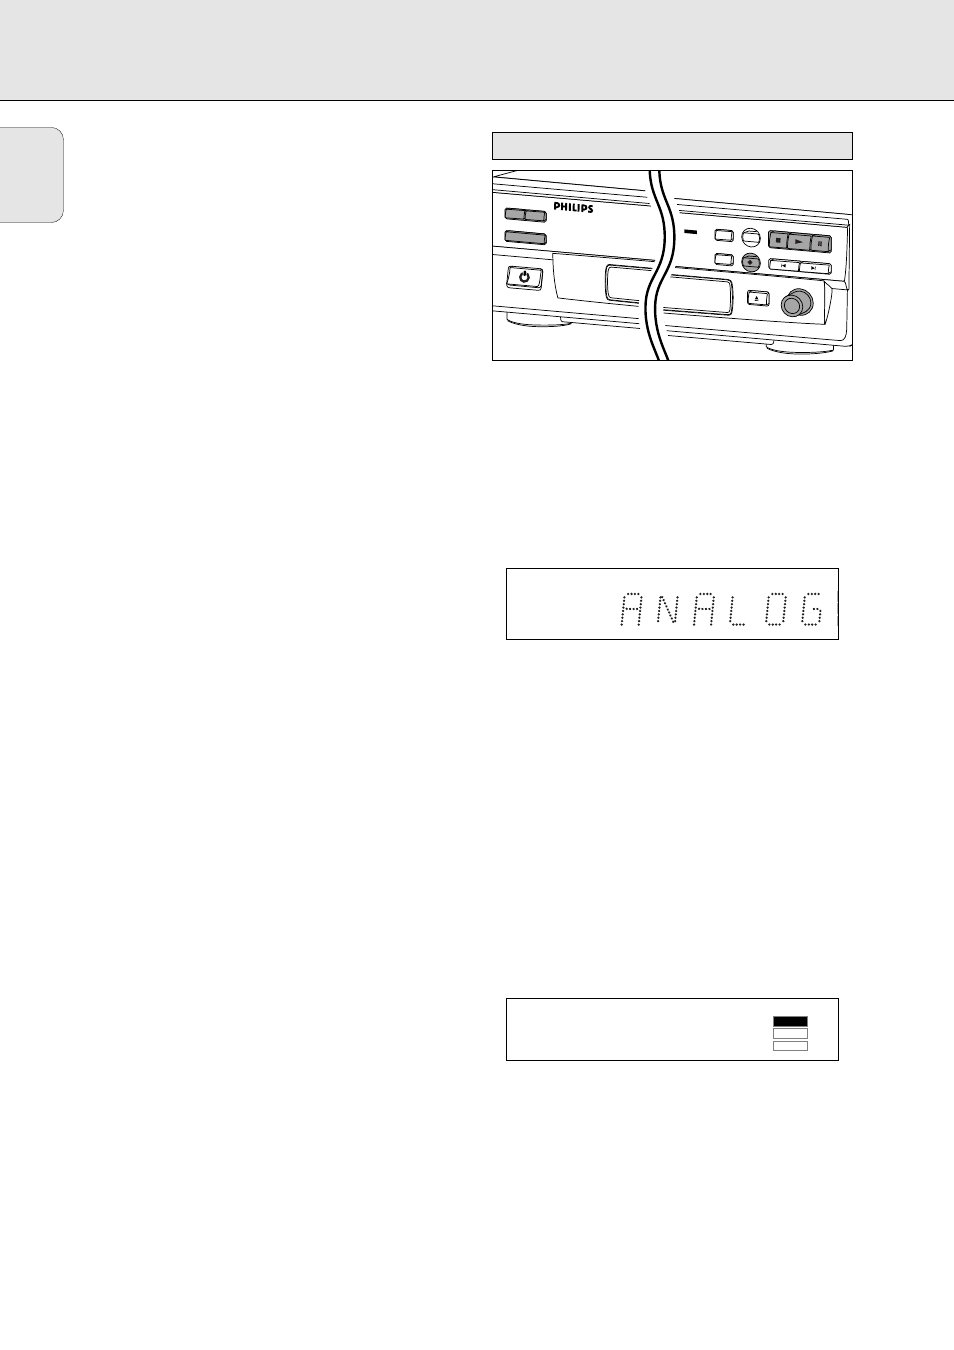
2 Press Source repeatedly until:
➜
ANALOG
appears on the display.
3 Press AUTO/MANUAL to switch between auto and manual
track numbering.
➜ If Auto is selected (preferred),
AUTO TRACK
appears on
the display.
• AUTO: The track number is automatically incremented after
a silence on the original of at least 3 seconds.
• MANUAL: Track numbers can be incremented manually by
pressing §. (minimum track length is 4 seconds ).
(This can also be done in AUTO mode)
• Track numbers cannot be changed after recording.
4 With the recorder stopped, press RECORD to enter Record
standby mode.
➜
RECORD
will flash
5 Play the source first to set the optimal recording level on
the CD recorder.
6 Adjust the REC LEVEL until all blue segments on the
Record/Play Level bar light up but no red segments light
continuously during the loudest passages.
7 Stop the source.
G
REPEAT 1
DIG
ERASE
CD SYNC
TOTAL
AUTO
TRACK
TRACK
REM
TIME
RECORD
FINALIZE
PROG
REPEAT 1
ANALOG
DIG
TOTAL
AUTO
TRACK
TRACK
REM
TIME
CDR
MINI CD RECORDER
SOURCE
DISPLAY
AUTO / MANUAL
POWER ON/OFF
OPEN/CLOSE
RECORD LEVEL
MIN
MAX
PREV
STOP
CD SYNCRO
RECORD
ERASE
FINALIZE
PLAY
PAUSE
NEXT
PAUSE
CD SYNC
TIME
0
OVER
RECORD
Analogue recording
RECORDING