Connecting your pc or macintosh computer – PLUS Vision UP-800 User Manual
Page 17
E – 17
Connecting Your PC Or Macintosh Computer
Connecting your PC or Macintosh computer to your UP-800 Data Projector will enable you to project your computer's screen
image for an impressive presentation. All of these following display standards are supported:
To connect to a PC, Macintosh or computer equipped with a SuperVGA/VGA adapter or compatible graphics adapter, simply:
1. Turn off the power to your Data projector and computer.
2. If your PC does not support SuperVGA/VGA you will need to install a SuperVGA/VGA graphics board. Consult your
computer's owner's manual for your SuperVGA/VGA configuration. If you need to install a new board, see the manual that
comes with your new graphics board for installation instructions.
3. Use the signal cable that's supplied to connect your PC or Macintosh computer to the Data projector. For a PC, use the smaller
15-pin connector on the cable to connect to your computer's video port; use the larger 15-pin connector on the cable to
connect to the projector's RGB input. For Macintosh, use the larger 15-pin connector on the cable to connect to your
computer's video port; use the smaller 15-pin connector on the cable to connect to the projector's RGB input. (You can also
use your own video cable if you wish. For a PC cable, use the smaller 15-pin connector RGB on the projector. For a
Macintosh cable, use the larger 15-pin connector RGB on the projector.)
4. Turn on the Data projector and the computer.
5. If the projector goes blank after a period of inactivity, it may be caused by a screen saver installed on the computer you've
connected to the projector.
VGA 640
×
480 for graphics
VGA 640
×
400 for graphics
VGA 640
×
350 for graphics
VGA 720
×
400 for text
VGA 720
×
350 for text
SuperVGA 800
×
600
Macintosh at 640
×
480
Macintosh at 832
×
624
NOTE: Refer to your computer's owner's manual for more information about your computer's video output requirements and any special
identification or configuring your projector's image and monitor may require.
MONITOR
RESOLUTION
1
2
3
4
5
6
MULTIPLE SCAN 21
●
●
●
MULTIPLE SCAN 17
●
●
●
MULTIPLE SCAN 16
●
●
●
●
VGA/SVGA
●
●
21 COLOR
1152
×
870
●
●
●
●
19 COLOR
1024
×
768
●
●
16 COLOR
832
×
624
●
●
13 COLOR
640
×
480
●
●
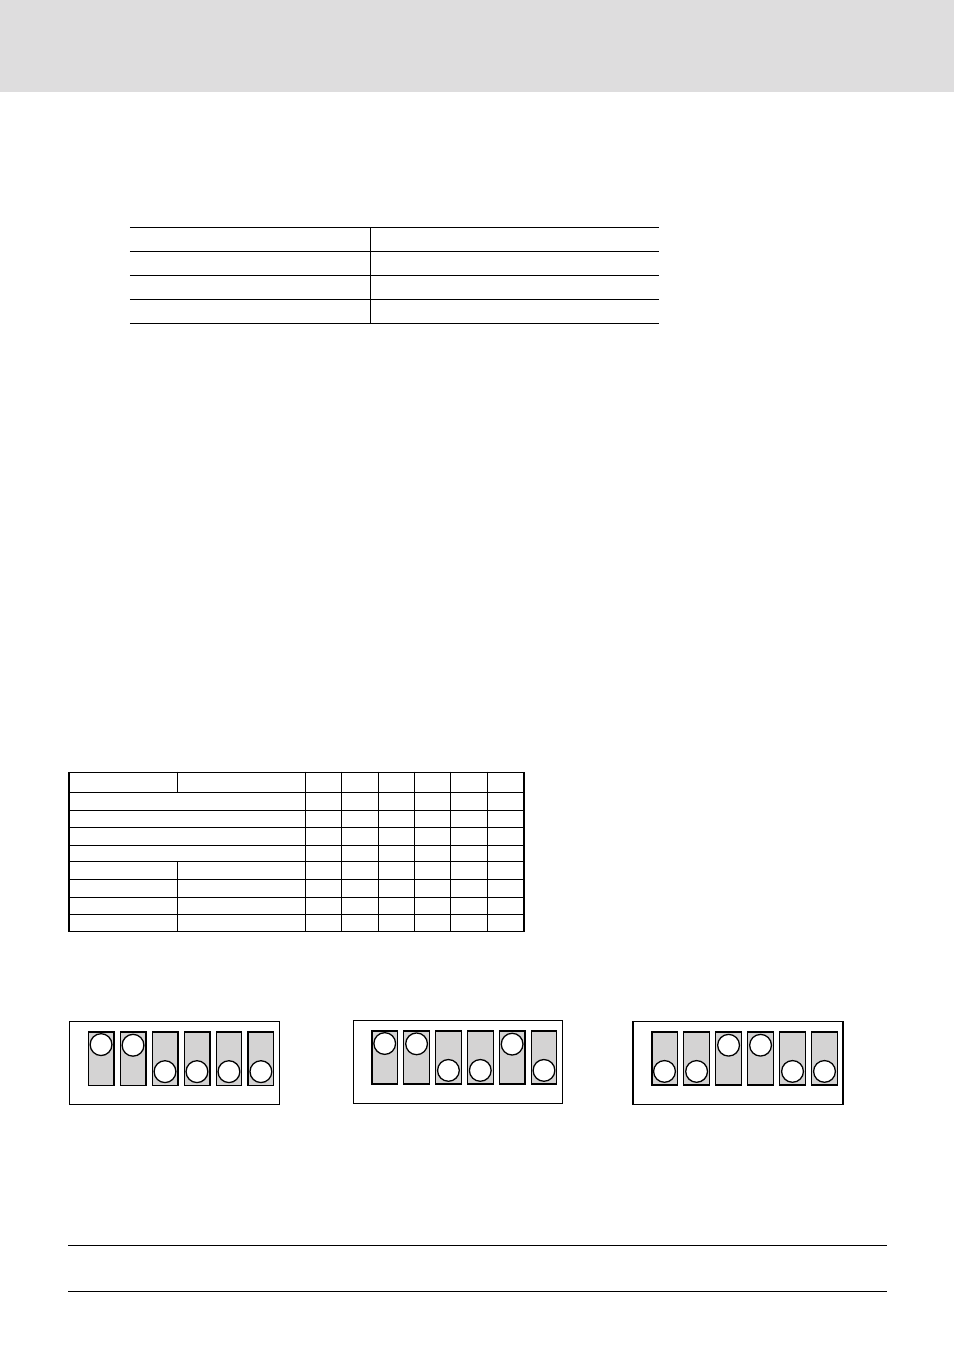
DIP switch setting (● = ON)
Inch 13
MULTIPLE SCAN 17
VGA/SVGA
Refer to the manual that came with the adaptor.
1
2
3
4
5
6
ON
1
2
3
4
5
6
ON
1
2
3
4
5
6
ON
1
2
3
4
5
6
ON
1
2
3
4
5
6
ON
1
2
3
4
5
6
ON
1
2
3
4
5
6
ON
1
2
3
4
5
6
ON
1
2
3
4
5
6
ON